Interior
Cheaper, yet decent cases are not completely gone from the market yet. One such case is the Prime AP201 from Asus’ lower-end. Considering the price well under 100 EUR, you get a case with a above-standard build quality, which is characterized by the “infinite” perforation. Cool air is thus available to components theoretically from all sides. But this also means that it doesn’t damp noise too much. The question is what weighs more in the bigger picture.
Interior
Even though it is a smaller case, the interior offers plenty of space albeit with minor compromises. For example, you can’t fit a MSI RTX 4080 Suprim X sized graphics card in the case. Their maximum length can be “only” 338 mm, which is still enough space to choose a graphics card on the more powerful side. You also have to take into account that if you want this airy case, you’ll have to look around for Mini-ITX, maximum mATX motherboard formats. Larger ones are not supported. What you will have a free hand in choosing though is a tower CPU cooler. You can install one in the case with a height of up to 170 mm.
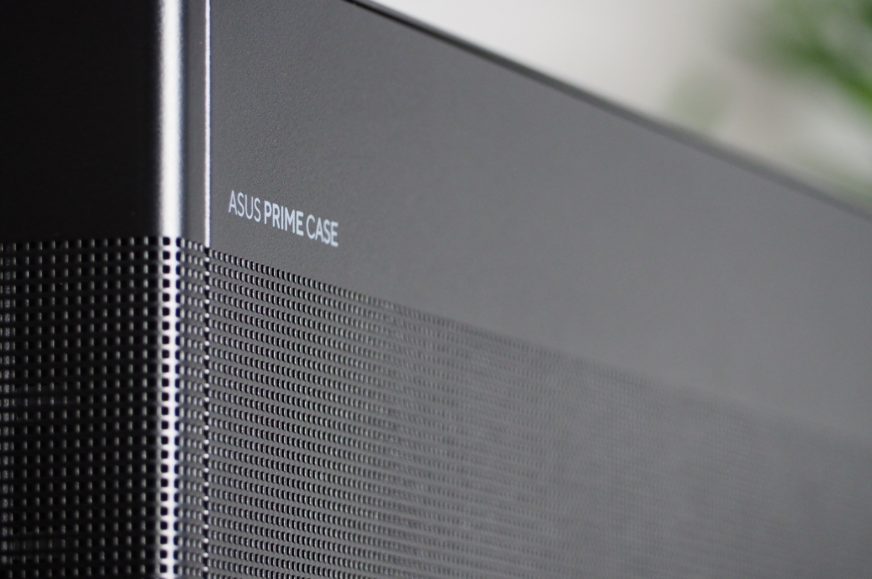
On the front, there is a panel with the same inscription as on the right side: Asus Prime case. It serves to cover the cables from the power supply but also from the front I/O panel of the case. For easier handling and connecting, you have the option to remove it using four screws. But it’s already worse with its reinsertion. It has to be tilted at a precise angle to put it back. I admit that I found myself literally losing my nerve with this panel.
The grommets for the cables are not fitted with rubber caps, so they are not reduced in size. The holes are 29–30 mm wide, so you can easily thread a larger bundle of cables through them.
Behind the front panel is a cage for mounting an ATX format power supply. The cage can be stacked at three heights on the front panel as required. In the highest position you have 270 mm of space for the power supply with cables and in the lowest 230 mm. Under the cage you can mount 2.5 or 3.5″ storage directly on the panel.
You can use every part of the case, so even the ground floor doesn’t have to remain empty. You can fit two more 2.5″ or 3.5″ internal storage units, or a combination of both. Simply secure them with screws through the precisely marked holes (“S” and “H”) of the respective storage format.
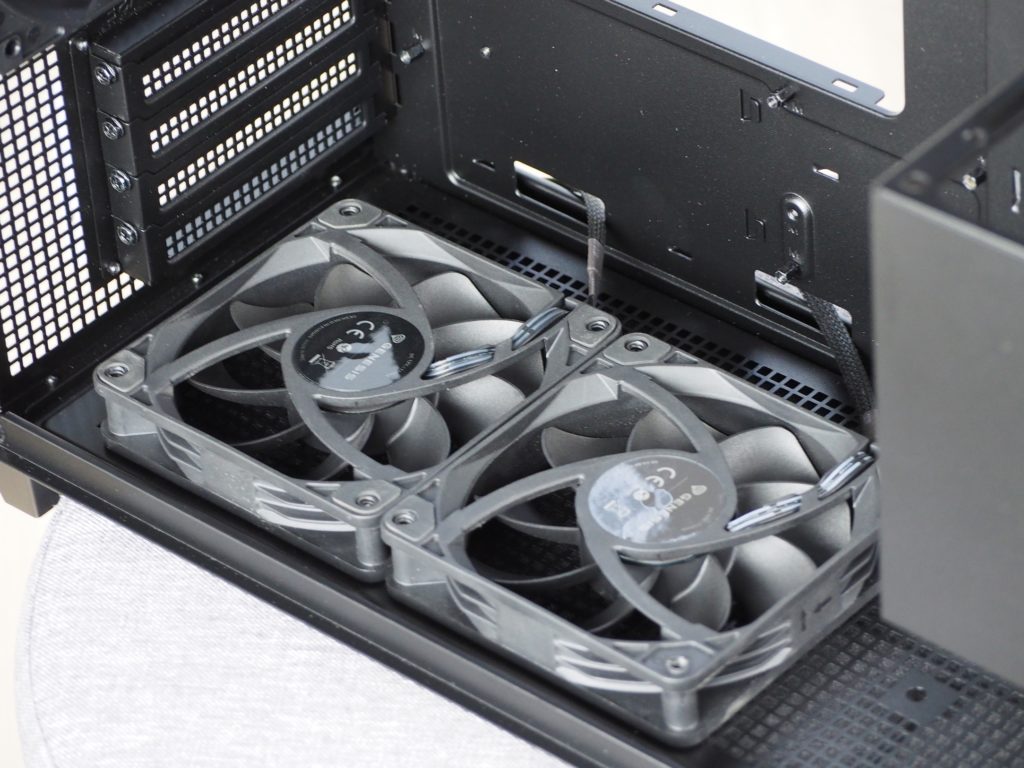
If you don’t need more storage, the ground floor can also be used for two 120 mm fans.
The case comes with one 120 mm fan with the designation ZFH1225M. Asus does not offer this fan separately, so it will probably be an OEM fan. It is powered by a 3-pin connector, so you will only have regulation in the form of linear (DC) voltage.
Behind the right side panel are all the cables from the case and one, less traditional, extra – an extension for the power supply. They are all located in the trough along with the grommets, which is not an ideal combination for cable management. There is a solid 32mm of space in the trough for organizing and threading cables from both the power supply and the case’s I/O panel. For ease of use, you have three Velcro pull-tabs pre-installed, which isn’t always a given in this price range. Outside of the trough, you can use the other 20 positions to attach cables with single-use zip-ties from the accessory box. There is only 12 mm of space left for cables in these positions.
On the tray behind the motherboard is the last final position for storage, specifically 2.5-inch storage. This is mounted on a bracket this time, so you can easily remove it and the bracket with a single screw.
The side panels and the body are made of 0.85 mm thick sheet metal. This makes the Prime AP201 a sturdy case with minimal sheet metal flex. Of course, the perforated panels are slightly more flexible.
Mounting the hardware into the case was kind of a piece of cake. Manipulation inside was easy, which was greatly helped by the 60 mm of space above the motherboard. With that, connecting the power supply to the processor was a breeze. When managing the cabling, I was worried about the main trough for organizing it, as there are grommets in there as well. But the fears were unnecessary, and in the 32mm space you can easily hide and also thread the cabling in there as you need it.
If you can’t manage the cabling to your maximum satisfaction, it doesn’t matter so much if you have a version of the case with both perforated sides. The smaller the viewing angle of the side panel is, the more the imperfections are lost.
- Contents
- Exterior
- Interior
- Test methodology
- CPU and GPU cooling tests
- Motherboard cooling tests
- SSD cooling tests and under-ceiling temperature
- Conclusion


I am curious why adding two fans blowing air to the GPU worsened its temps. Perhaps it’s because the fans have to spin slower overall to achieve the same noise level? The bottom panel plus the filter do look quite restricted so the bottom fans might be providing fairly low airflow.
I like them applying the front PSU mount (more commonly seen in SFF cases) to mainstream cases though, it saves lots of space and airflow can still be great. 3 top fans exhausting air + flipping the CPU cooler to take air in from the back will likely lead to the best balance of CPU/GPU thermals when using air coolers.
The reason is probably quite simple. In a single-fan configuration, at equal noise levels, the fan on the exhaust is significantly faster than in a three-fan configuration. Not only the cooling of the graphics card, but the overall cooling (including the CPU, power delivery surroundings and SSD) is weaker probably due to more heat build-up when the fan on the exhaust is slower. This behaviour is quite typical and at equal noise levels, we usually measured a higher efficiency in a negative pressure configuration in this test of different system cooling configurations as well.