


Details of the Axagon EEM2-GAM
What does Axagon mean by a “gaming” SSD enclosure? We’ll explore this in the following review, where we’ll take a closer look at the EEM2-GAM. This is an enclosure designed for NVMe SSDs in the M.2 format utilizing a 10 Gbps USB interface (3.2 gen. 2). Additionally, it features a rubber protector, a metal body, two included cables, and ARGB LED elements. These are integrated into the design with a light guide indicating activity.
Details of the Axagon EEM2-GAM
The enclosure’s size can be described as “medium.” In terms of dimensions, the largest – length – is 130 mm, with a width of 52 mm and a height of 12.3 mm. These dimensions are partly defined by the overhang of the soft protective sleeve that the enclosure has. The core, or the enclosure itself, is made of metal and boasts above-standard durability. The total weight (without the SSD and USB cable) is 106 grams.

The accessory package is quite rich. Besides the enclosure, it includes two thermal pads—one for heat transfer between the SSD and the enclosure shell, and the other as a spare. There’s also a replacement standoff to ensure the correct spacing at the end of the SSD (M.2), opposite the connector, a small screwdriver, and two USB cables. One cable has USB-C connectors on both ends, and the other has USB-C on one end and USB-A on the other. The enclosure has a USB-C connector, but the other end of the cable is USB-A. If the USB-C port on your case or motherboard is already occupied or simply not available, the USB-A connection option comes in handy.

The EEM2-GAM enclosure is 10 Gbps-capable regardless of which cable you use. Of course, the USB interface must support the 3.2 gen. 2 standard. With slower interfaces, the throughput of the enclosure is naturally lower.

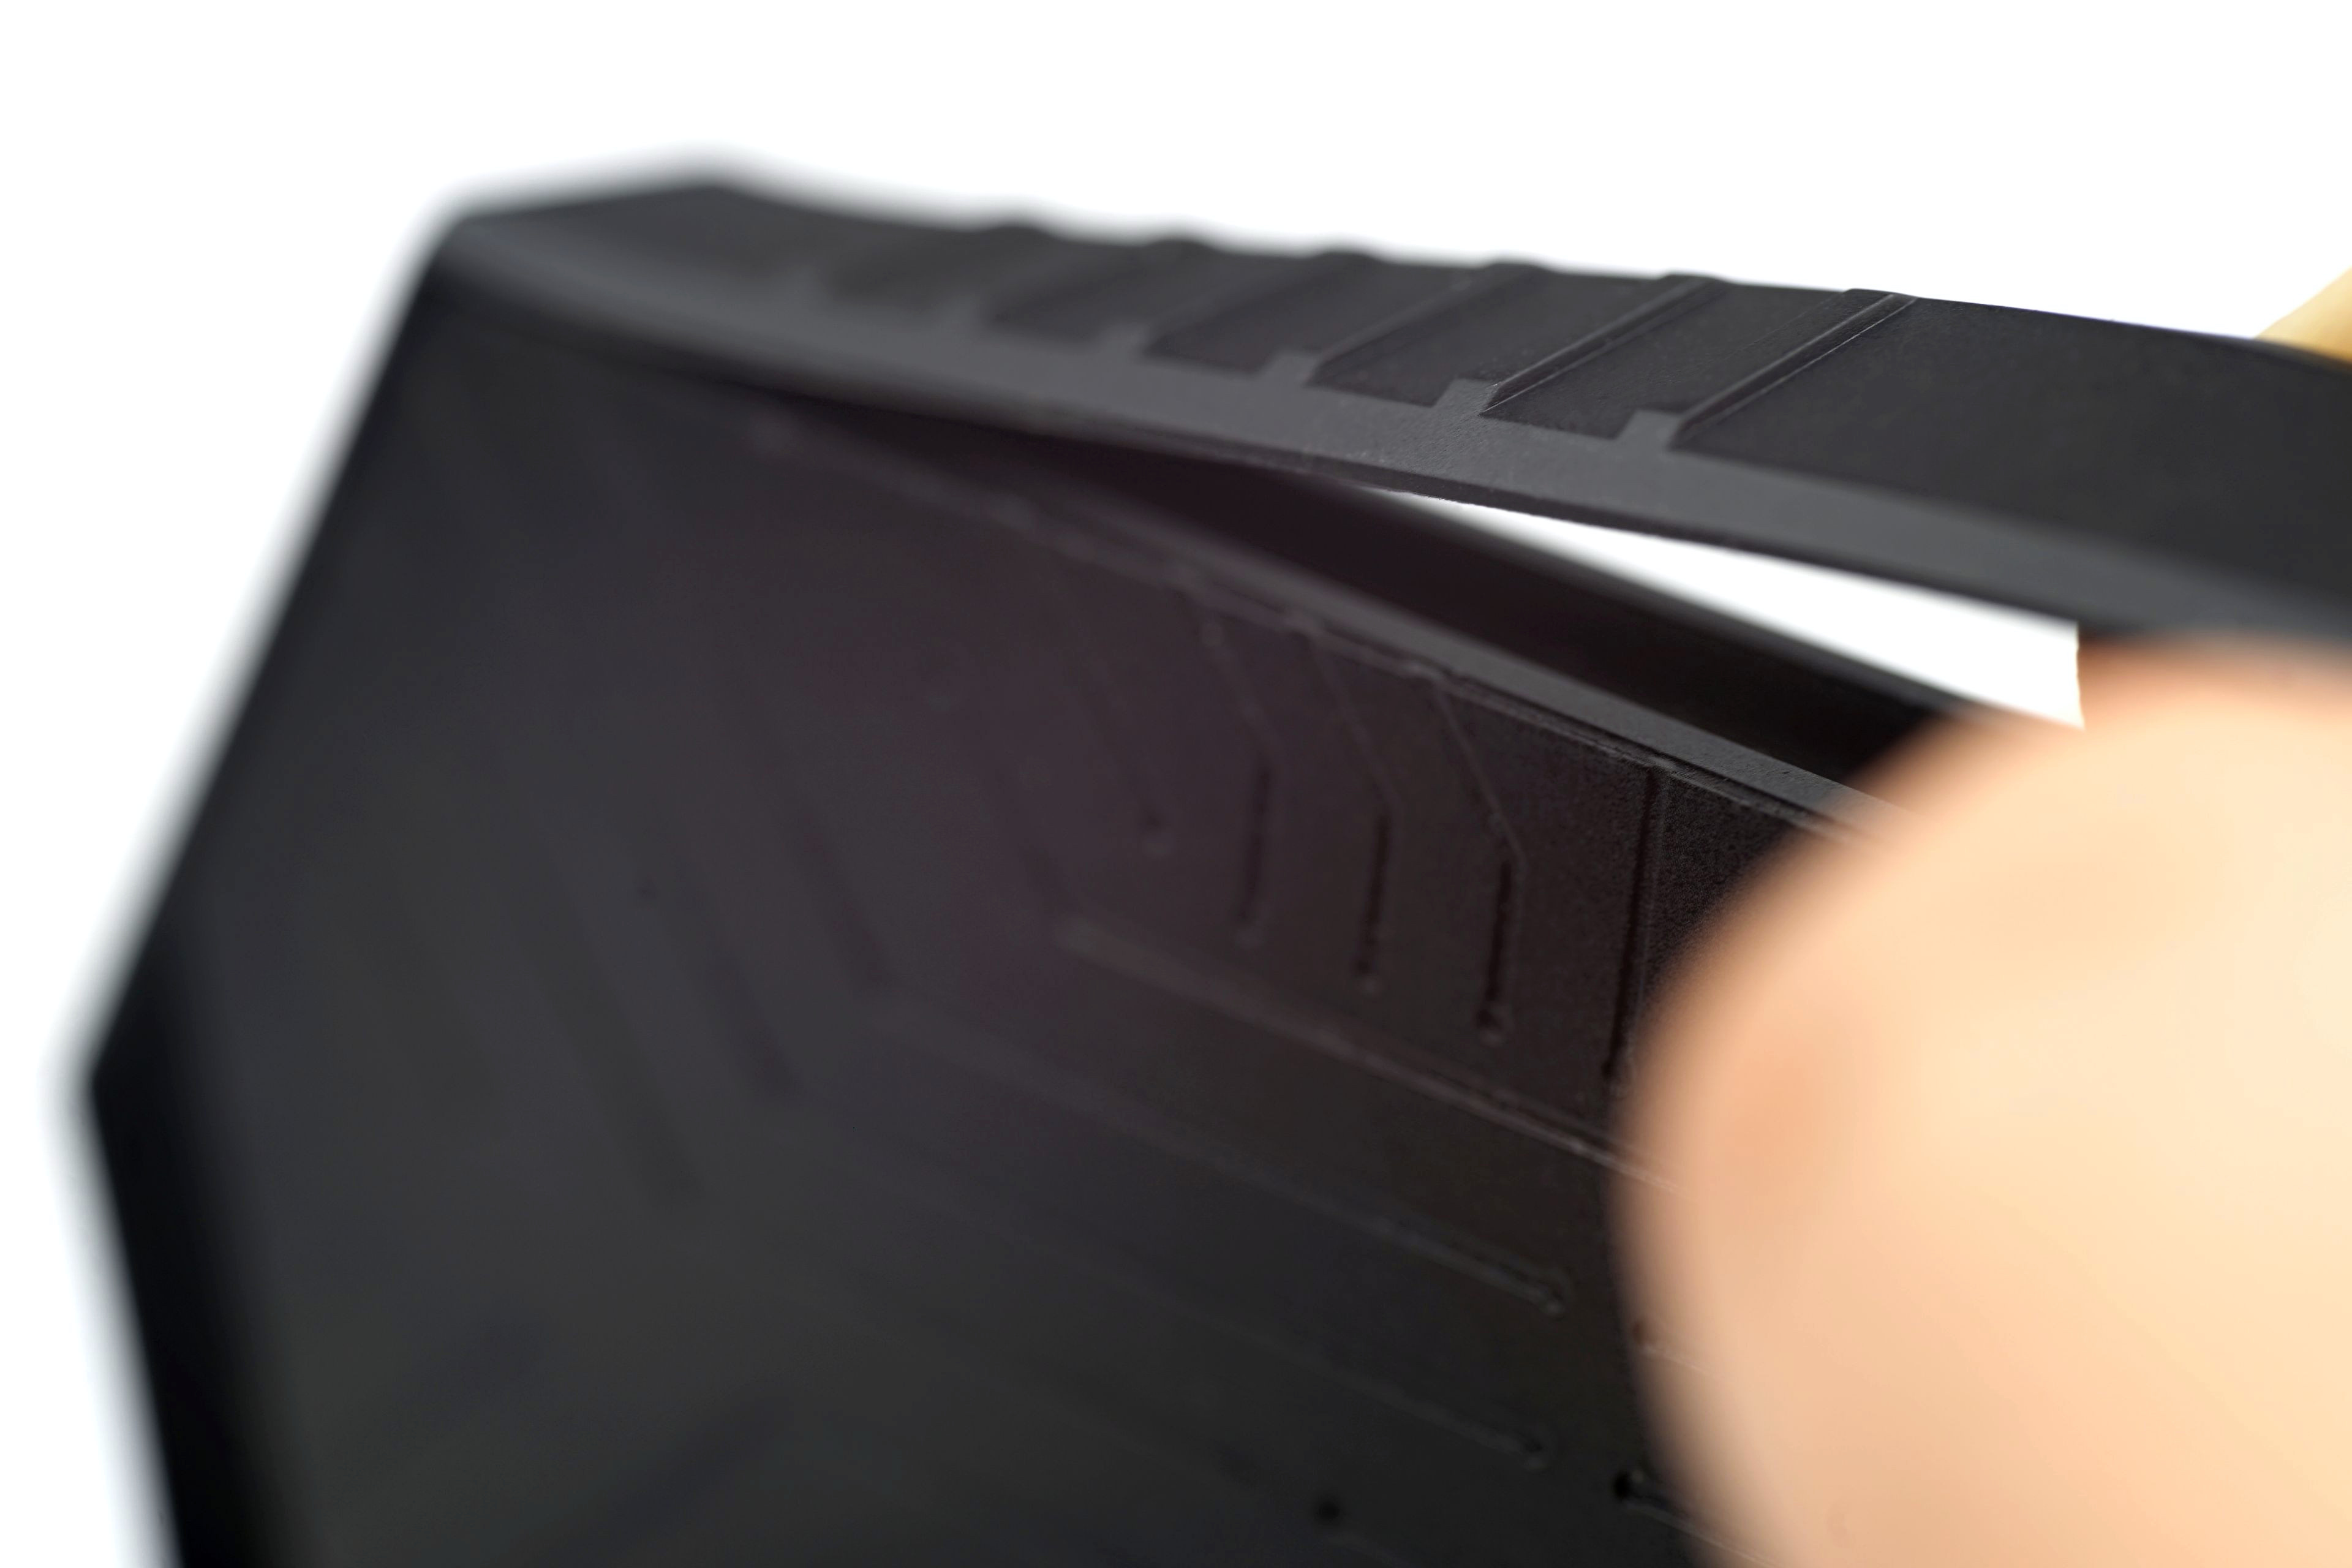
Noteworthy is the surface of the SSD enclosure, with details of the PCB traces engraved—recessed—into the shell. This increases the surface area of the shell, enhancing cooling performance. However, in this case, since the SSD has relatively low power consumption, this is more of a symbolic feature. In other words, the need for cooling here is secondary, but such “thematic” execution looks visually appealing.

The protective (rubber?) sleeve is fitted around the perimeter of the SSD enclosure, covering its height. Before opening the enclosure to install the SSD, this sleeve must be removed (slid off the SSD enclosure). Then, on one of the longer sides of the SSD enclosure, you’ll find a button that releases the latch. This latch is inside the enclosure and holds it together in a manner similar to many eyeglass cases. Once the latch is released, you can easily open the enclosure.


Both parts of the enclosure are made of metal and are sturdy. One part contains the PCB with the electronics for installing the M.2 SSD. It supports both NVMe and SATA SSDs with lengths of 30, 42, 60, and 80 mm. The mounting standoff is factory-set in the position for 80 mm SSDs, which are likely the most common, but for other formats, it can be repositioned. Changing the standoff’s position is very simple and can be done using the included screwdriver.

After installing the SSD (M.2) into the tray, a thermal pad must be applied to the side with the controller. This pad is in contact with the shell, transferring heat away from the SSD, resulting in more effective cooling. Don’t forget to remove the protective films from both sides of the thermal pad.


You’ll be informed about the proper connection of the SSD enclosure to the end device by a colorful LED. This ARGB element also brings the Axagon EEM2-GAM closer to the gaming community, which often seeks out accessories of this type.

Testing methodology
The foundation for all measurements is CrystalDiskMark with a library size of 1 GB. We test SSD speed in two situations. Before load and then, after a 10-minute load for maximum sequential reads and writes. This will reveal how warming up the external enclosure affects the speed with the Samsung 980 Pro SSD (1 TB). The values of the speed measurements are averaged over three passes for greater accuracy. The enclosures are connected via a USB expansion card (3.2 gen. 2×2) – the Renkforce RF-4538236 with the ASMedia ASM3242 controller. The tests run on an Asus ROG Strix Z790-E Gaming WiFi motherboard with an Intel Core i9-13900K processor (and G.Skill Trident Z5 Neo memory – 2×16 GB, 6000 MHz/CL30) under Microsoft Windows 10 (22H2).
We measure power consumption using a custom-made PCIe power meter, which you’ll also know from graphics card tests. This is plugged in before the PCIe card (with a USB controller), whose consumption is part of the result. We measure the power consumption under load for maximum sequential read and write speeds.

We only observe the temperature on the surface, on the casing. Be careful when evaluating it, a higher temperature doesn’t automatically mean a worse result (think thermal pad tests and heatsink temperatures…), but it doesn’t mean a better one either. The guiding factor here from a cooling perspective would be SSD temperature, but we have no control over that. The test SSD does have its sensors, but once it (the SSD) is plugged into the enclosure, the motherboard can no longer reach them. So we only do IR thermal mapping (with a Fluke Ti125 thermal imager), which can at least show how the heat is spreading through the enclosure and whether it will burn you. Thermal imaging is for the finned side of an enclosure or the side in contact with the SSD controller (if the enclosure does not have fins).
During testing, the SSD enclosures are always placed in the same position – longitudinally, in an open space, where they stand on the pad with the bottom side facing down. The airflow in the test room is always comparable, with the temperature at the control point varying between 21,0 and 21,3 °C.

