


Axagon EEM2-GTR in detail
Do you use an external SSD? We will be testing a few NVMe-enabled enclosures in the future. That’s in order to see which solution shapes SSD characteristics in what way, where speed (SSD) will always be limited by USB connectivity (and maybe sometimes cooling?). The first such external SSD enclosure that we will discuss in detail is from Axagon – the 10-gigabit EEM2-GTR model.
Detaily Axagon EEM2-GTR

The design also has an impact on SSD performance for external enclosures. So it is interesting to see what the differences in speed, cooling impact on speed, or power consumption can be. We find this information for external SSD enclosures to be quite scarce, hard to find, and yet useful. That is, if you consider external SSDs to be accessories worth considering. Those of you who do, and such a device makes sense to you, might also be interested in the following analysis of the Axagon EEM2-GTR enclosure.

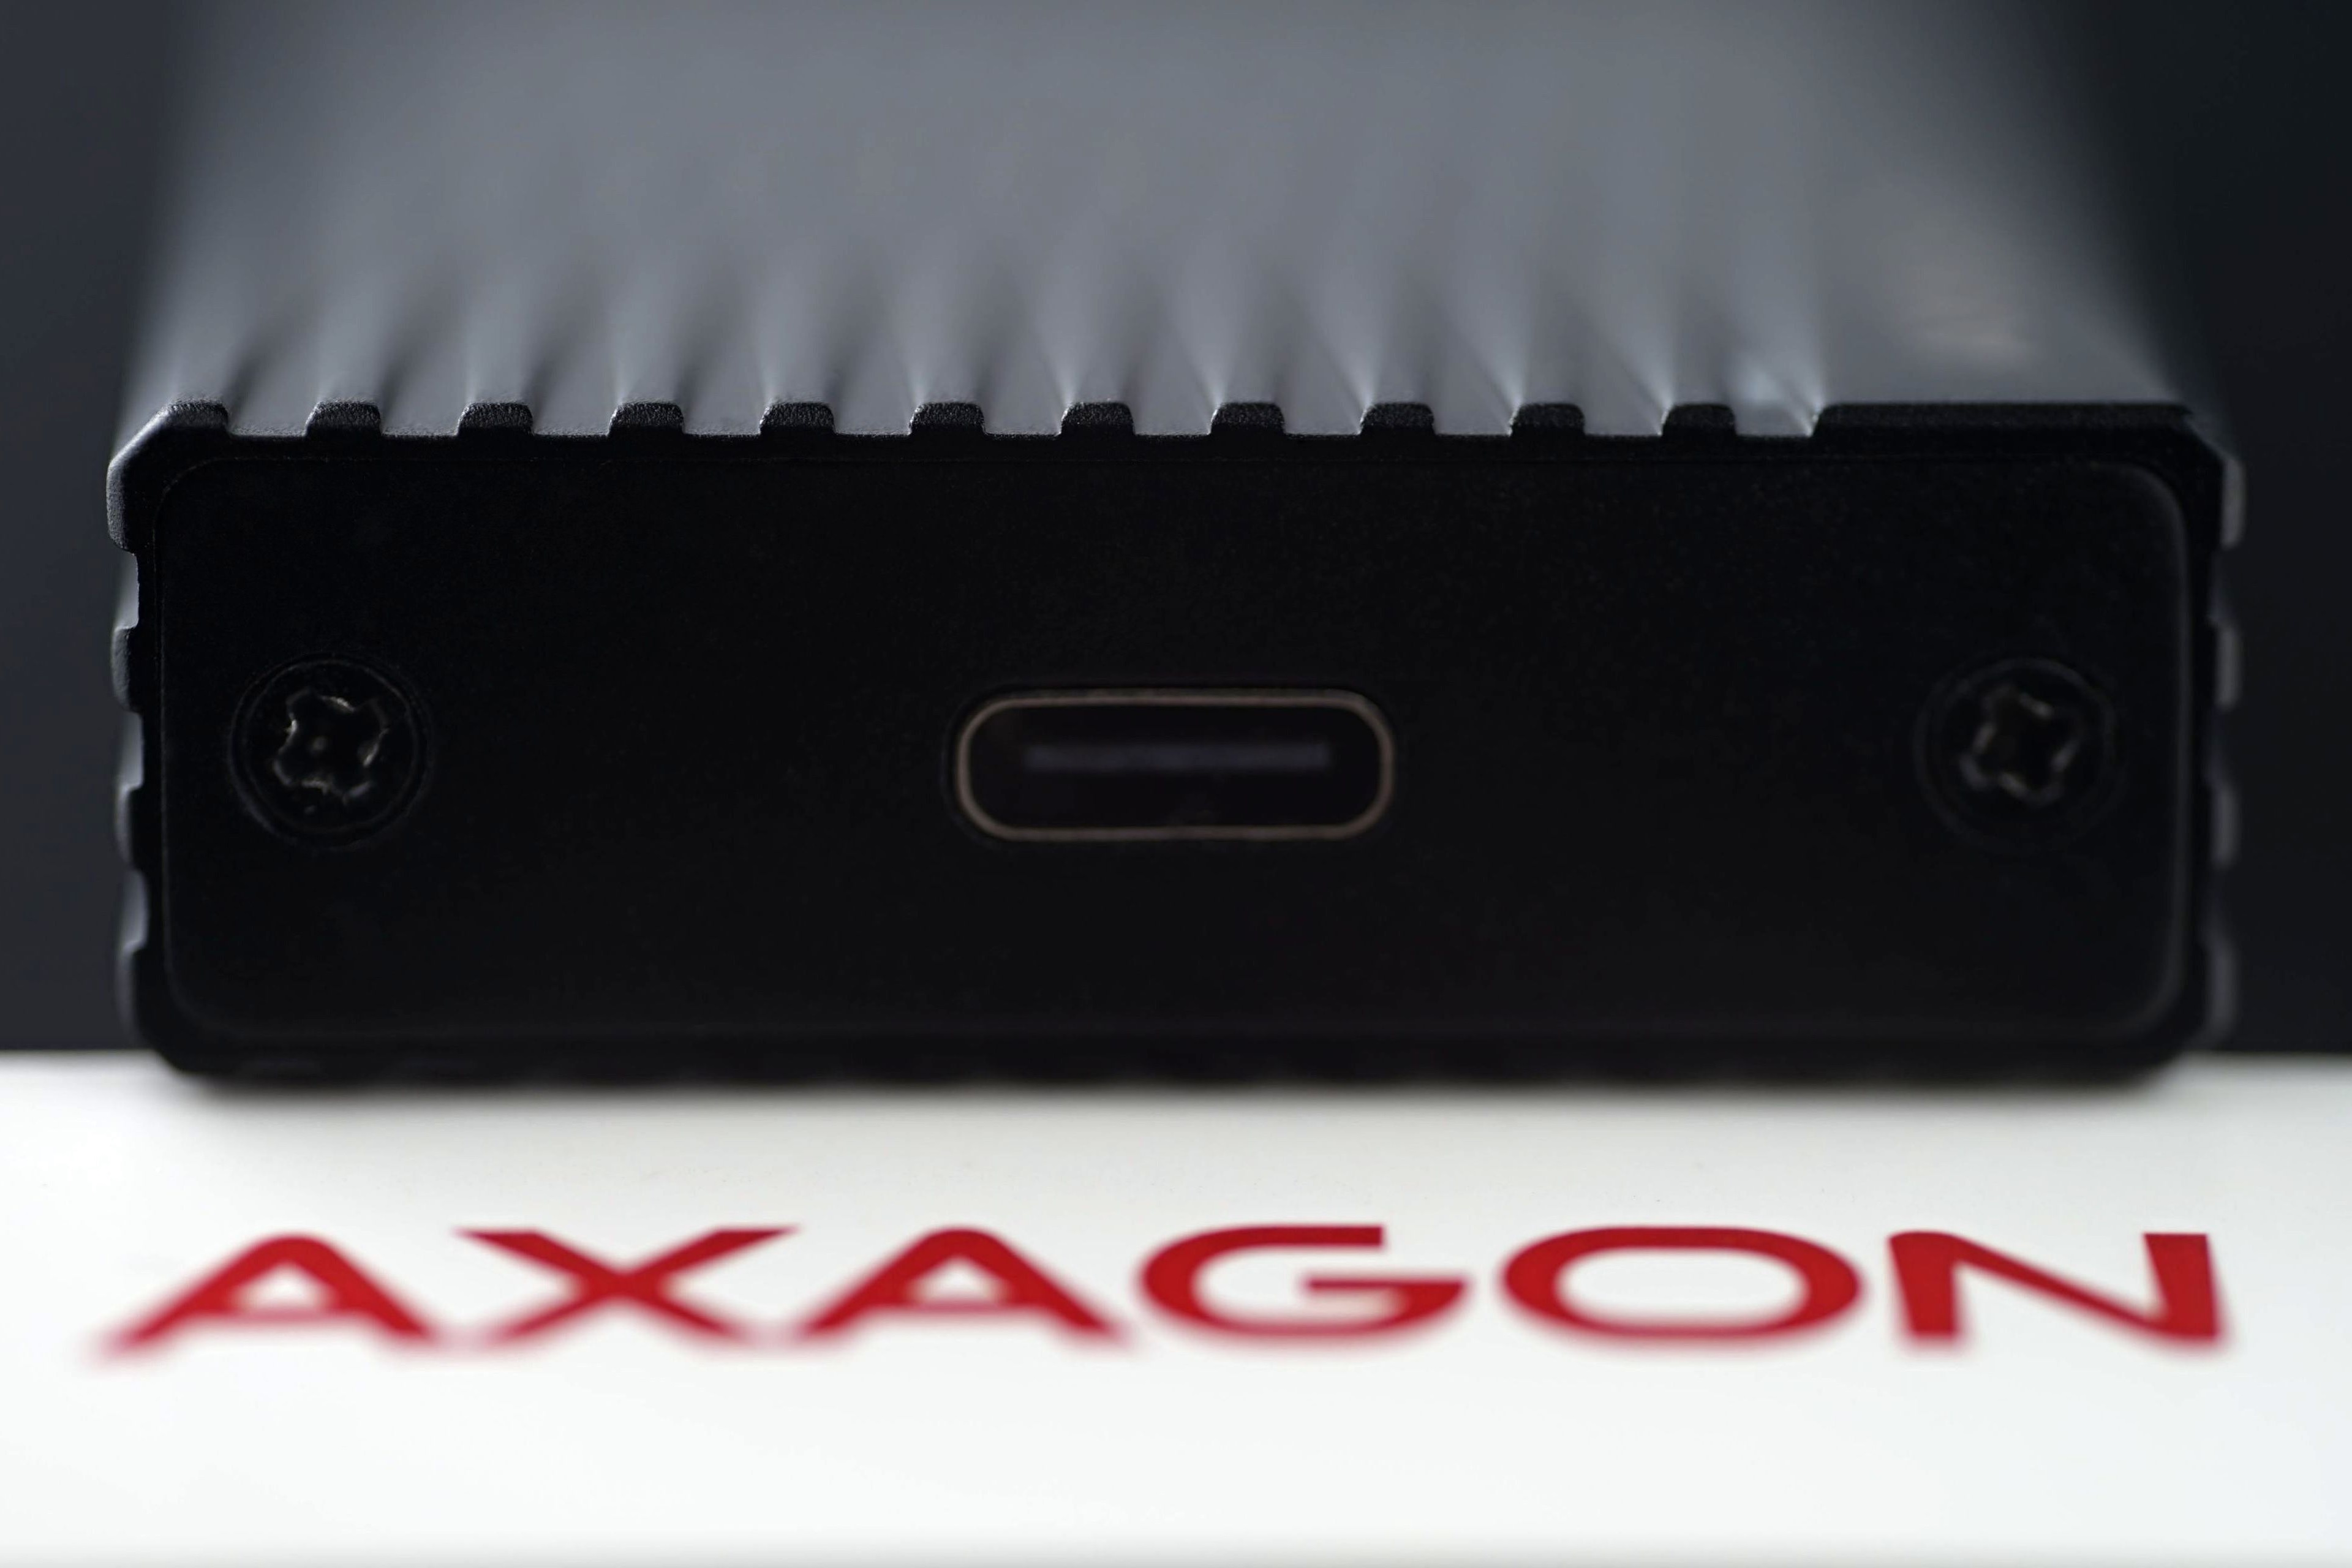
With dimensions of 106.4 × 42.6 × 14.0 mm (length/width/depth) and a weight of 68 grams, the Axagon EEM2-GTR can be classified in the “medium” category. However, this is with the extra-large surface area of the aluminum shell, which is formed on all sides by low profile fins with a height of approx. 0.4 mm. The surface is thus well articulated and this SSD housing’s basic prerequisite for “better cooling” is fulfilled. Relatively smaller dimensions then also predestine this external enclosure for more comfortable carrying, for example, in a trouser pocket.

The communication interface is a 10-gigabit USB with Type-C connector. There is only one 20-centimeter cable in the package with USB-C connectors on both sides. For Type-A connectors, you must have your own cable. With these, however, be careful not to slow down the enclosure. There will also be SSD speed drops when you connect the enclosure to a USB port with a slower standard than 3.2 gen. 2.

In terms of interface, only NVMe (PCI Express) SSDs with M-lock (single-stop M.2 slot) or M+B (dual-stop) are supported. This means that you can’t get by with AHCI (SATA) SSDs. But those are marginal and you can hardly even get your hands on one. Anyway, it’s good to know that support is only for NVMe SSDs, both dual-lane and quad-lane, in physical sizes of 30, 42, 60 and 80 mm. With memory chips mounted on one or both sides. The range of supported M.2 SSD formats is thus wide here, and for a correct installation you only need to install the standoff with the screw thread appropriately (i.e. matching the selected format).

Installation is extremely simple. You remove a pair of screws on one of the shorter sides, slide the PCB out of the enclosure rails, then line the SSD on both sides with thermal pads and you can slide it into the M.2 slot. On the other side of the SSD, a standoff roller slides into the semi-circular cutout for mounting. This is fastened with a screw from underneath the PCB, which you can then return to the insides of the enclosure after this step.

Due to the boom of various tool-less systems (for example, even within M.2 slots on motherboards), one has to wonder about the need for three small screws, which can be easily rolled off and lost with a little carelessness. You don’t need to look for a special screwdriver at home – Axagon has thought of this and supplies one small one (screwdriver) as an accessory.

Disassembly or removal of the SSD could also be more elegant. Once it’s installed, the thermal pads have more pressure against the body of the enclosure, which is good for cooling reasons, of course, but it also makes it a bit more difficult to slide the SSD out of the rails. This is because of the higher to high friction between the enclosure and the pads, which act as a bit of a glue. With some sort of lanyard attached on the PCB, disassembly would definitely be easier. However, we don’t know how many people swap multiple SSDs within the same enclosure. It’s possible that virtually no one does, and so refining the disassembly system doesn’t make much sense.
To indicate that the enclosure is powered, a blue LED in the enclosure will light up. It is always this color, even if the SSD would not have been initialized. In practice, such cases of not recognizing the SSD are probably rare, and Axagon recommends updating the SSD firmware in such cases. Before doing so, however, make sure that you have created a partition and drive letter on the SSD.

Testovacia metodika
The foundation for all measurements is CrystalDiskMark with a library size of 1 GB. We test SSD speed in two situations. Before load and then, after a 10-minute load for maximum sequential reads and writes. This will reveal how the cooling performance of the external enclosure affects the speed of the Samsung 980 Pro SSD (1 TB). The values of the speed measurements are averaged over three passes for greater accuracy. The enclosures are connected via a USB expansion card (3.2 gen. 2×2) – the Renkforce RF-4538236 with the ASMedia ASM3242 controller. The tests run on an Asus ROG Strix Z790-E Gaming WiFi motherboard with an Intel Core i9-13900K processor (and G.Skill Trident Z5 Neo memory – 2×16 GB, 6000 MHz/CL30) under Microsoft Windows 10 (22H2).
We measure power consumption using a custom-made PCIe power meter, which you’ll also know from graphics card tests. This is plugged in before the PCIe card (with a USB controller), whose consumption is part of the result. We measure the power consumption under load for maximum sequential read and write speeds.

We only observe the temperature on the surface, on the casing. Be careful when evaluating it, a higher temperature doesn’t automatically mean a worse result (think thermal pad tests and heatsink temperatures…), but it doesn’t mean a better one either. The guiding factor here from a cooling perspective would be SSD temperature, but we have no control over that. The test SSD does have its sensors, but once it (the SSD) is plugged into the enclosure, the motherboard can no longer reach them. So we only do IR thermal mapping (with a Fluke Ti125 thermal imager), which can at least show how the heat is spreading through the enclosure and whether it will burn you. Thermal imaging is for the finned side of a enclosure or the side in contact with the SSD controller (if the enclosure does not have fins).
During testing, the SSD enclosures are always placed in the same position – longitudinally, in an open space, where they stand on the pad with the bottom side facing down. The airflow in the test room is always comparable, with the temperature at the control point varying between 21,0 and 21,3 °C.

