


SSD cooling tests and under-ceiling temperature
Although the choice of components for SFF cases is often limited to a certain size, this is not the case with the Corsair 2000D Airflow. Not when it comes to a graphics card or CPU cooler. Aside from the fact that this case only takes up a very small area on the desk/ground, it can also impress with huge perforations on each side. We’ll break down the sum of all the positives and negatives in this review, which traditionally includes cooling tests as well.
Basic parameters
| Parameters | Corsair |
| 2000D Airflow | |
| Supported motherboard formats | Mini-ITX |
| Supported PSU format | SFX, SFX-L |
| CPU cooler | 170 mm * |
| Graphics cards | up to 365 mm |
| Fan | 8× 120 mm/ 2× 140 mm |
| Supported liquid radiators | 1× 280/360 mm + 1× 240 mm |
| 2,5" positions | 3 |
| 3,5" positions | no |
| 5,25" positions | no |
| Dimensions [H/D/W] (and volume) | 458 × 271 × 200 mm (24 L – without feet) |
| Weight | 4.5 kg |
| Materials | steel + plastic |
| Connectivity | 2× USB 3.2 gen. 1 type A + 1× USB 3.2 gen. 2 type C + 1× 3,5 mm jack |
| MSRP | 124,90 EUR |
* The official specs list only 90 mm, which is obviously incorrect, as we were also able to install a Scythe Fuma 2 rev. B dual-tower cooler, above which there is still some space left.
Exterior
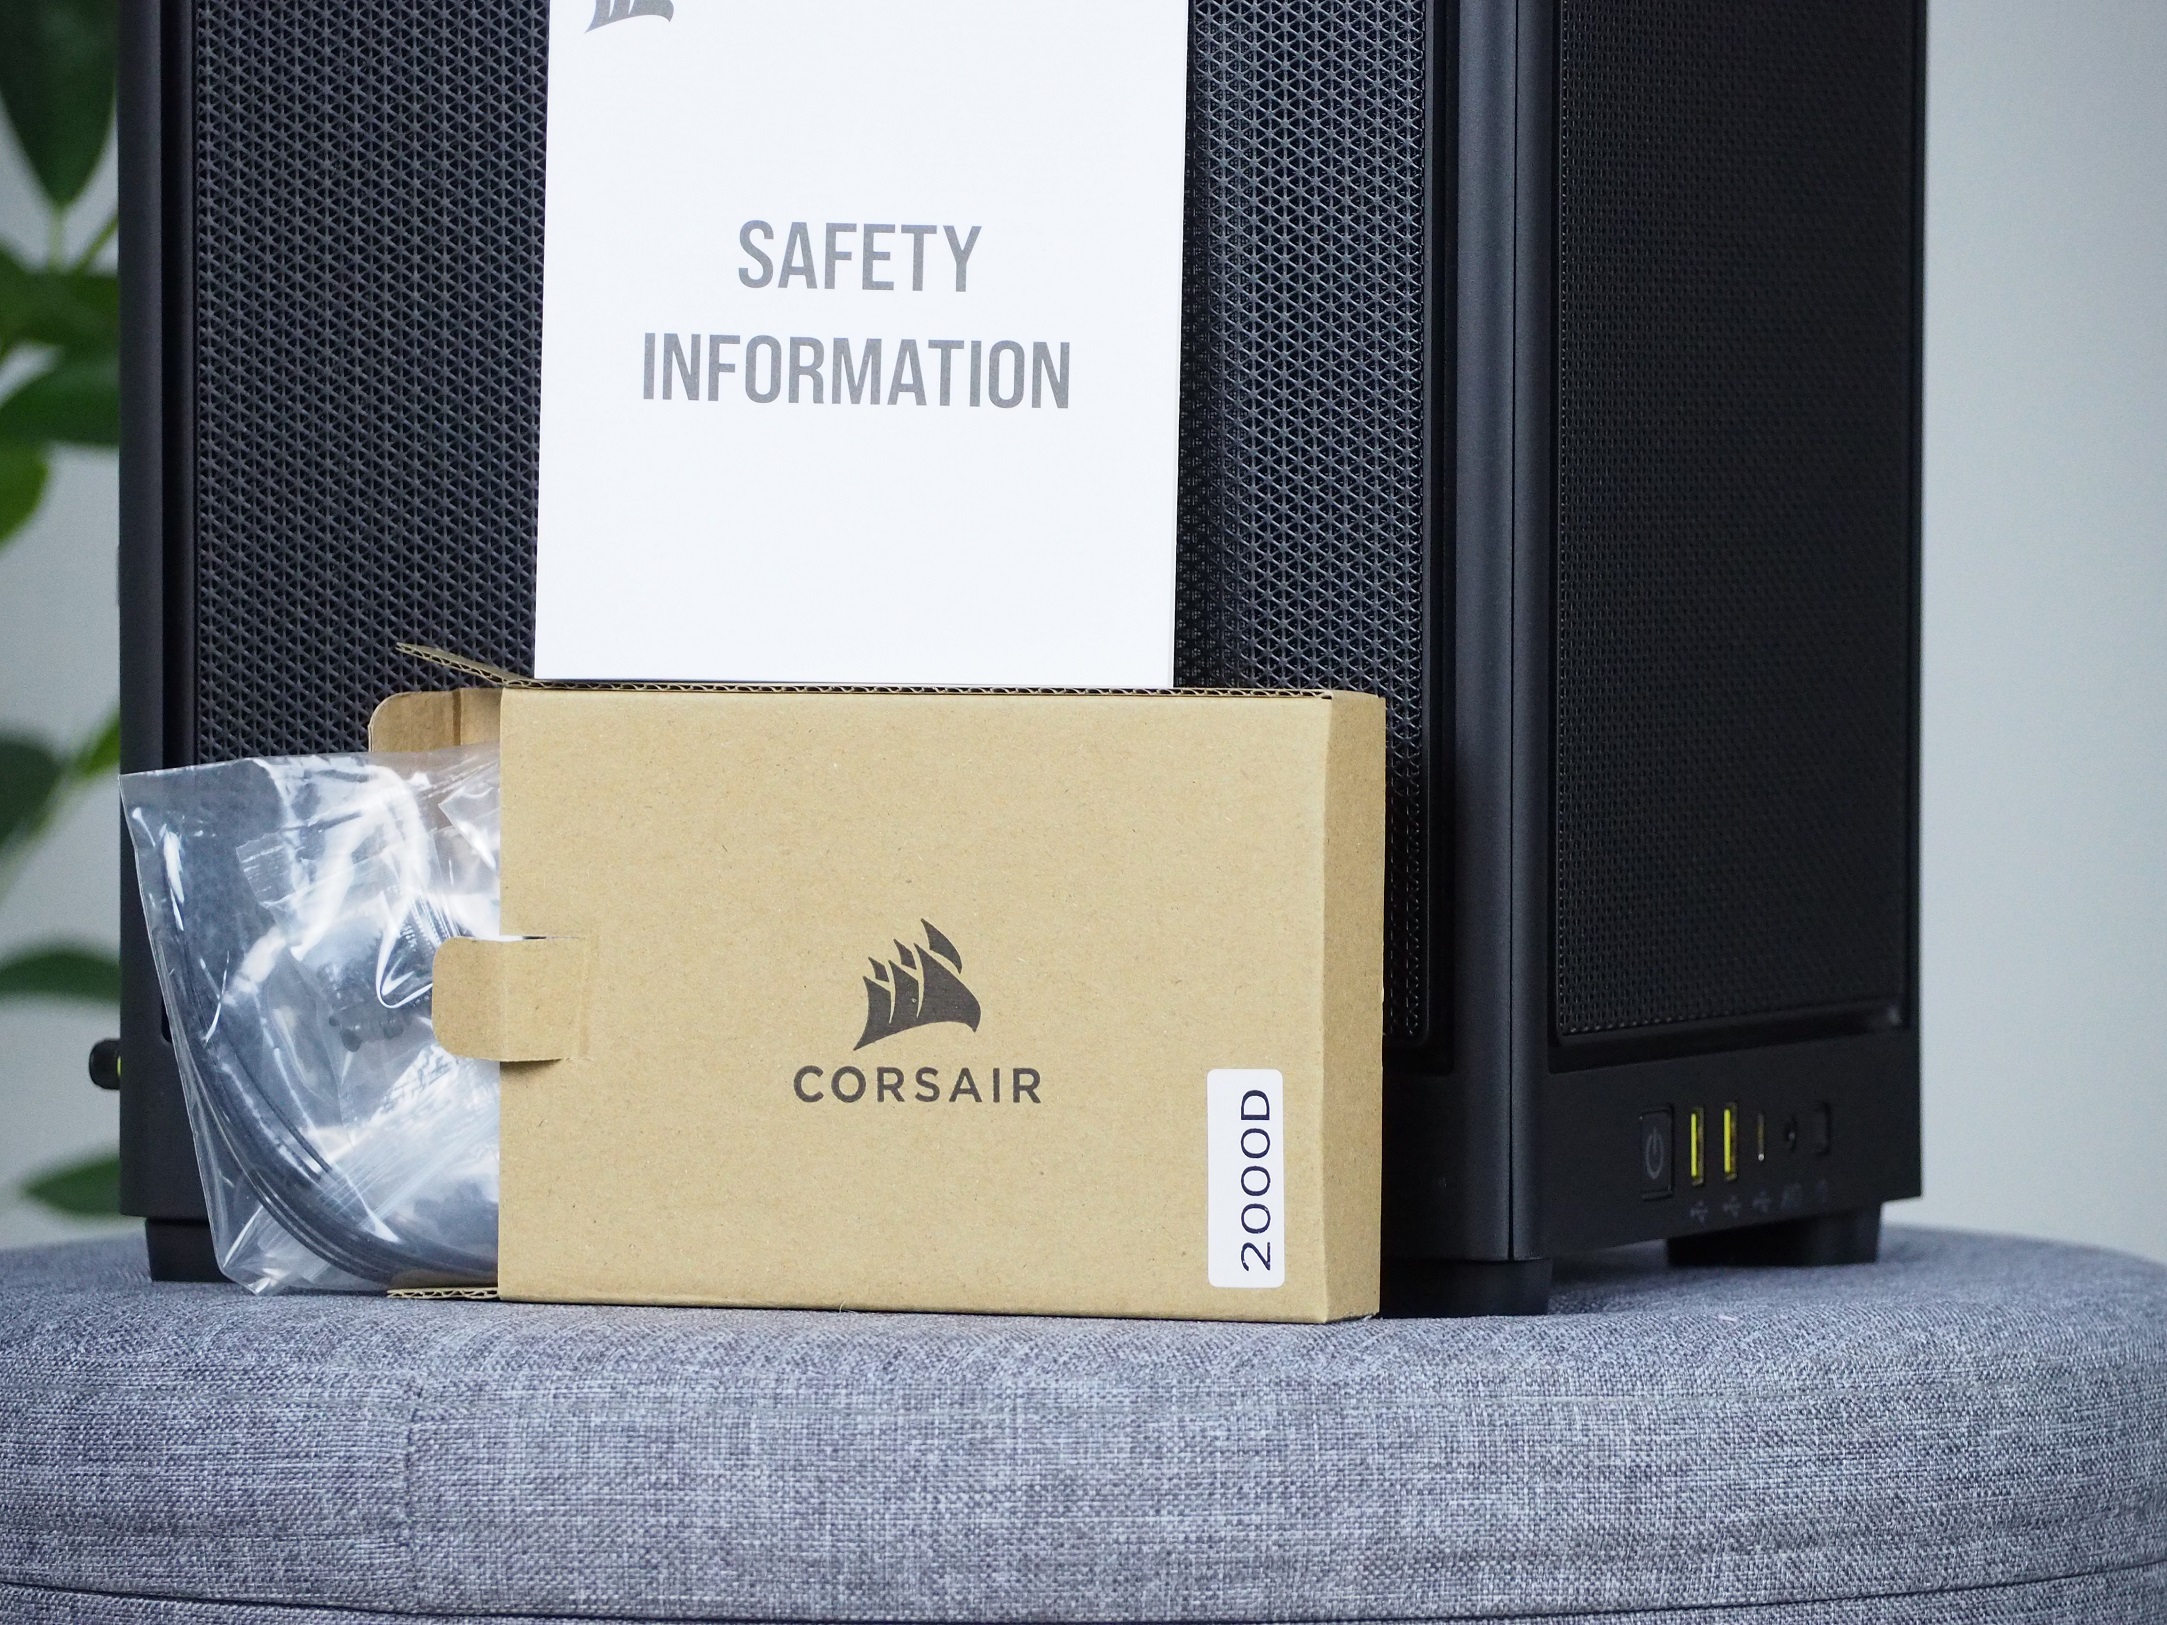
The case is packed in a cardboard box in which it is secured with two polystyrene fillings. But this time, it is polystyrene which holds together and does not crumble. At the same time, it also serves as a storage compartment for the accessories supplied with the case. You’ll find a large number of single-use zip ties, screws for installing hardware, and a brief brochure with safety information.
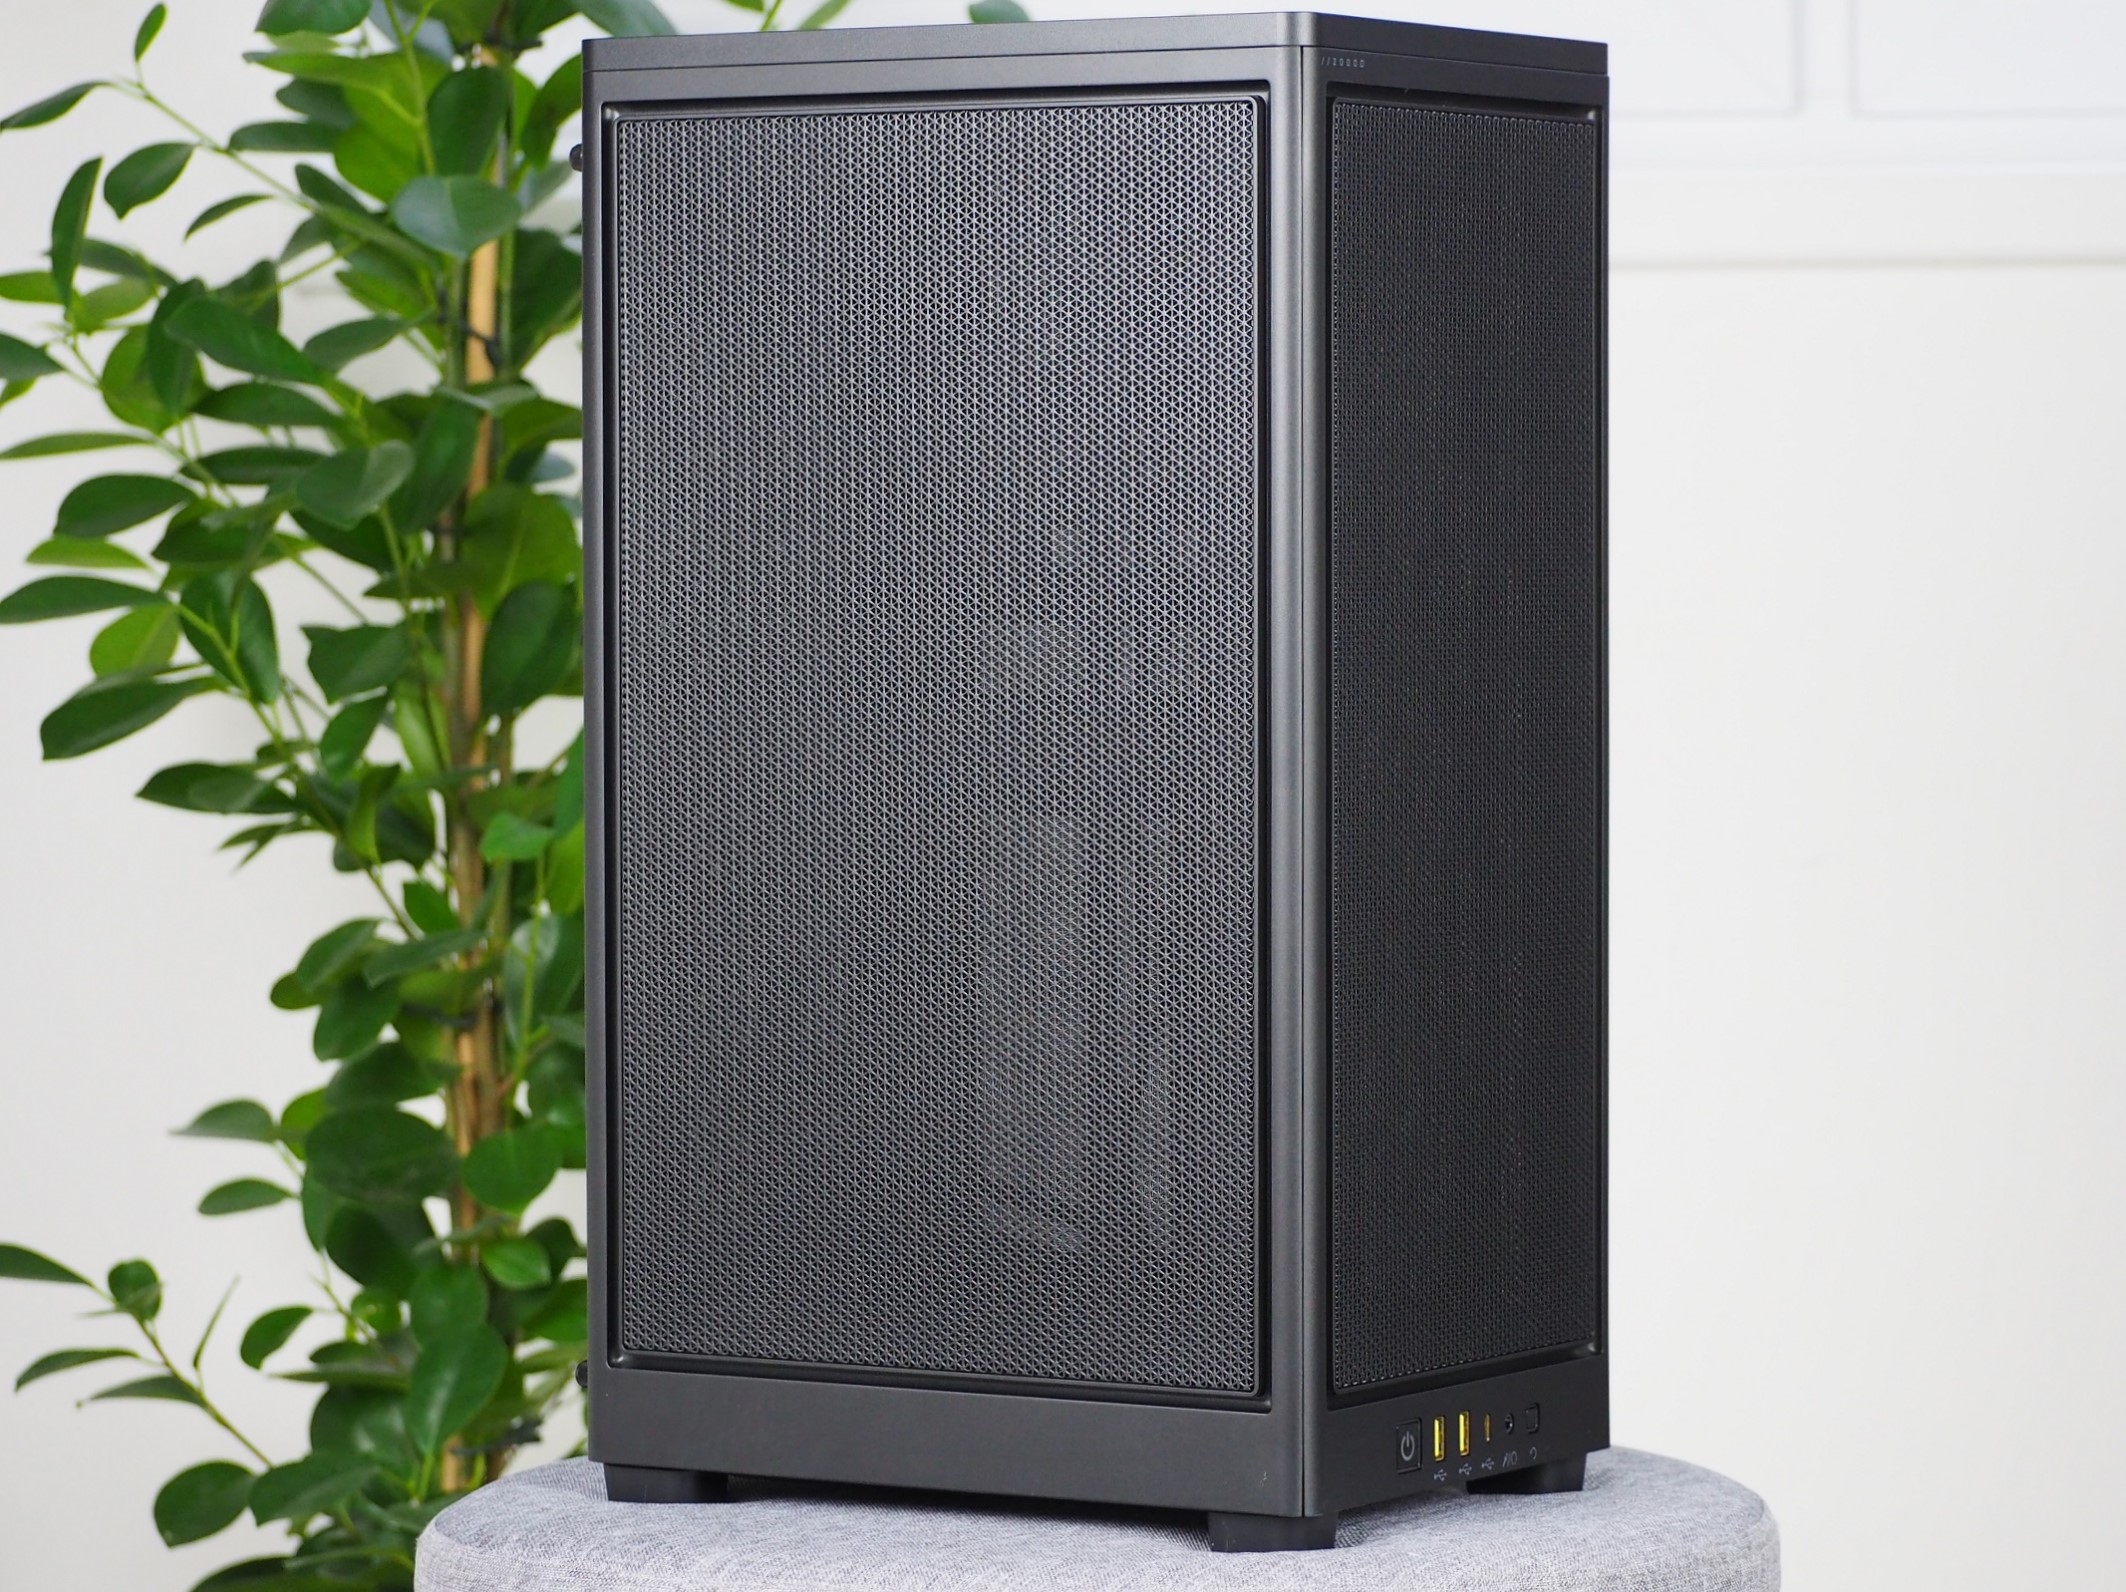
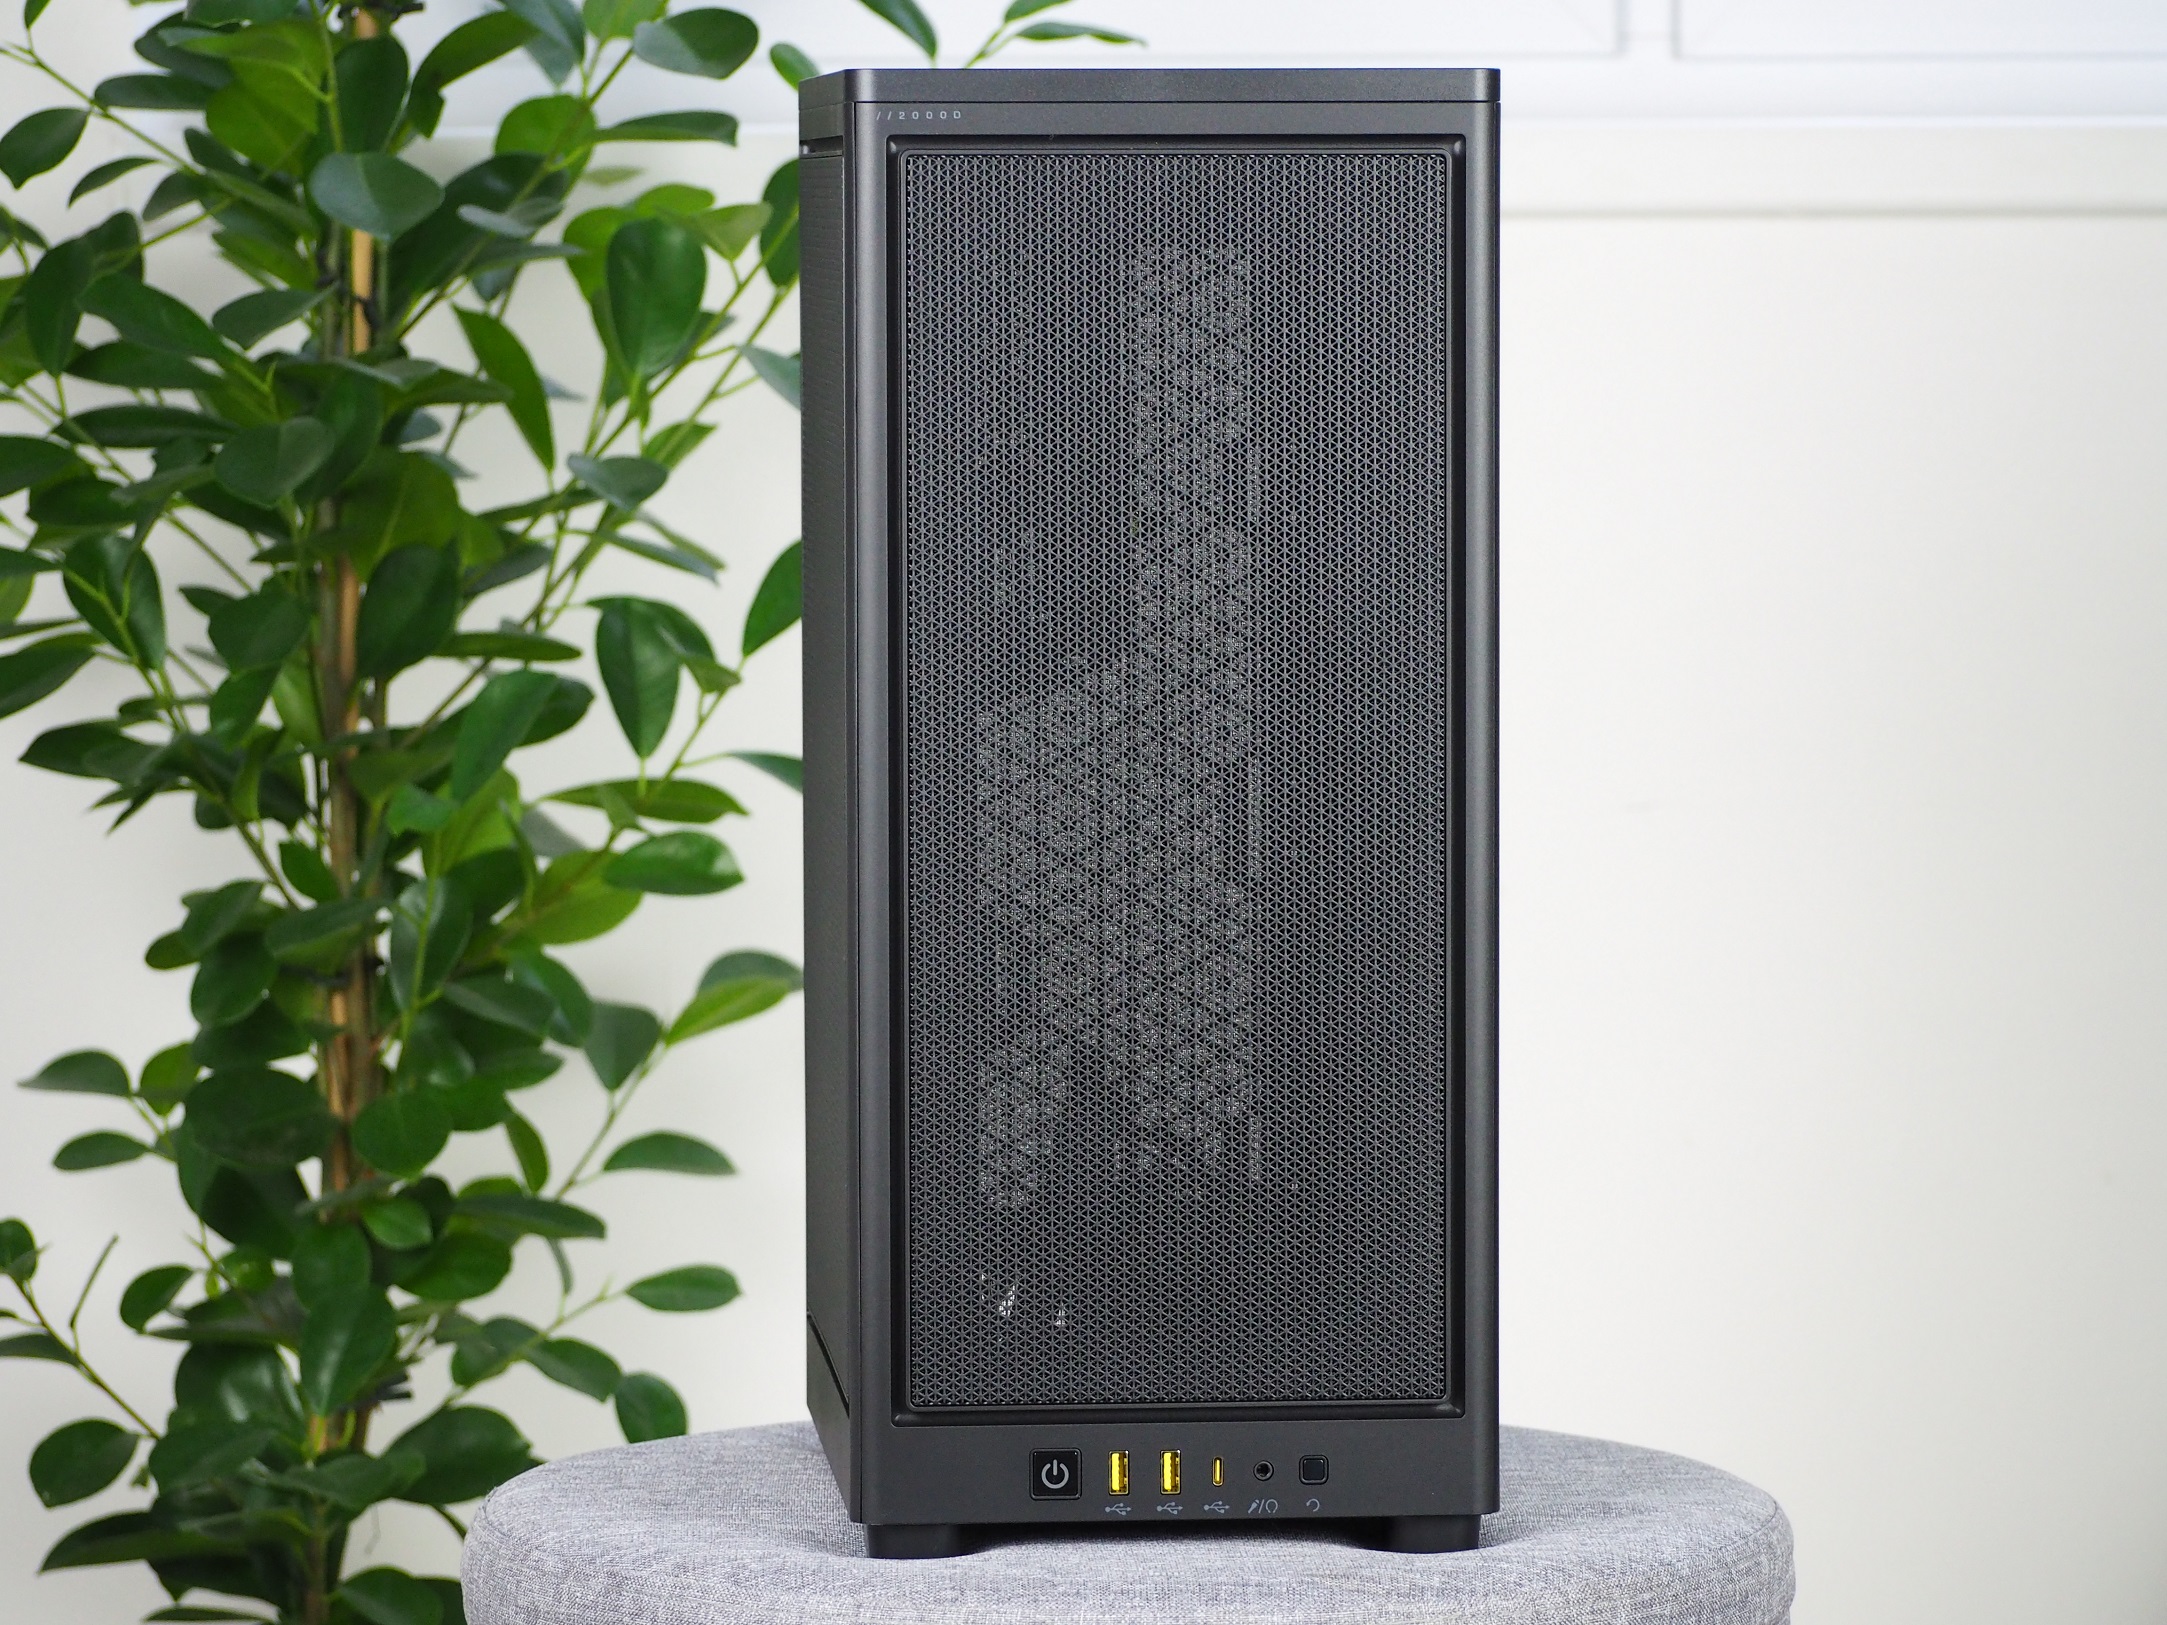
When you pull it out of the box, you’re left with a slim, but in proportion to the body, tall case in your hands. Its weight, just under five kilograms, suggests that the structure will not be made only of plastic, although it may seem so at first glance. All the removable panels are plastic and, most importantly, all perforated. Even though this is not a premium case, these parts have a stylish, “expensive” look to them.

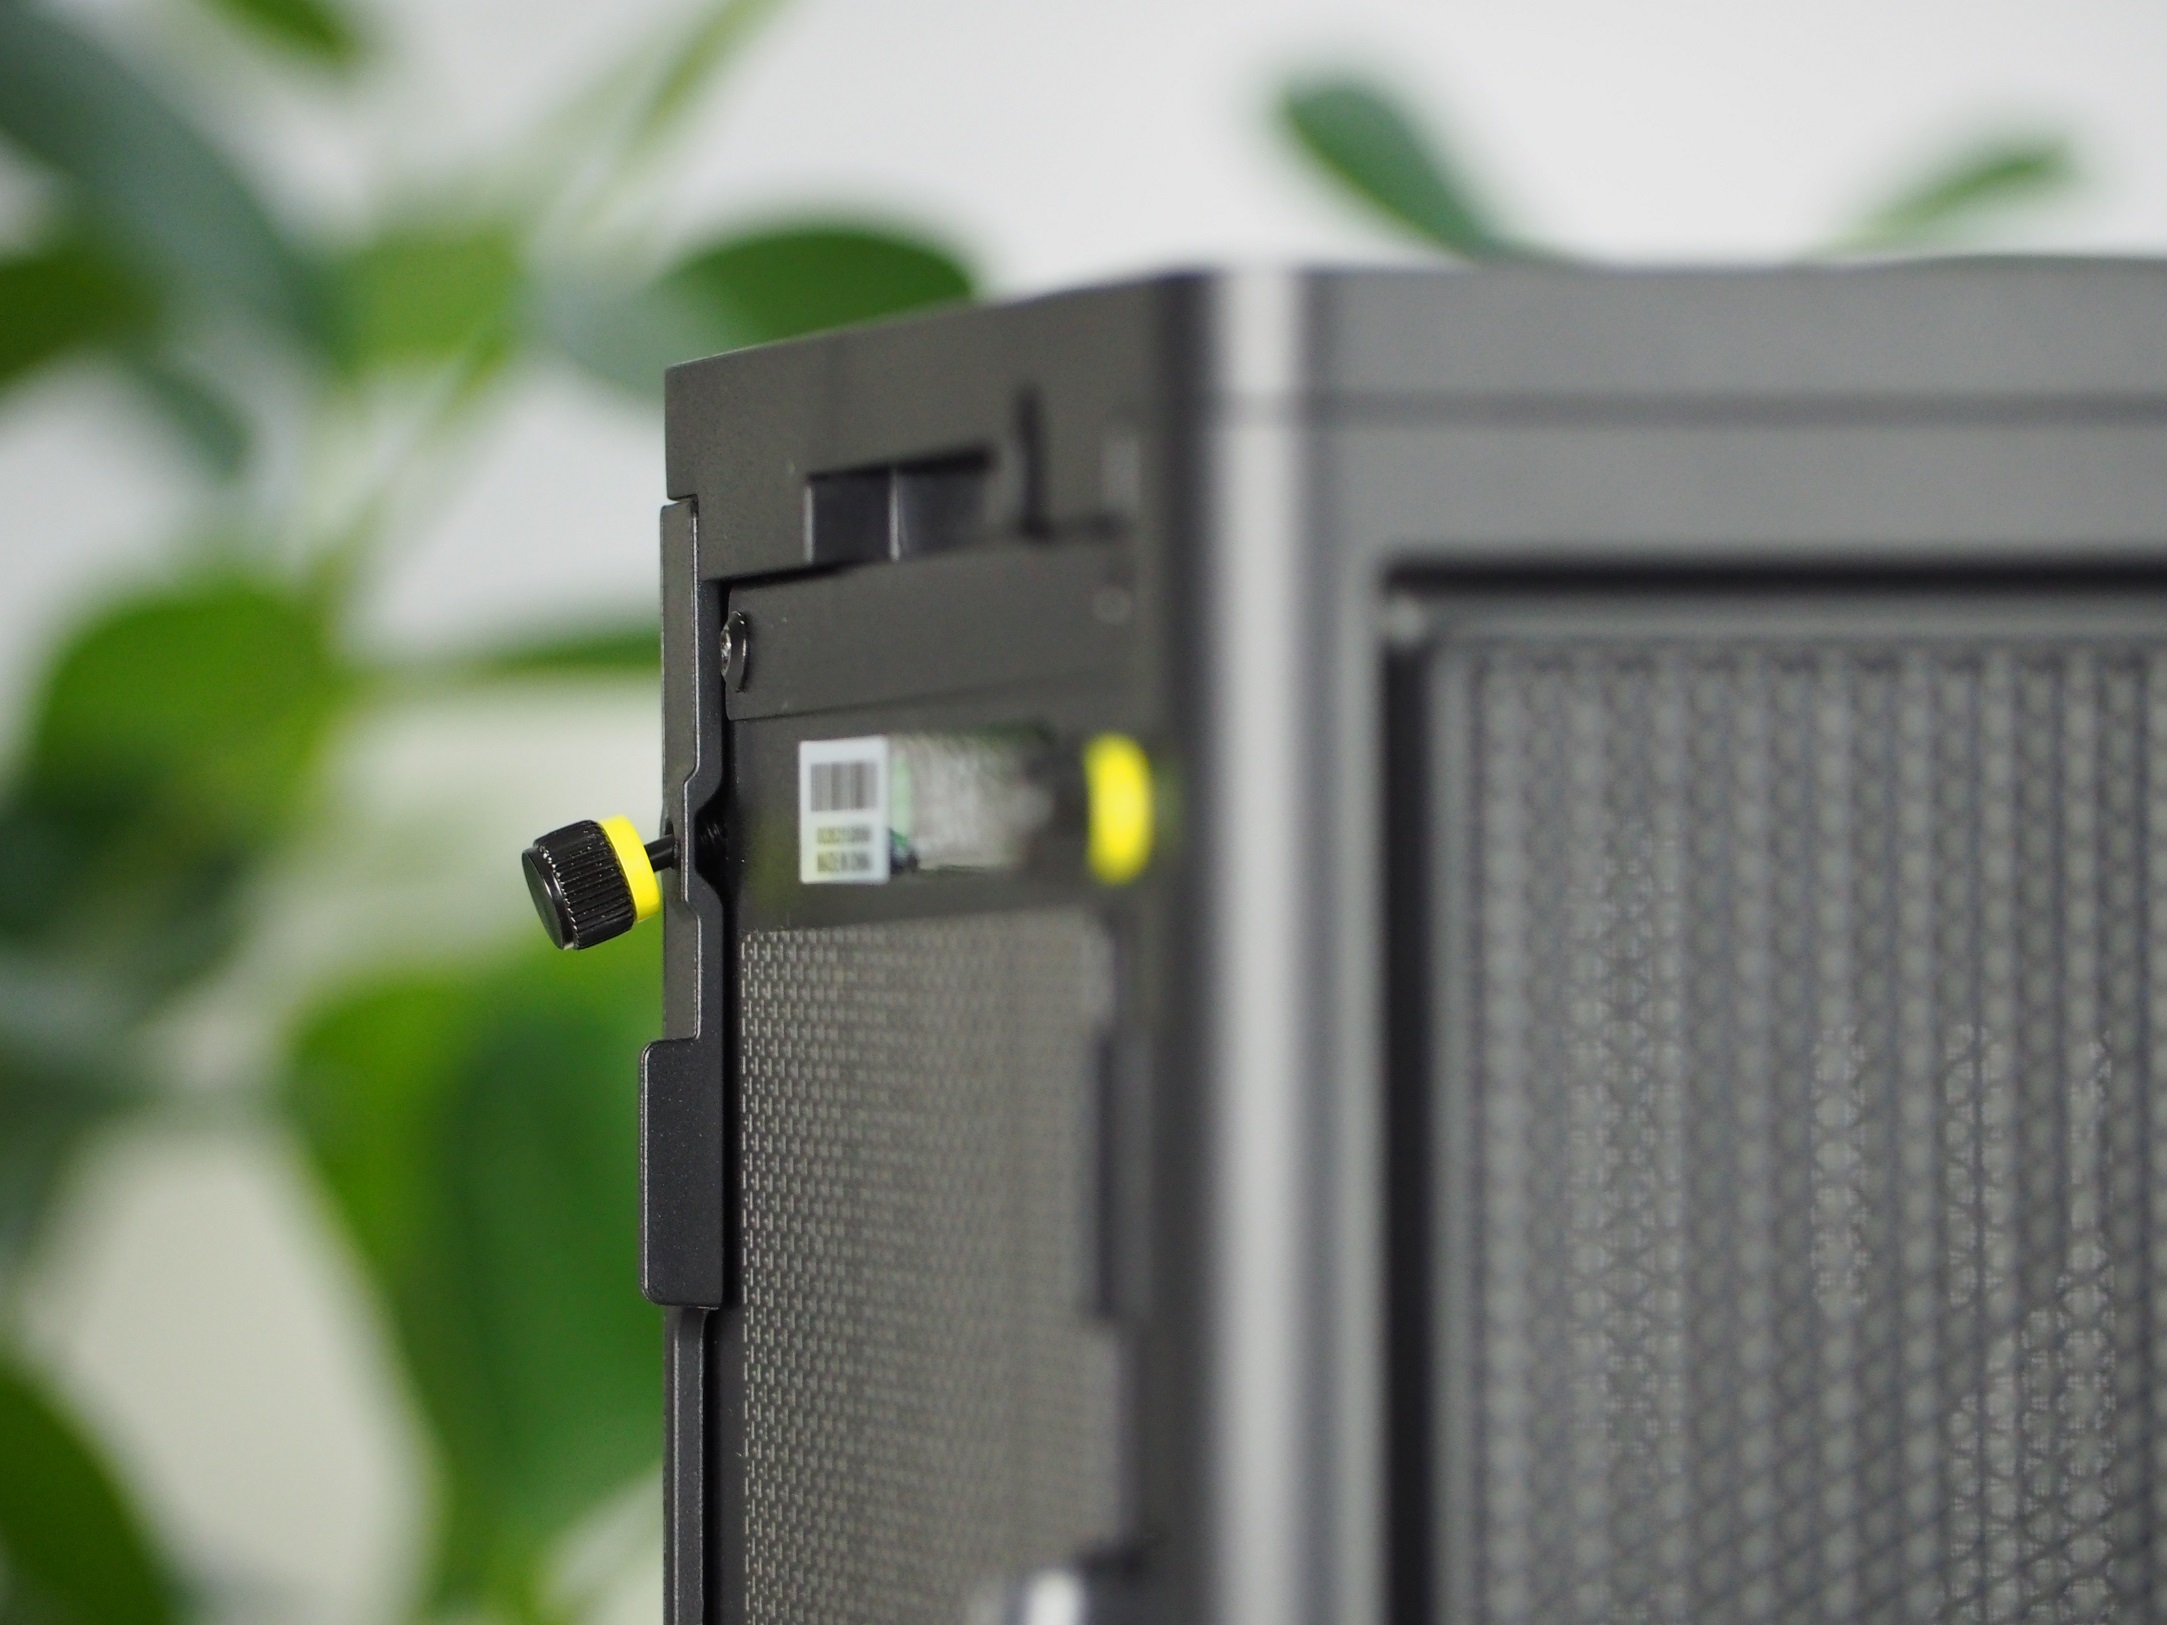
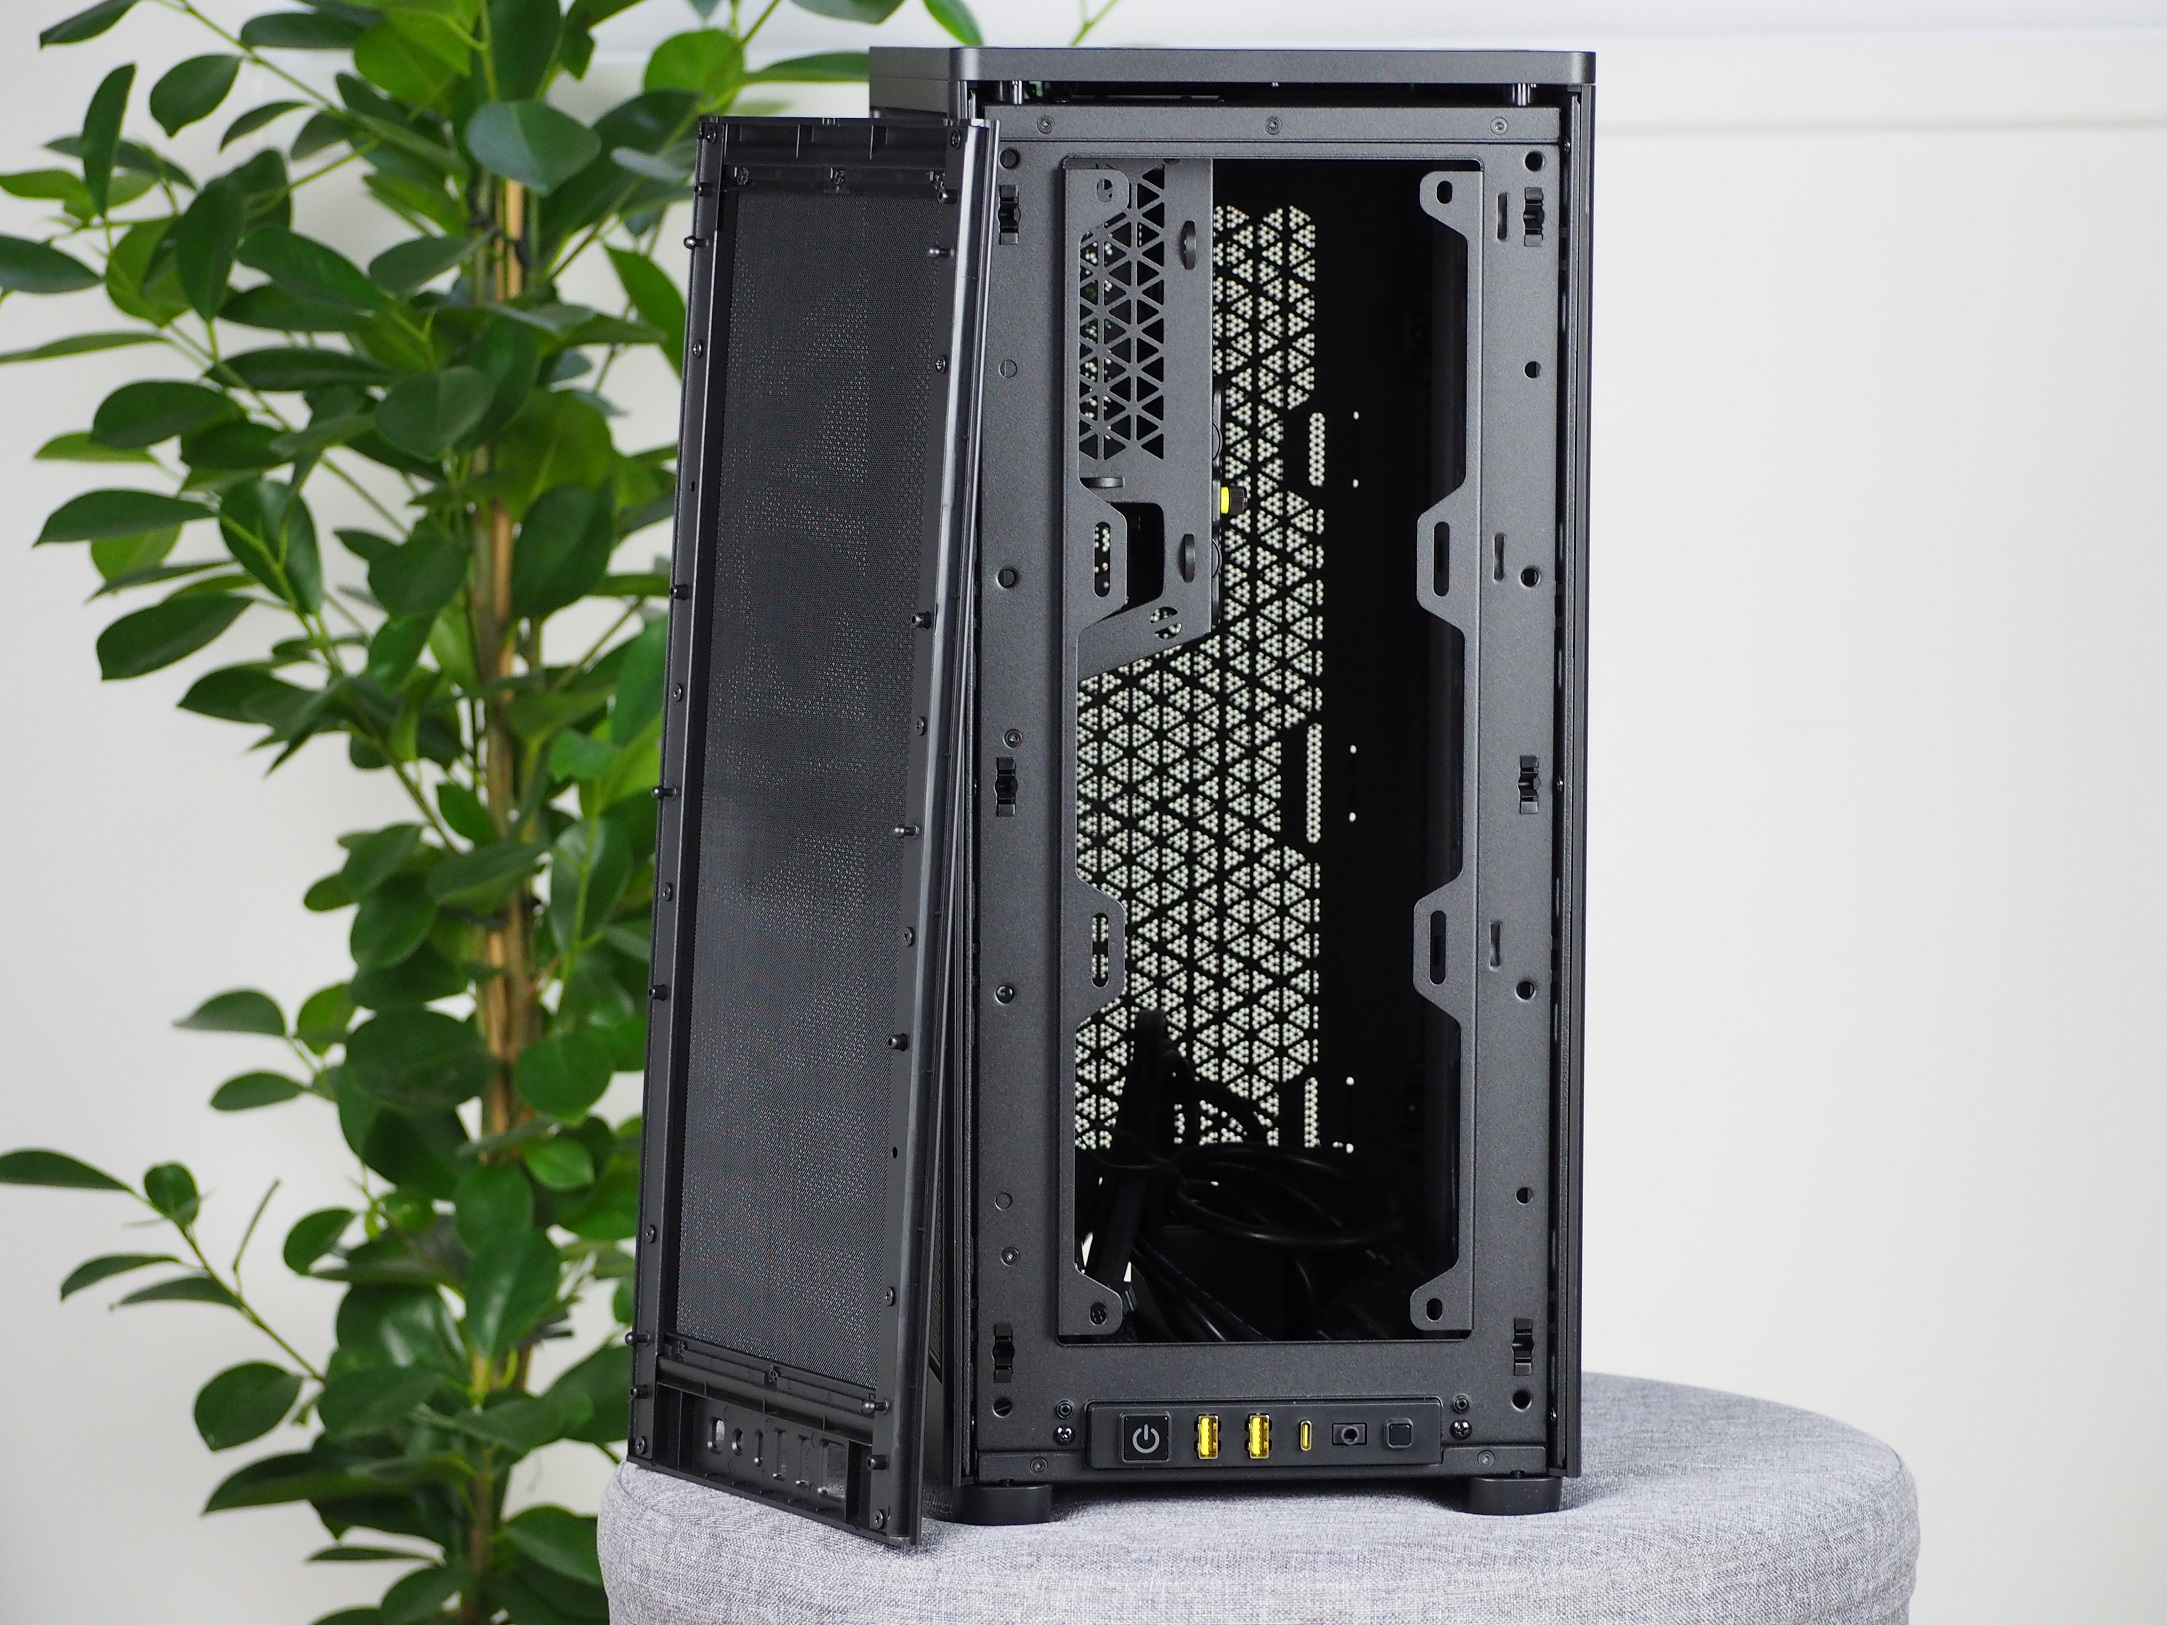
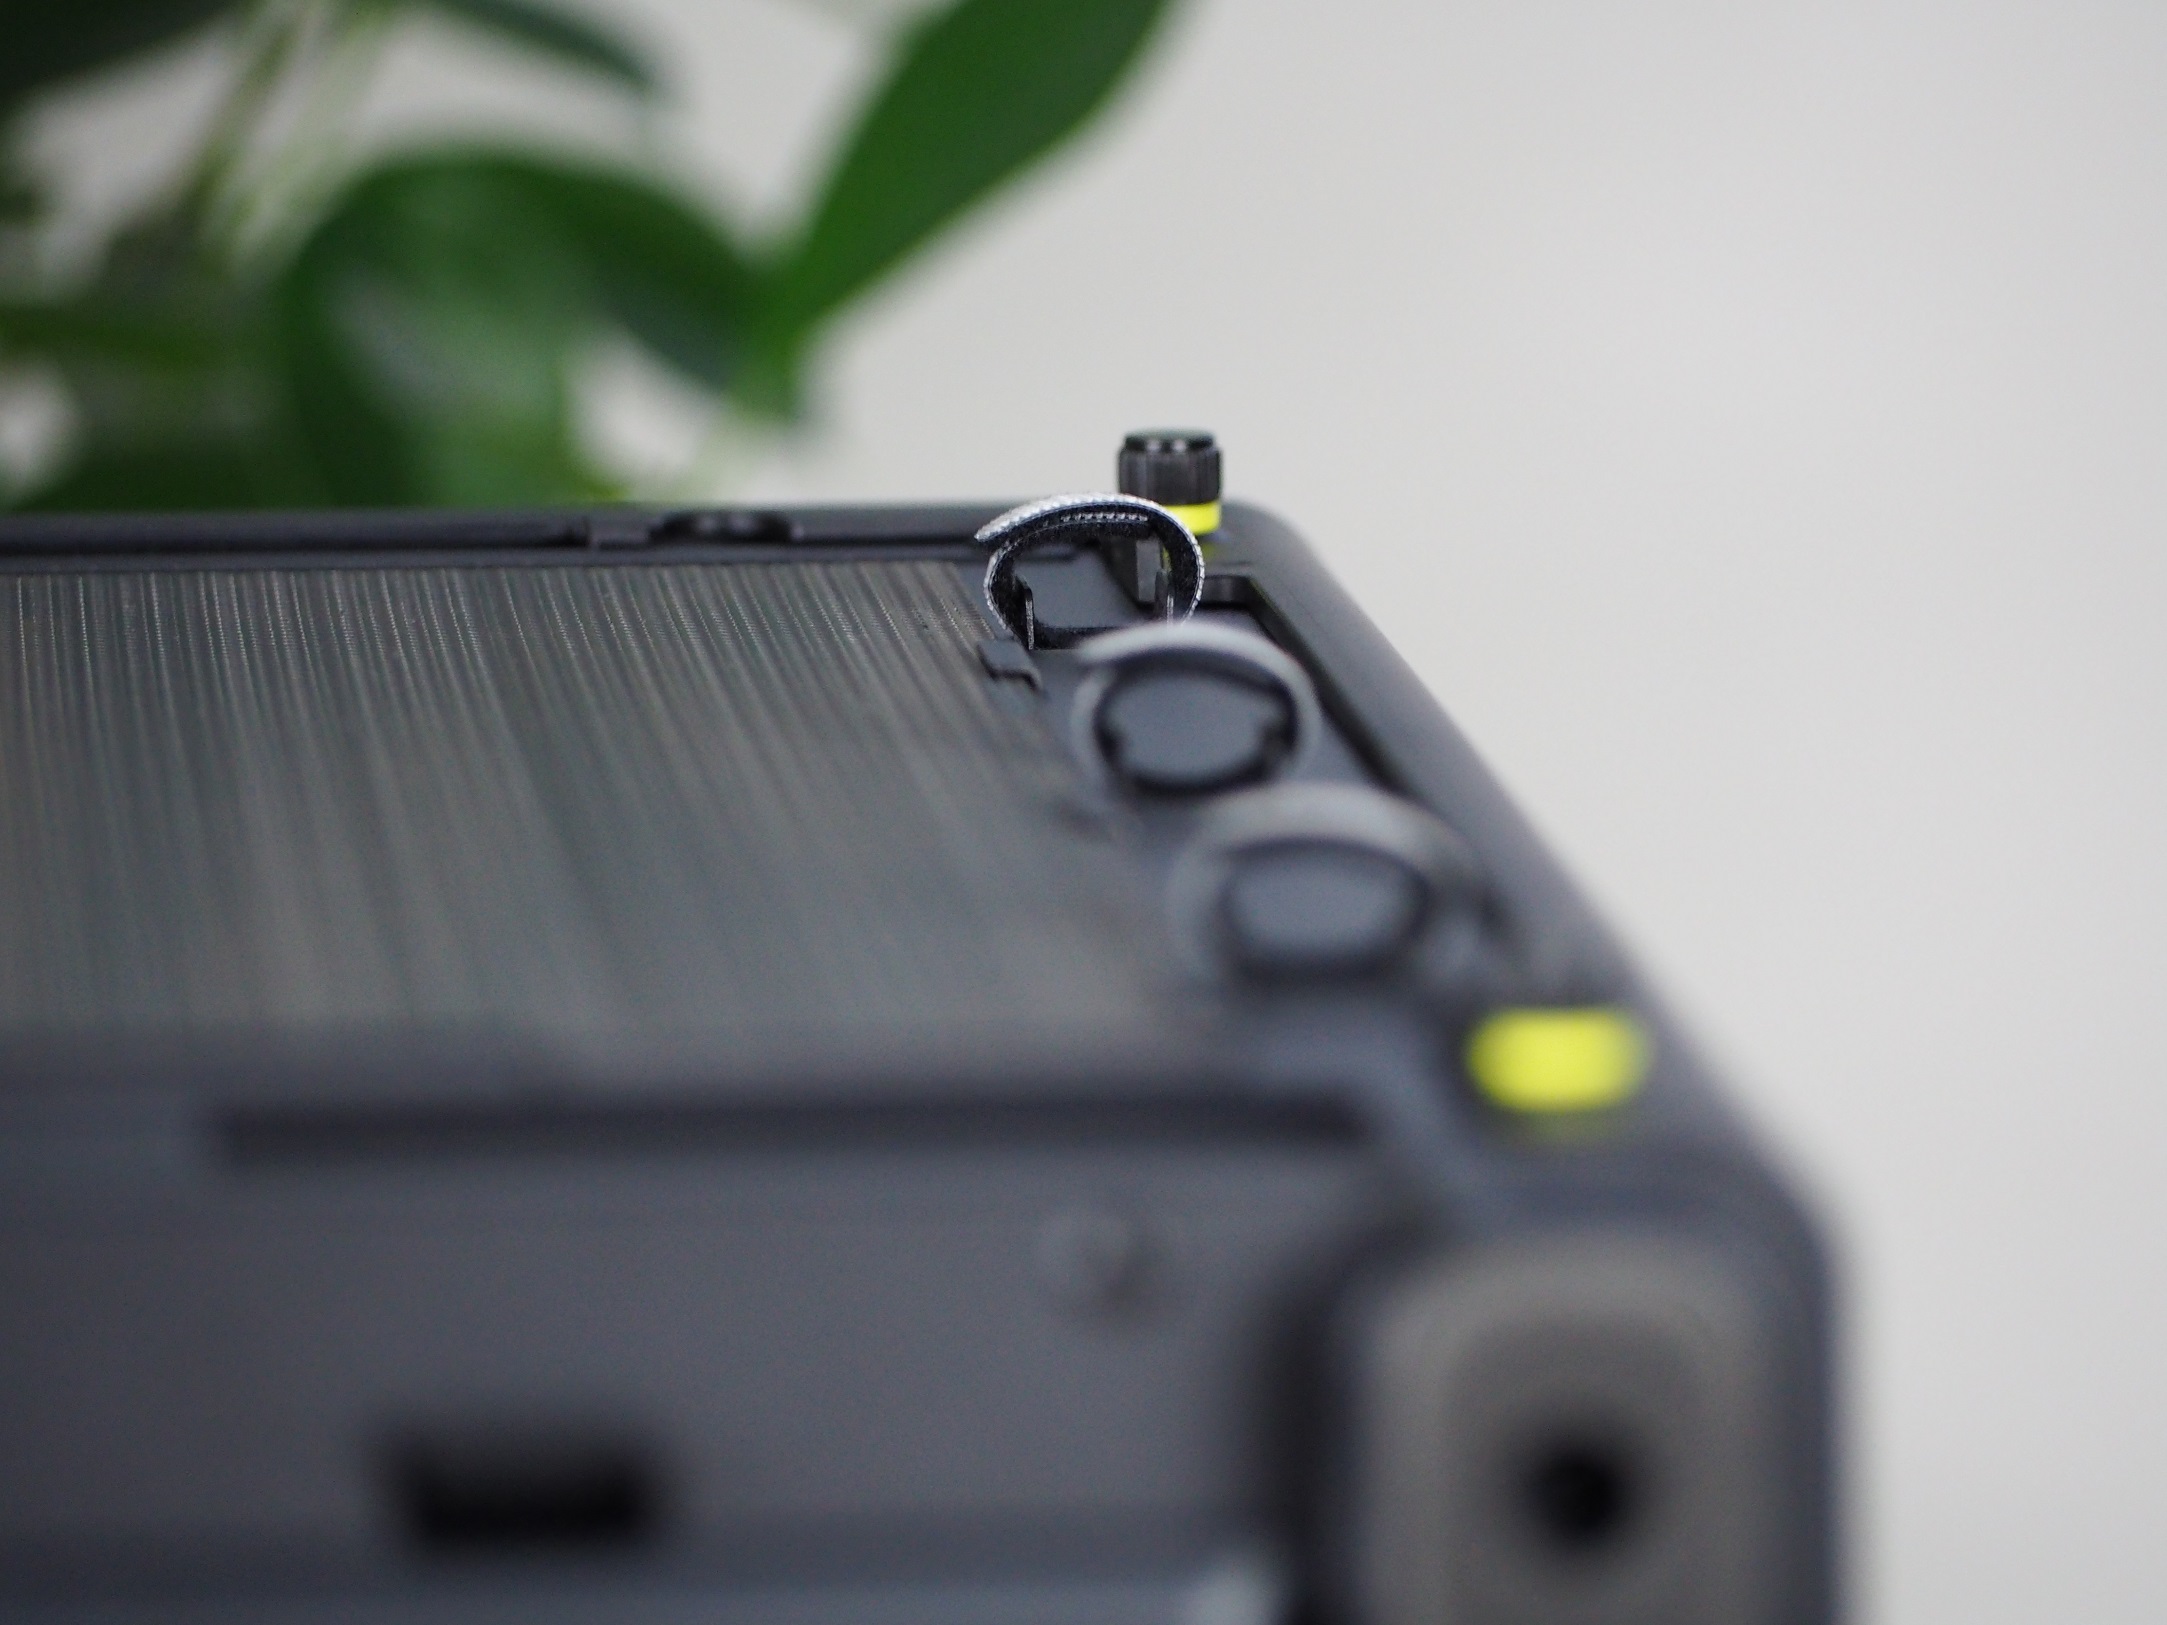
Both side panels are secured with two screws from the back of the case. I always appreciate it when the screws, even after loosening, still hold on to the parts where they belong. This is also the case with the Corsair 2000D, which makes sure you won’t lose them when disassembling. The panel mounting itself is very identical to that used by Fractal Design or even the recently tested Asus Prime AP201 case. You simply put the panel in the required position, click it onto the case and it holds. It has to be said that they hold firmly. The screws are just such a bonus for securing, for example, when transporting.
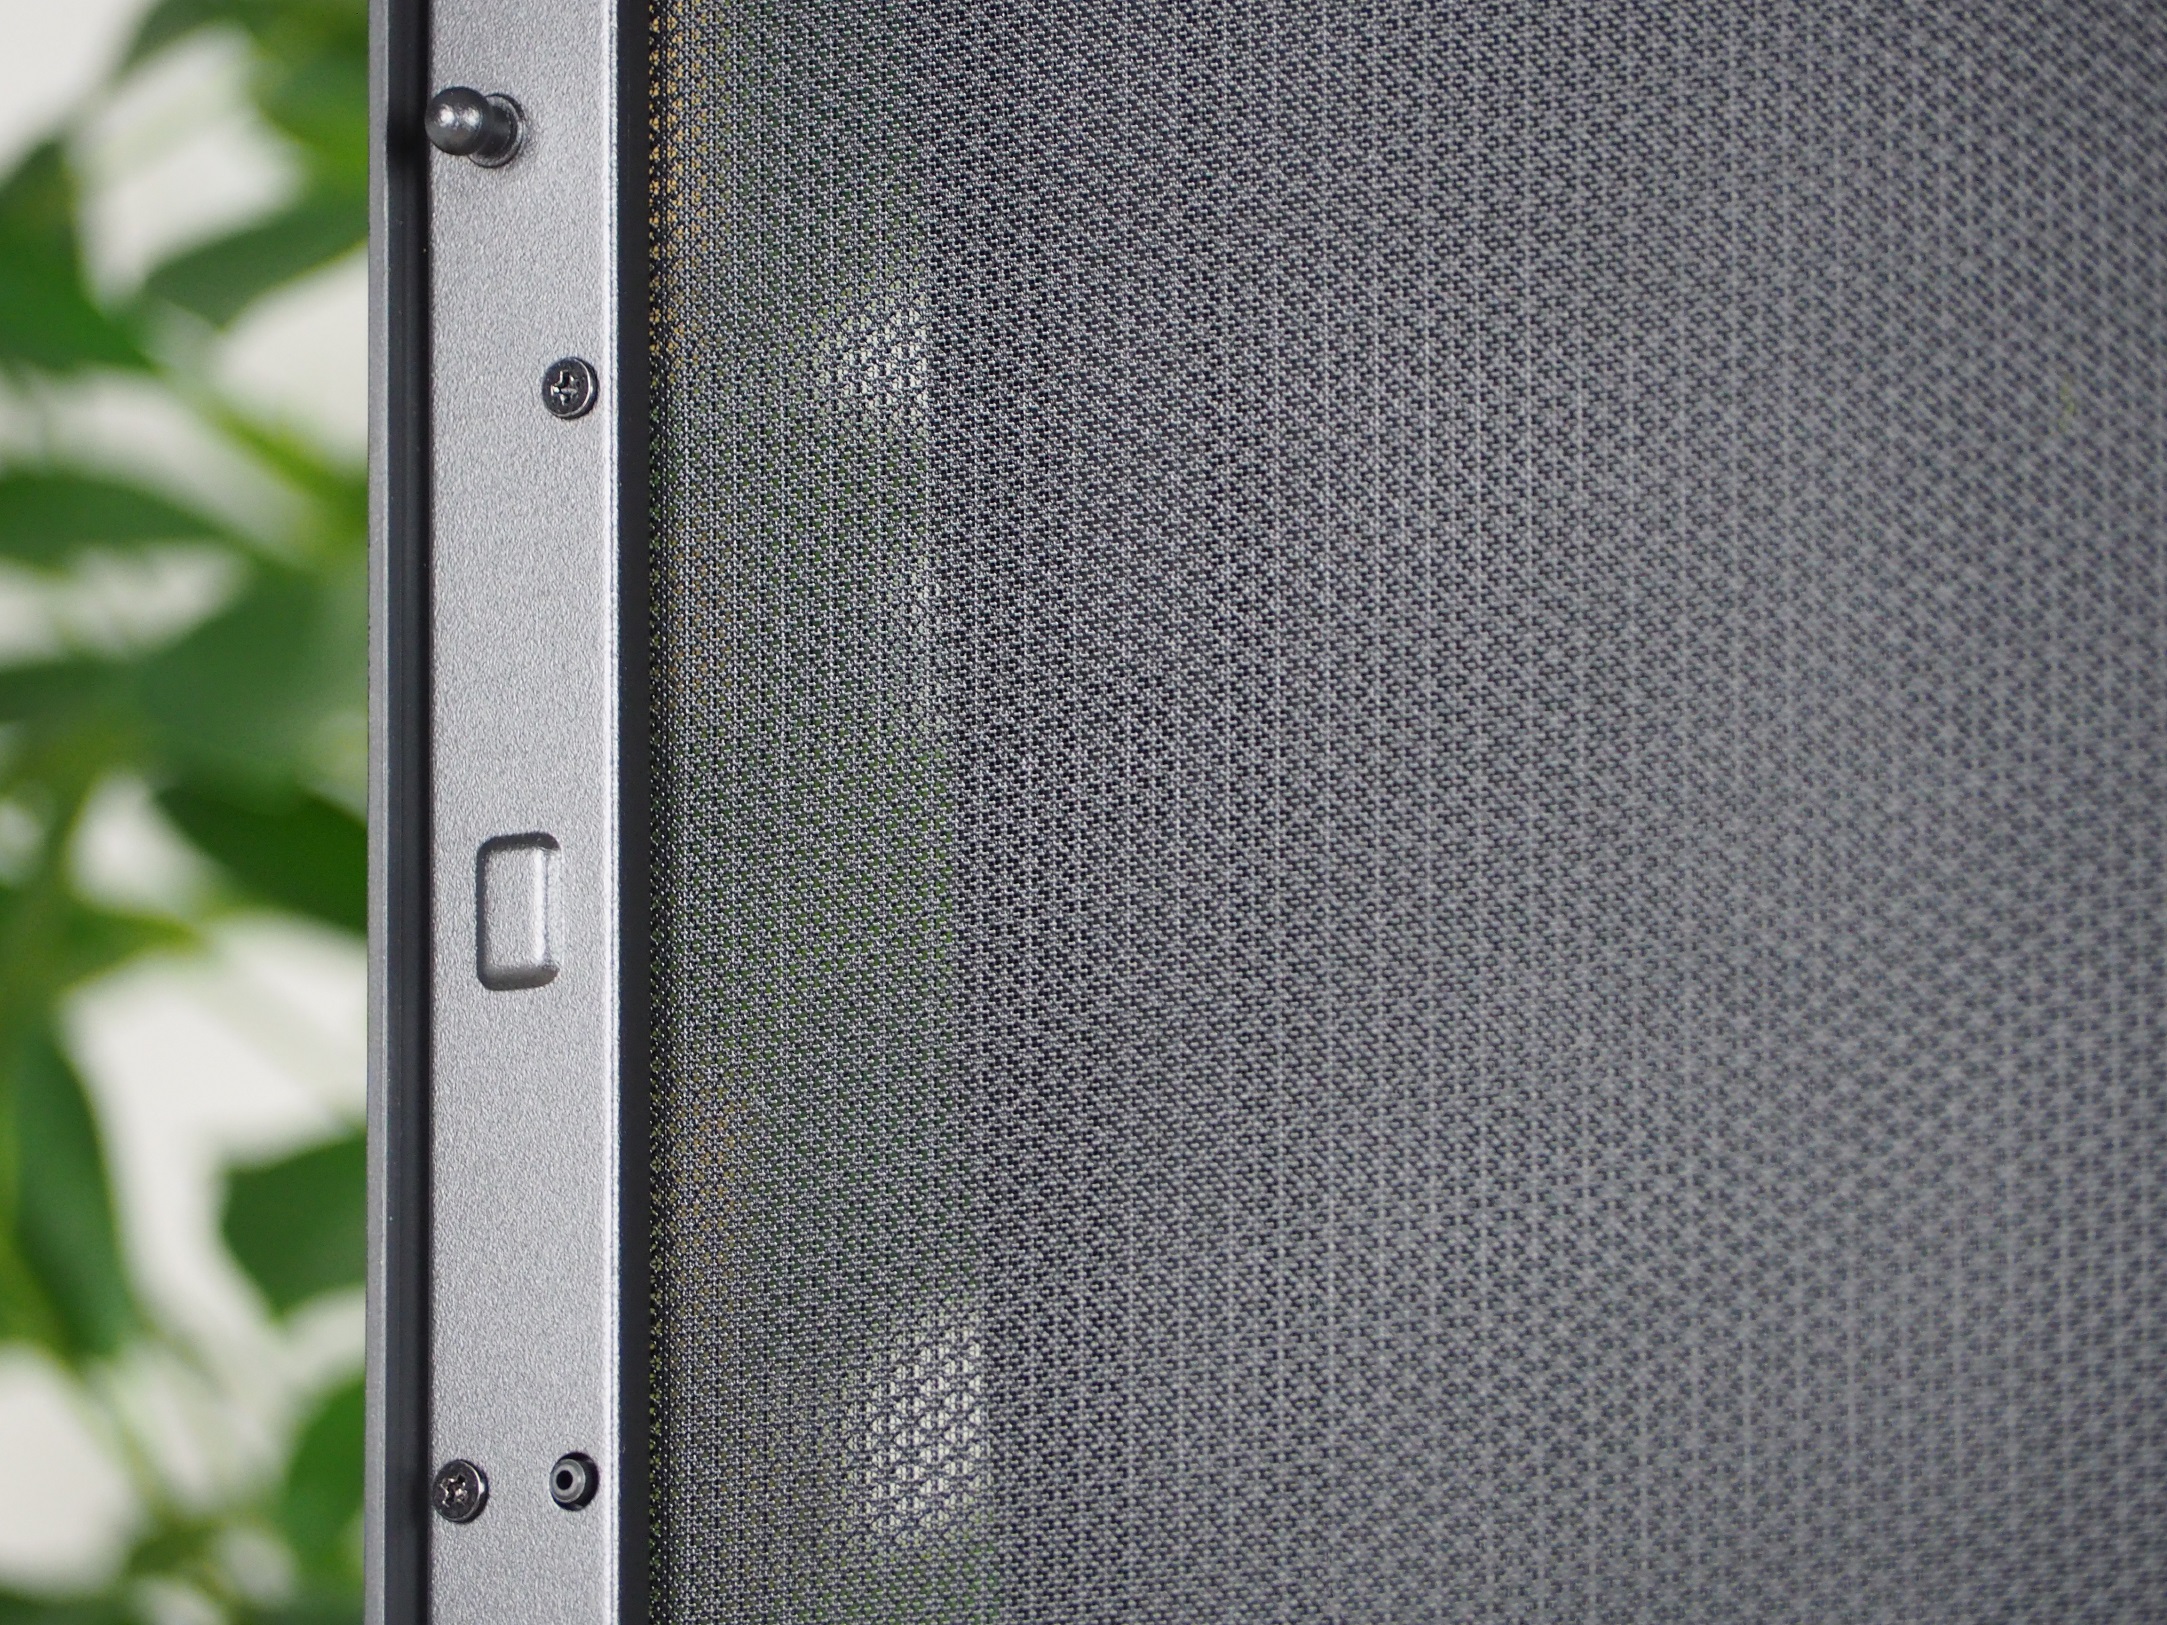
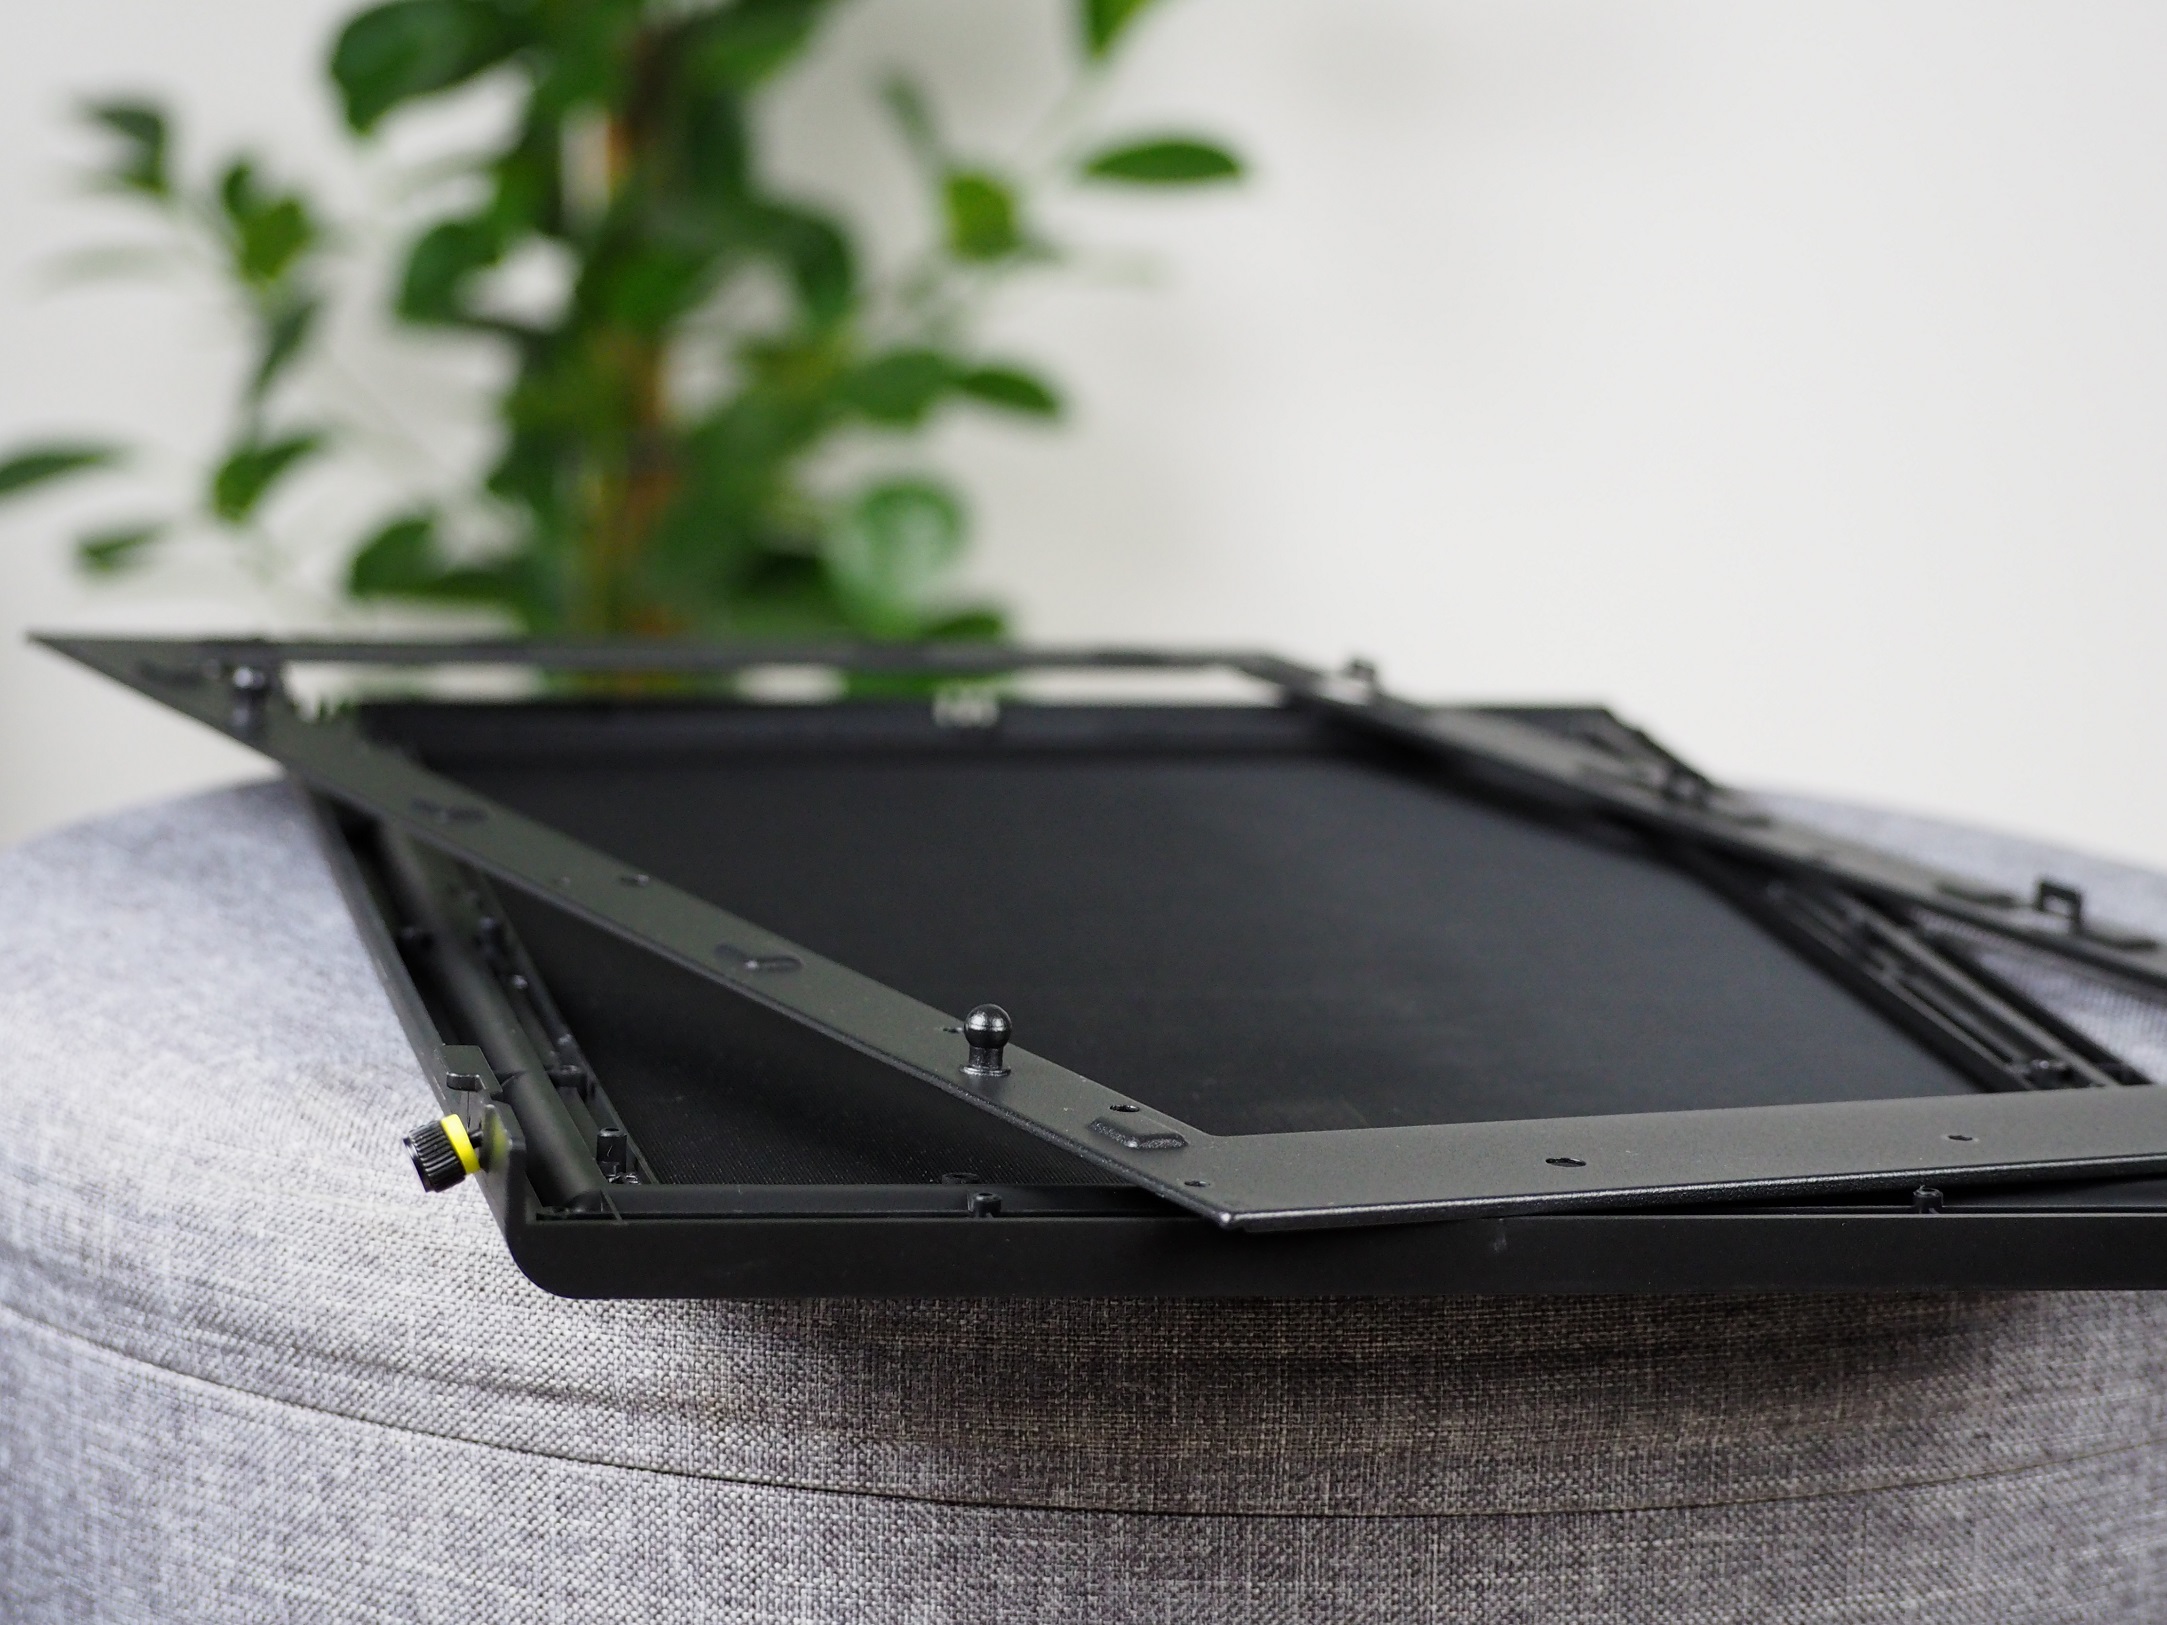
The perforation of the panels consists of two parts. The first one is plastic, you can see it right out of the box. The holes on it are shaped as equilateral triangles with a size of 1.5 mm. The second part is a fine dust filter, which catches even small particles. And I can confirm that it captures dust effectively. The panel can be disassembled via screws, but I thought in vain that the dust filter could be removed. The removability is probably for easier replacement of the side panel handles, should something inadvertently get bent/broken.
The front part is the same as the side panels when it comes to perforation and filtration. Except for the handle. Even though it’s equally click-on, it’s not secured with screws. It’s not even necessary, as you can’t remove the front panel with the sides or top of the case fitted. Behind it, there is space for three 120mm fans. However, you won’t install a liquid cooler radiator here as is usually the case.
The centre part of the front panel is beautifully flush to the two side panels. This is not true of the bottom and top. There, the joint is slightly diverging, which is not a disaster in real life. You probably won’t even notice this flaw until you focus on these parts of the joint.


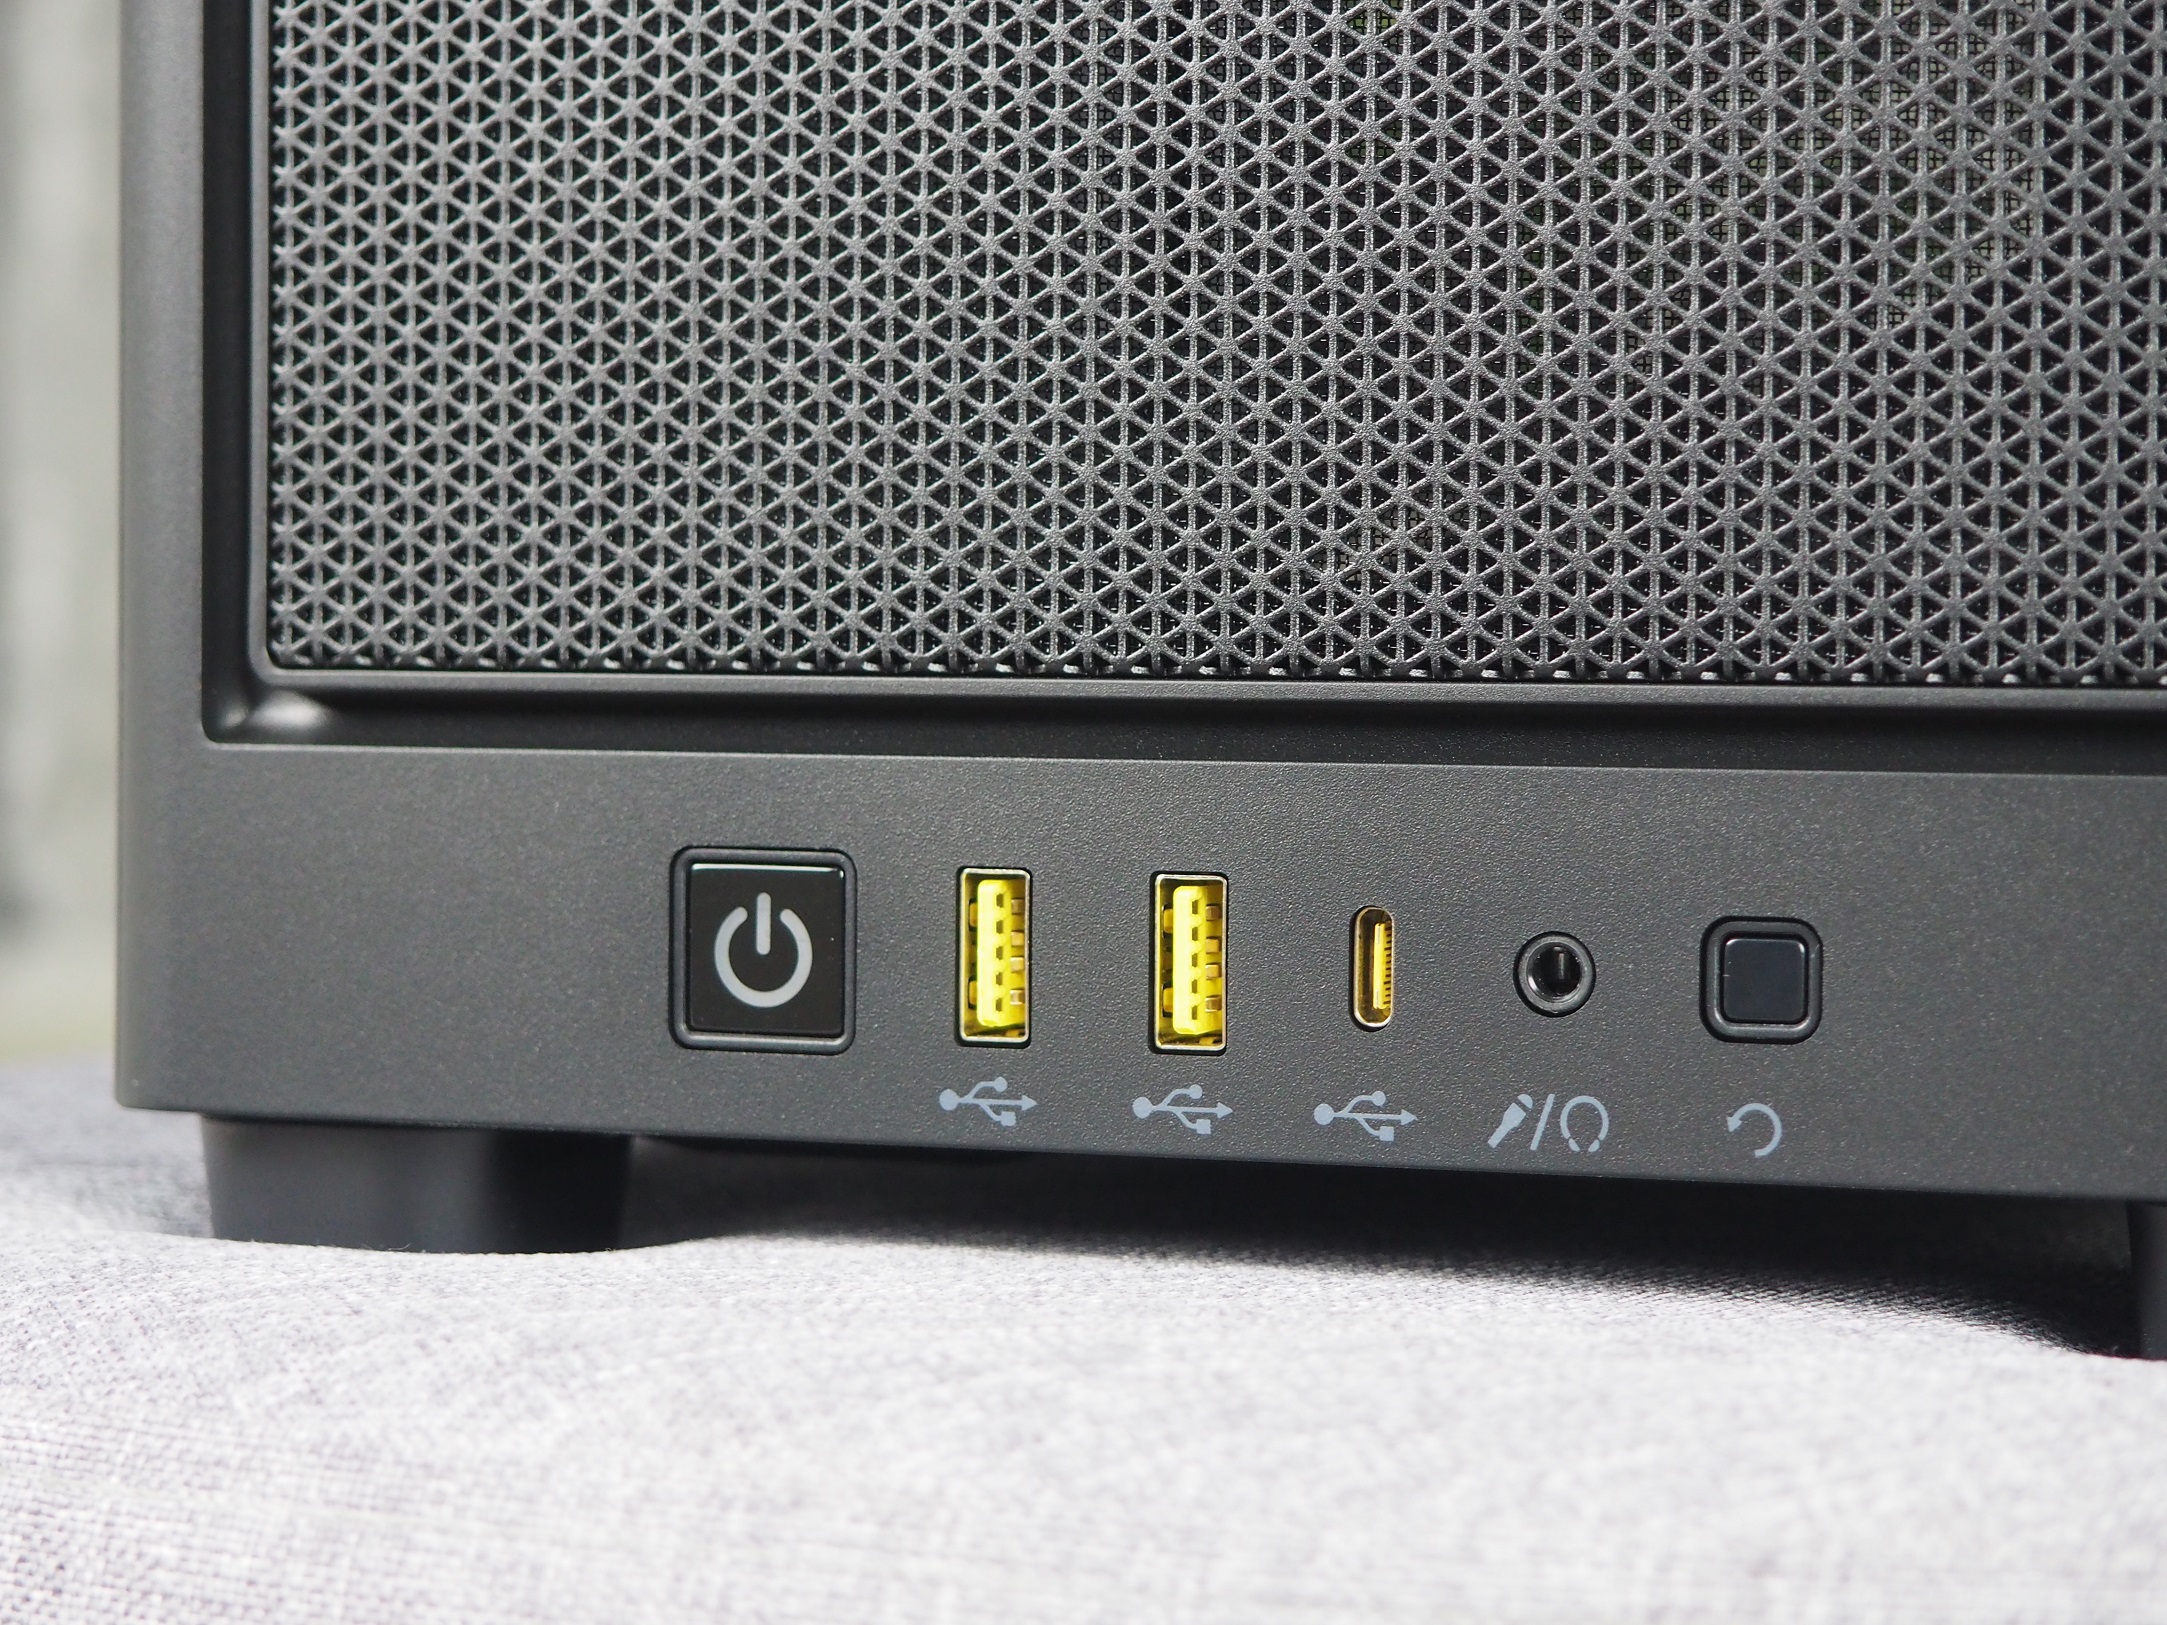
The lower part of the front panel belongs to the connectors and buttons of the case. On the left is the power button, whose power symbol glows subtly when switched on. A shallow push is all it takes to activate it, and you’ll also get a tactile response that it’s already done. You then have two USB Type-A connectors and one Type-C, which is also faster. For headphones with microphone, you get one shared 3.5mm jack. The last part of the functional panel of the case is the restart button. This one is recessed in the case a bit deeper than the power button, and it also has a deeper activation path. This partially eliminates the possibility of unintentional pressing.
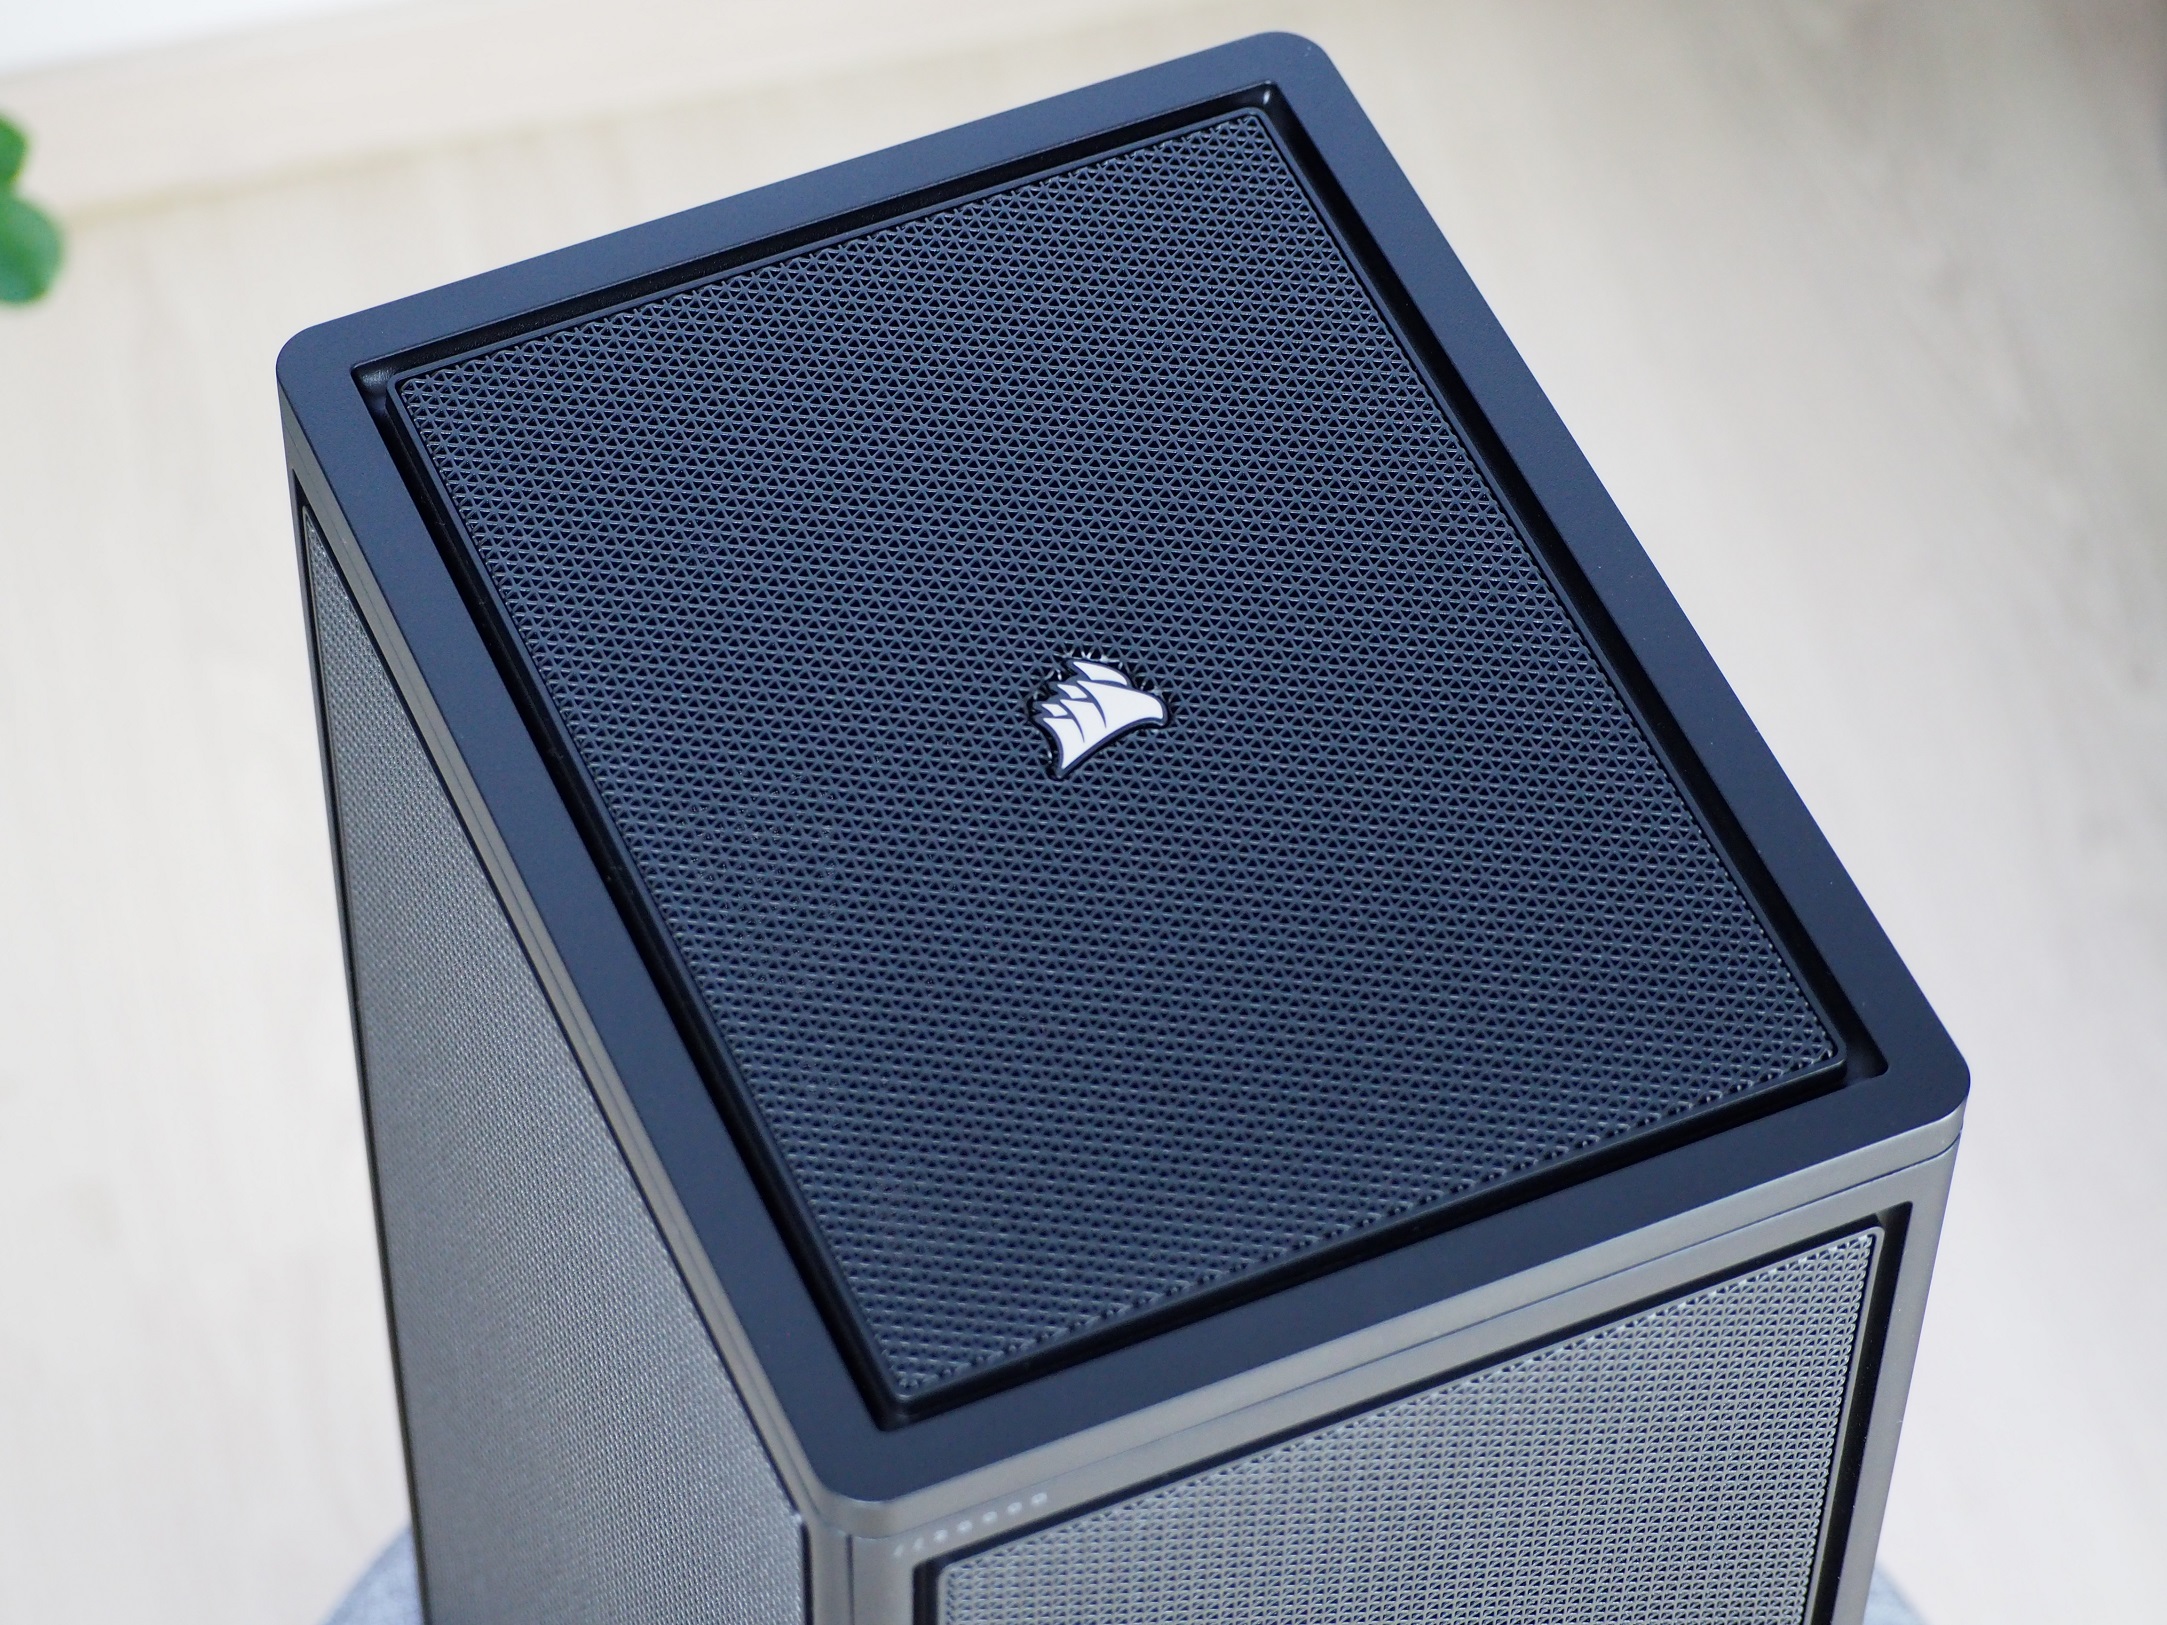
At first glance, the top part appears as another airy side of the case due to the perforated panel. But this is not the case, although there is a fine dust filter. Underneath the magnetic panel is a sheet metal with holes. The largest one is for the power supply. Two Velcro pull-tabs indicate that the power supply cable will be pulled across the case. The top removable part lines up precisely with the other sides panels of the case.

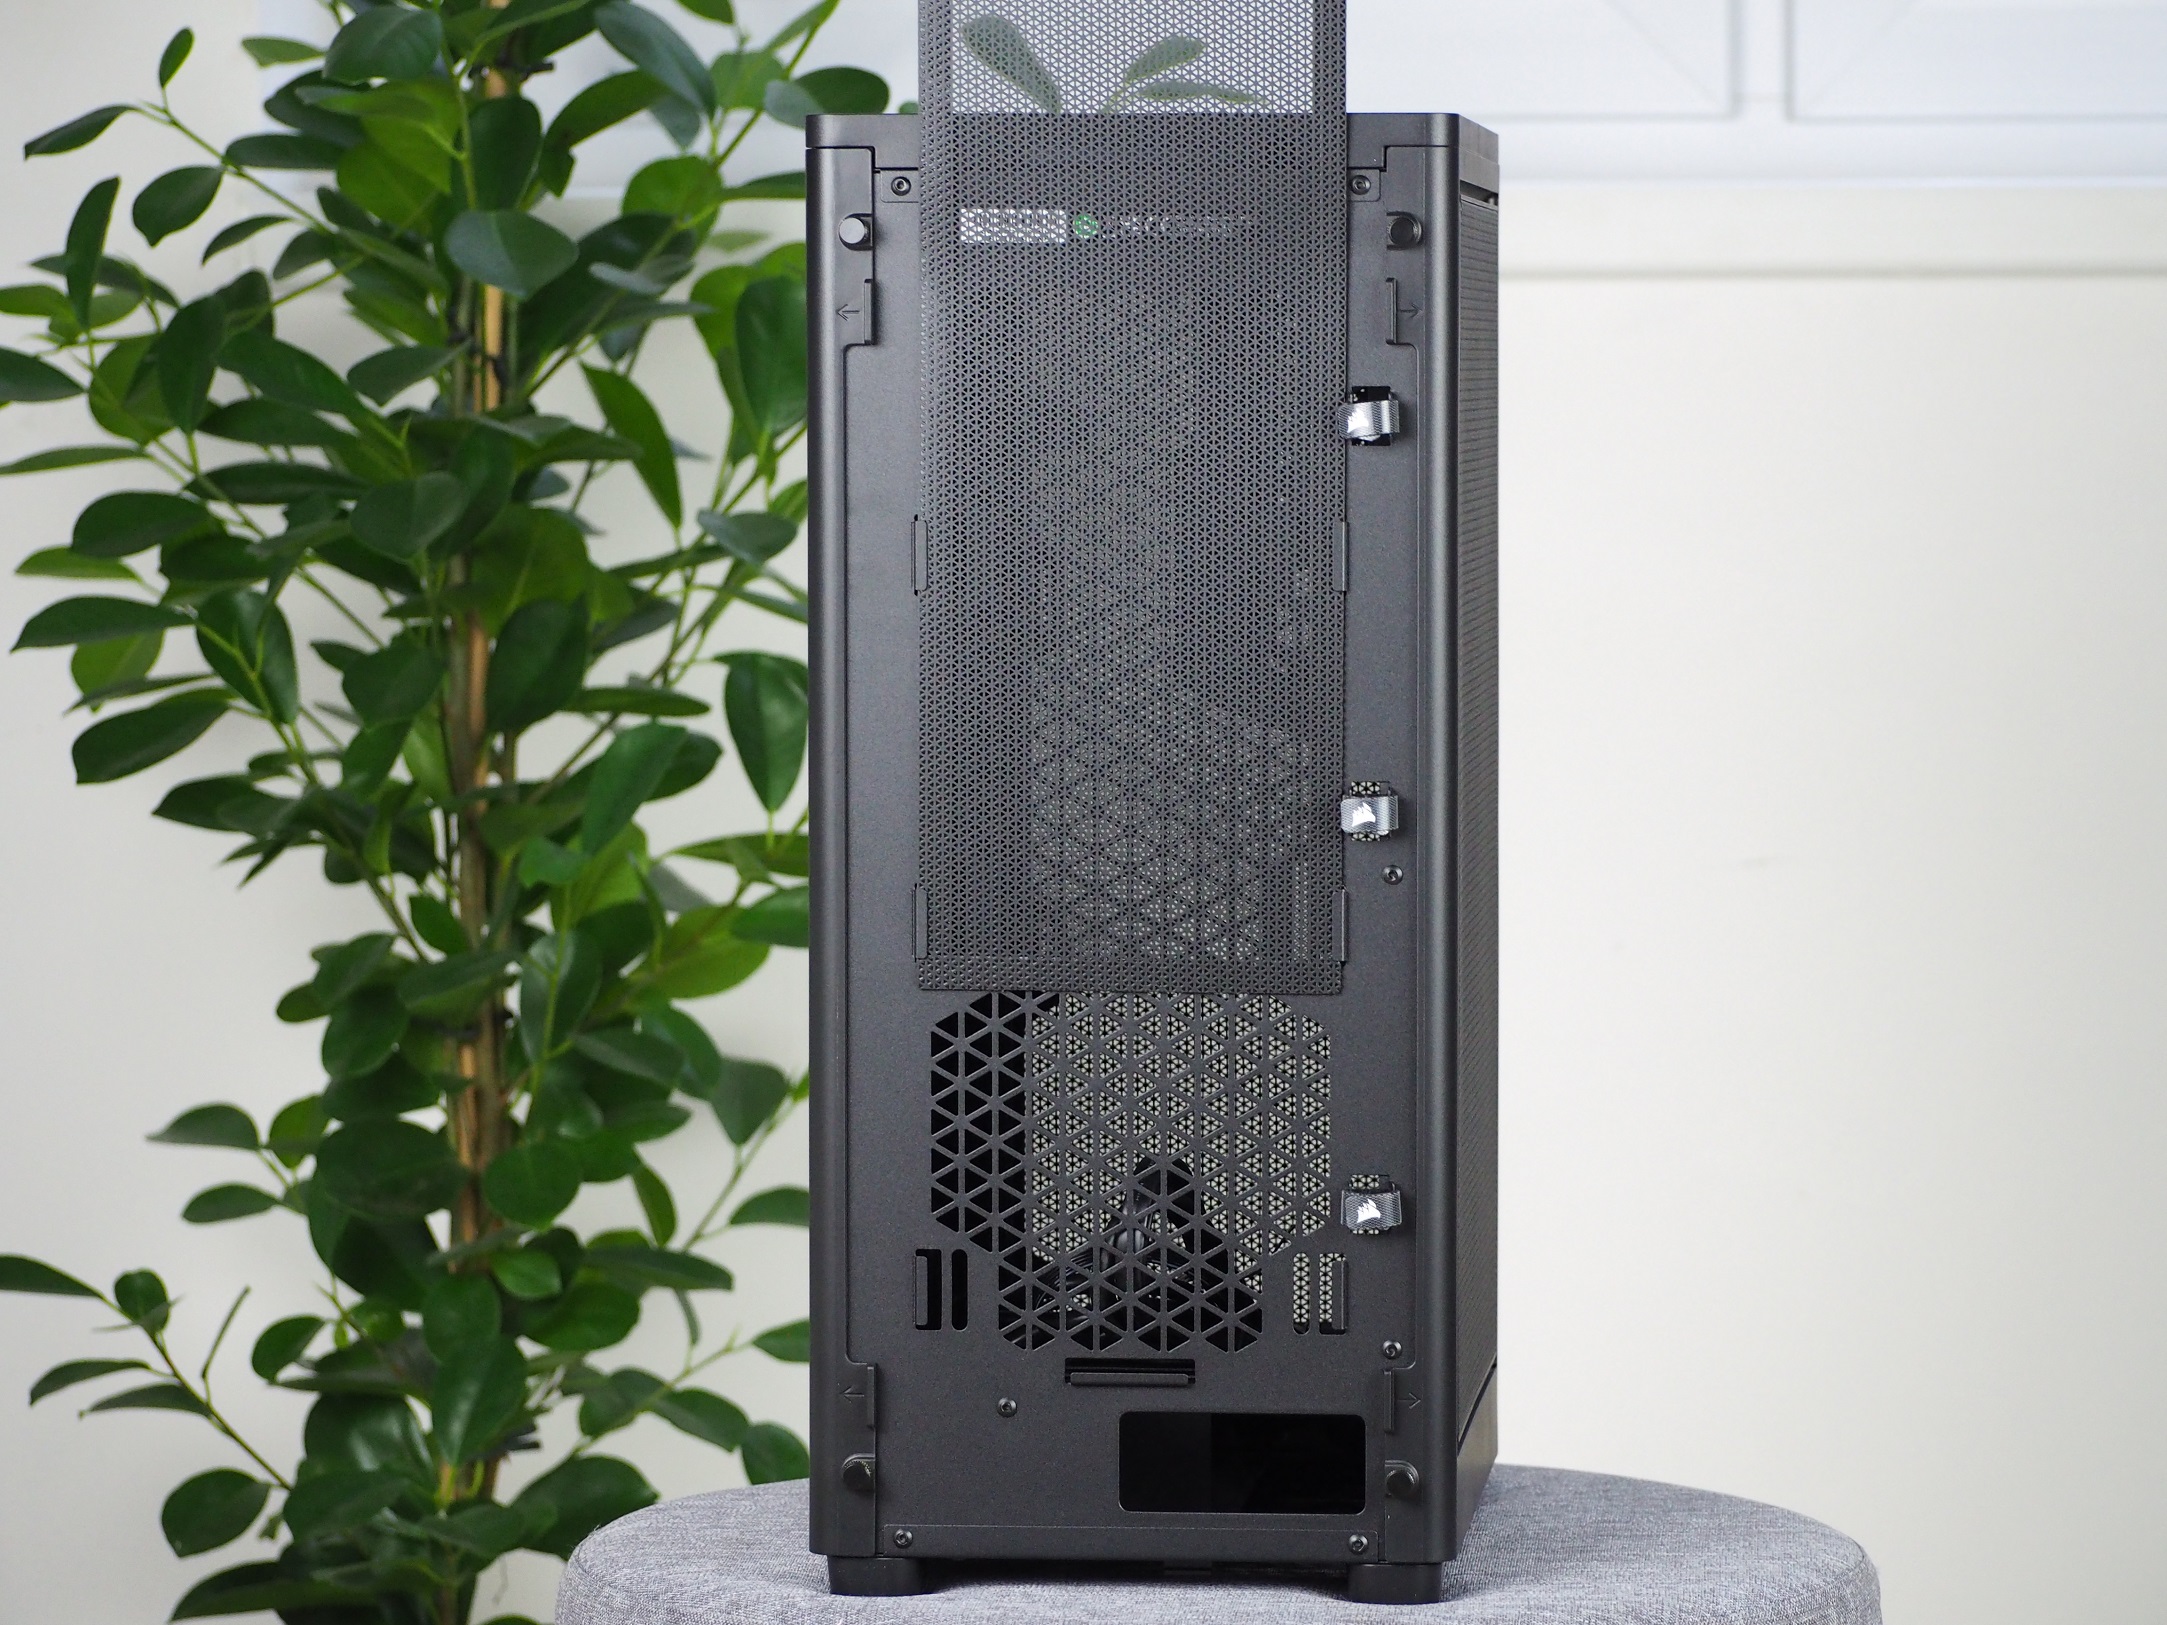
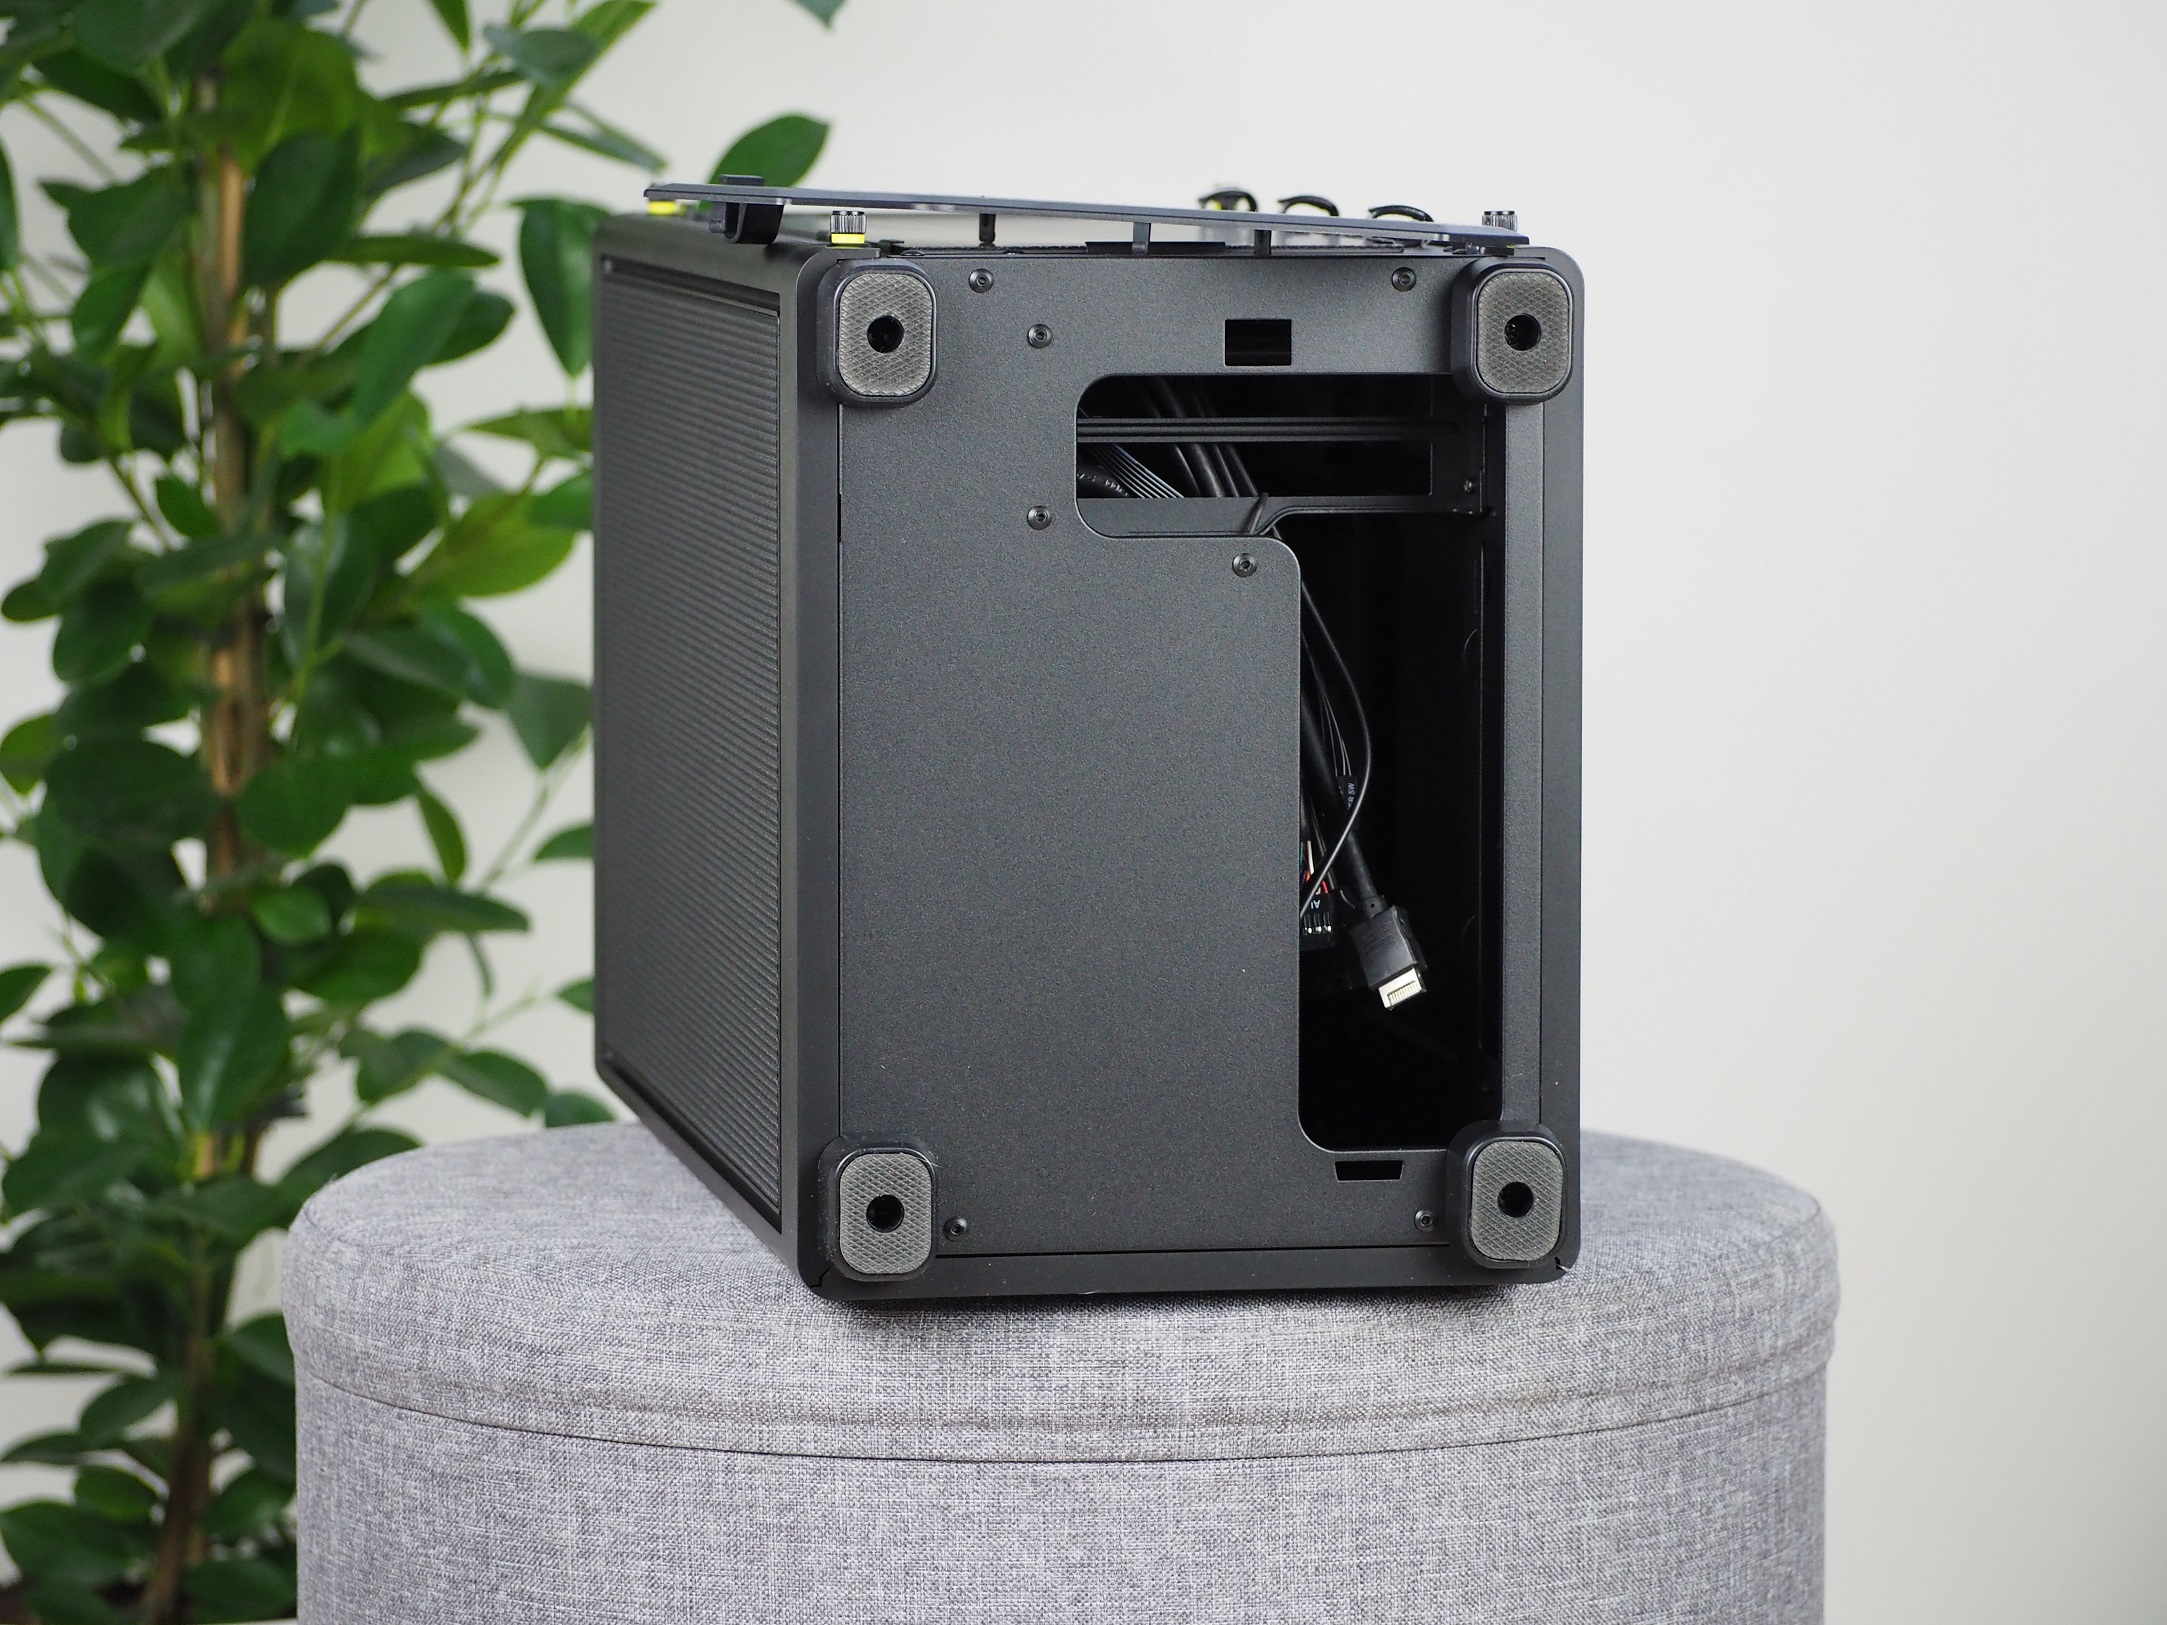
The back is also a little different than what is usual with standard computer cases. The entire section is perforated for airflow directly to the graphics card. There is also a removable dust filter, but it’s not as fine as the other ones. The triangular holes are one millimeter in size. On the right side there are three more zip ties that secure the power supply cable. But you don’t have to worry if your cable is long enough. Corsair has included an extension with the case that is made exactly to measure. There’s a hole at the bottom for threading cables through to the motherboard and graphics card.
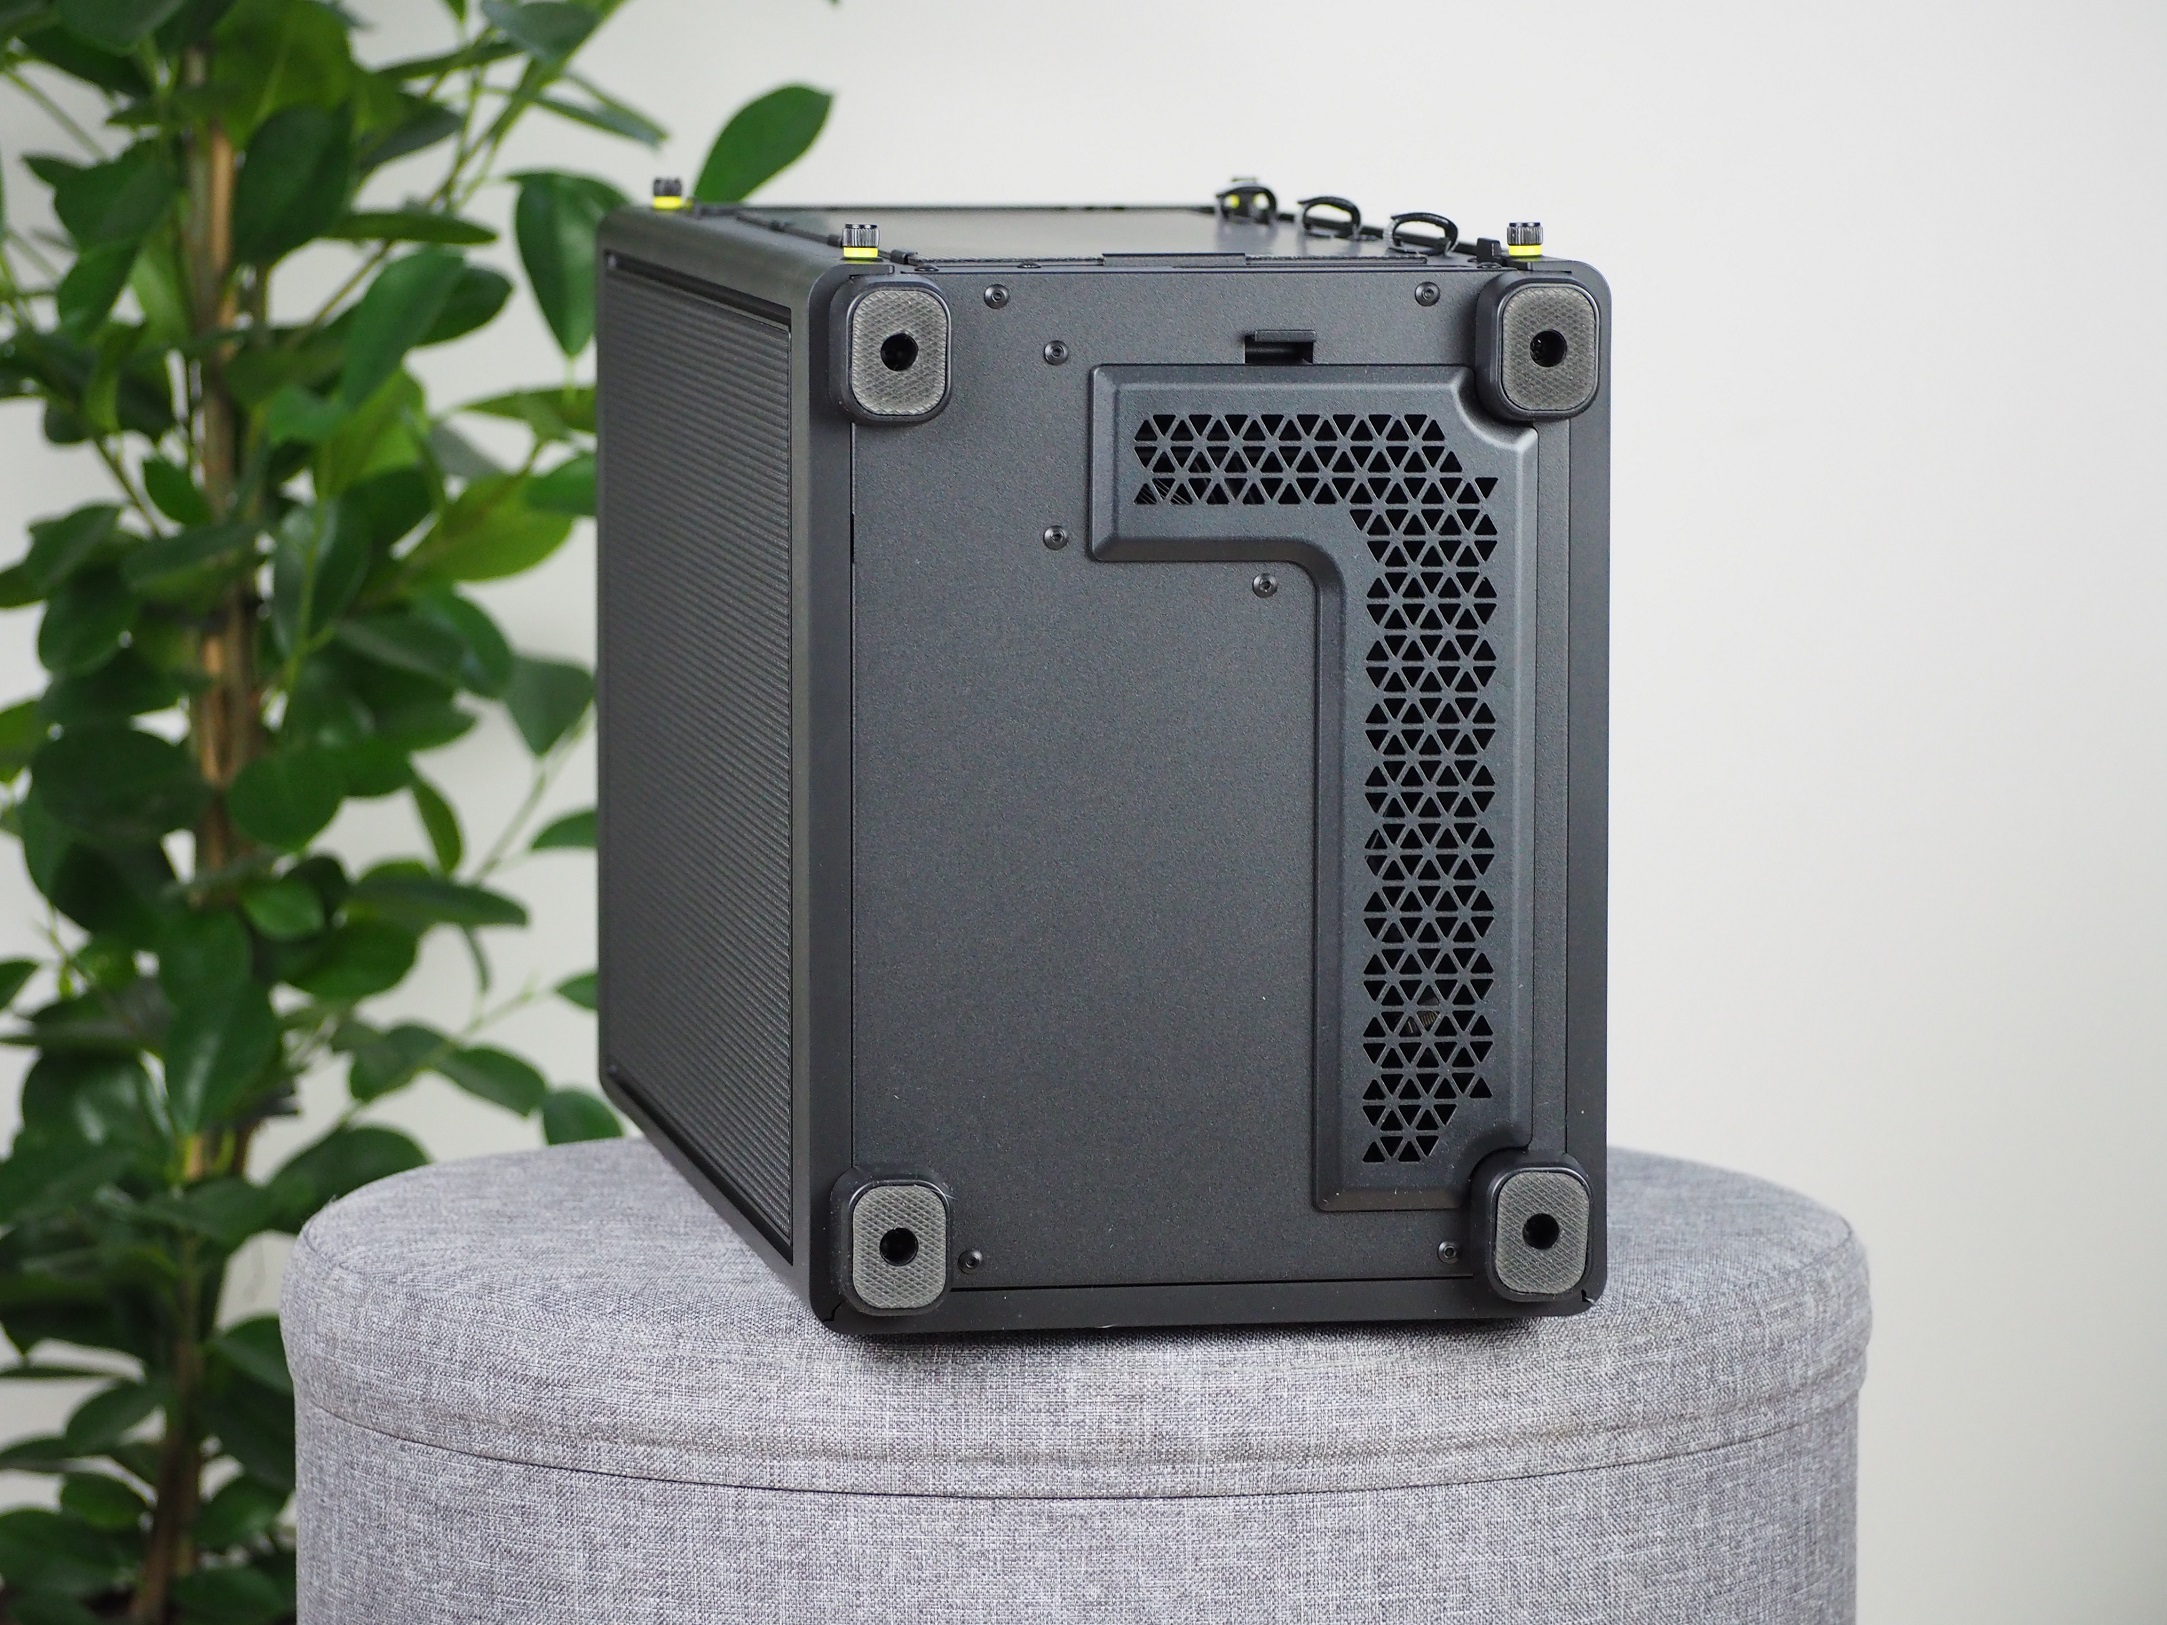
On the bottom of the case there are four feet with a roughened contact surface. While it’s not an ideal non-slip material, it does provide a slight resistance. Between the feet you can notice a perforated plastic cap. This is to make access and handling easier when plugging cables into the graphics card and motherboard.
Although the choice of components for SFF cases is often limited to a certain size, this is not the case with the Corsair 2000D Airflow. Not when it comes to a graphics card or CPU cooler. Aside from the fact that this case only takes up a very small area on the desk/ground, it can also impress with huge perforations on each side. We’ll break down the sum of all the positives and negatives in this review, which traditionally includes cooling tests as well.
Interior
Hardware is mounted into the case through the right side, where behind the side panel there is also a bracket for fans or a liquid cooler radiator. You can place three 120 mm fans or two 140 mm fans here. Or you can use the bracket to mount a 280/360 mm liquid cooler radiator. The bracket will firmly hold whatever you mount on it. Its thickness is 0.75 mm.


Once the bracket (for fans/radiator) is removed, you get right to the main side of the tray. You can only fit a Mini-ITX motherboard on it, which is to be expected given its size. All around the motherboard compartment you can notice a large number of small hooks for single-use zip ties. This allows you to take advantage of different paths and ways to make your cable management as efficient as possible.
Directly under the ceiling is a removable drawer for the power supply. This fits SFX or SFX-L formats up to 130 mm. Two 2.5″ storage units can be placed on the drawer using a bracket. Only one such bracket is supplied with the case, so you will have to buy a second one separately if necessary. The bad news is that I haven’t found this bracket offered on the official Corsair website yet.


As with the motherboard compartment, you have the option of fixing cabling pretty much anywhere on the power supply drawer.


One 2.5″ storage unit can also be mounted under the ceiling using the screws from the accessories. The number “2” is the actual maximum amount that the case can hold. When the bracket for the second position on the drawer goes on sale, the case will be able to accommodate three 2.5″ storage units.

Although the case is smaller in size, you can also fit large 3-slot models of graphics cards into it. The only limit is their maximum length, which is 365 mm. When using a 1-slot card, you will have enough space left on the back panel of the case to fit 2×120 mm fans. You can also swap the fans for a thin 120/240mm liquid cooler radiator.

There are also cable management hooks on the back of the tray. There’s even 10mm of space for some thinner cables. The tray is 0.7mm thick, while the “support” perimeter plates are up to 1.2mm thick. I have to admit that even though the case is more holey than solid, the sturdiness of the case is of a high standard.


For completion, the first thing I would mention is that Corsair has an incorrect figure in the parameters about the maximum height of a tower cooler for the processor. I was able to fit the Fuma 2 rev. B cooler into the advertised 90mm without any difficulty. This one is 154.5mm tall, with about 15mm left over (not including the side fan/radiator bracket).
Installing the components into the case was not the easiest but not the most complicated either. It was something in between. I was most frustrated when I remembered that I needed to plug one more thing into the motherboard when almost all the rest was already mounted. When you need to redo something inside the case further through a build, it’s not going to be a walk in the park.
For cable management, you have plenty of hooks on each side, but to get the ideal placement you need to think everything through and the execution is a bit more work. I didn’t spend much time on it, but it can be done without any great precision as you can see. After all, with the panels closed you can hardly see inside the case at all.


The space at the back of the case for external cabling (such as cables for monitors, mouse, keyboard, etc.) is not ideal. The cabling has to be bent quite a bit. For less strain on the cables, I chose the hole at the bottom as an outlet for handling external cabling.

Although the choice of components for SFF cases is often limited to a certain size, this is not the case with the Corsair 2000D Airflow. Not when it comes to a graphics card or CPU cooler. Aside from the fact that this case only takes up a very small area on the desk/ground, it can also impress with huge perforations on each side. We’ll break down the sum of all the positives and negatives in this review, which traditionally includes cooling tests as well.
Test methodology
The Corsair case is offered in two variants. For the test we have the variant (2000D Airflow) supplied without fans, but we are testing with three 120mm Corsair AF120 RGB Elite fans. Note, these are not the same fans that are included with the second variant (2000D Airflow RGB), this one comes with the low profile AF120 RGB Slim fans. We tested in two scenarios, with and without (results with purple bars in the graphs) a dust filter in front of the graphics card.
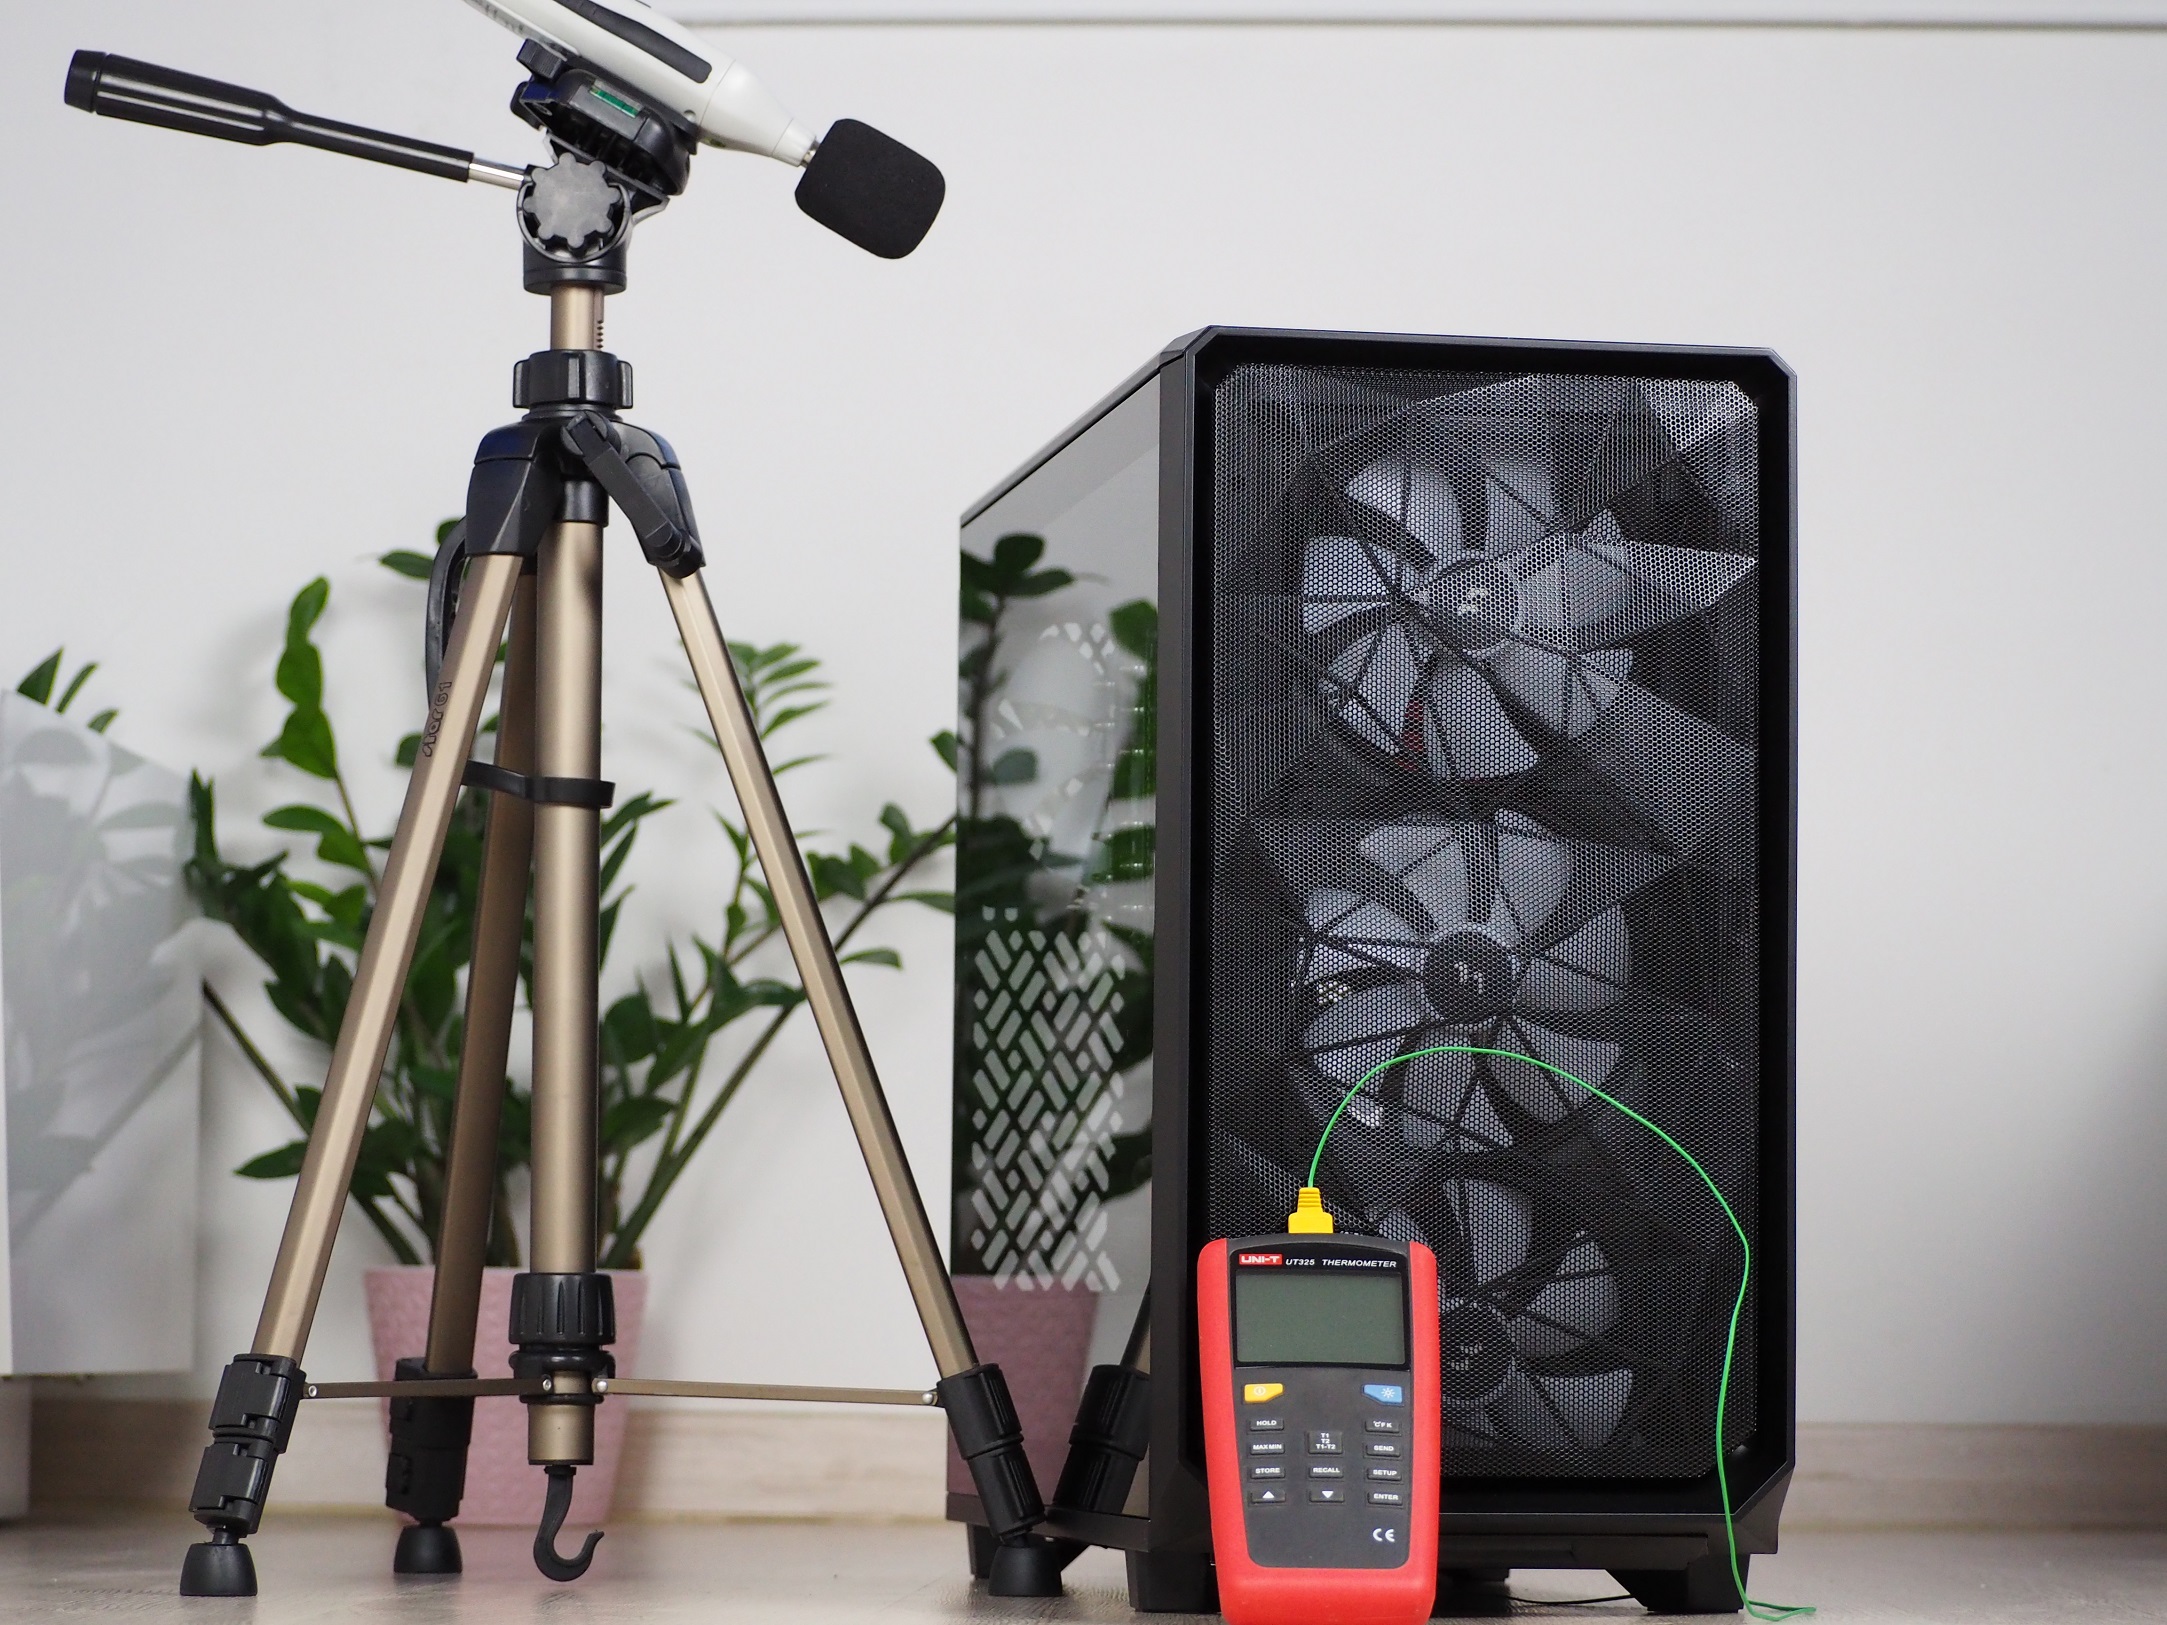
Testing is done in a home environment where I strive for the most accurate results possible. In the room during testing, the air temperature in front of the case is 23 degrees Celsius and the minimum noise level I can measure with the Voltcraft SL-100 noise meter is 32.4 dBA. The sensor of the noise meter is aligned to the center of the top of the case at a distance of 10 cm, for the best measurement of the speed difference of the fans, which I change using the motherboard. For easy comparison to other cases, they are always regulated to fixed noise levels.
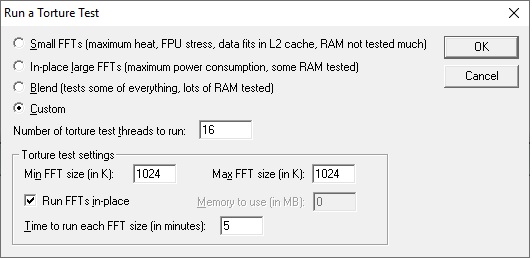
Individual components are heated for 10 minutes in FurMark synthetic stress tests and with Prime95 (custom settings) at the same time. This time is long enough to allow all components to warm up sufficiently. There are then 15-minute cooling breaks between tests, during which the component temperatures (and the case air temperature as well) are brought back to default.
Noise mode levels:
- 36 dBA
- 38 dBA
- 39 dBA
| Test setup | |
| Processor | AMD Ryzen 7 3700X |
| Motherboard | Asus ROG Strix X470-I Gaming |
| CPU cooler | Scythe Fuma rev. 2 (single fan) |
| Thermal compound | Noctua NT-H2 |
| Graphics card | Asus RTX 2060 Super Dual |
| RAM | Patriot, 2× 8GB, 3600 MHz/CL17 |
| SSD | Western Digital Blue 500GB (2280) |
| Power supply | Corsair SF750 |
Although the choice of components for SFF cases is often limited to a certain size, this is not the case with the Corsair 2000D Airflow. Not when it comes to a graphics card or CPU cooler. Aside from the fact that this case only takes up a very small area on the desk/ground, it can also impress with huge perforations on each side. We’ll break down the sum of all the positives and negatives in this review, which traditionally includes cooling tests as well.
CPU and GPU cooling tests

Although the choice of components for SFF cases is often limited to a certain size, this is not the case with the Corsair 2000D Airflow. Not when it comes to a graphics card or CPU cooler. Aside from the fact that this case only takes up a very small area on the desk/ground, it can also impress with huge perforations on each side. We’ll break down the sum of all the positives and negatives in this review, which traditionally includes cooling tests as well.
Motherboard cooling tests
Although the choice of components for SFF cases is often limited to a certain size, this is not the case with the Corsair 2000D Airflow. Not when it comes to a graphics card or CPU cooler. Aside from the fact that this case only takes up a very small area on the desk/ground, it can also impress with huge perforations on each side. We’ll break down the sum of all the positives and negatives in this review, which traditionally includes cooling tests as well.
SSD cooling tests

Temperature under the ceiling

Although the choice of components for SFF cases is often limited to a certain size, this is not the case with the Corsair 2000D Airflow. Not when it comes to a graphics card or CPU cooler. Aside from the fact that this case only takes up a very small area on the desk/ground, it can also impress with huge perforations on each side. We’ll break down the sum of all the positives and negatives in this review, which traditionally includes cooling tests as well.
Conclusion
Although there is no shortage of perforations and cool air supply from around the case, it is harder to get the heated air out from inside the case. In fact, at higher fan speeds of the front intake fans, the graphics card heats up even more than at lower fan speeds. By removing the dust filter in front of the graphics card intake, you can lower the temperature of the graphics card by a few more degrees. CPU cooling is weaker in the tested build, but you can improve this by using a liquid cooler, which the case is ready for. I would even say that its presence was counted on.
Even though much of the case is “leaky”, you don’t have to worry about dust being sucked in. Four sides are equipped with a fine dust filter and the fifth, rear side, has a removable thinner filter. That’s a solid dose of dust protection in the price range. Access to the case is both tool-less and very easy thanks to a click-on system. You can also secure them preemptively with screws at the back when transporting, but the panels hold firmly even without them. However, the tested case sample has a problem with the side panels not being flush against the front panel. At the bottom and the top, they are slightly diverging and so there is an unwanted gap. On the other hand, Corsair managed to make the interior to an excellent standard. The perimeter plates are thick but mainly strong.

Even though the case has a smaller volume, the layout of the components is well thought out. Thanks to this, you can install larger sized hardware in the 2000D Airflow such as a 3-slot graphics card, a 360mm liquid cooler radiator, or a Noctua NH-D15 tower CPU cooler. With such large tower coolers, however, you need to be careful about the thickness of the fans used behind the front panel. Standard thickness fans might already clash with them, so Corsair supplies three “Slim” fans in the RGB variant of the case. In fact, their thickness is only 15 mm.
If you don’t have any fans at home and you are thinking about buying the Corsair 2000D Airflow case, I would recommend to choose the RGB variant of the case. There aren’t as many thin fans on the market as the standard 25mm thick ones. For 40 euros extra you get more space in the case in addition to the three lighted fans. The actual installation of the components was not as difficult as it may seem. However, it’s already more complicated to manage the cabling, due to the crammed hardware on each side. The case will forgive you some of the mess, though. Even though it’s perforated on each side, you can hardly see inside.
Although the Corsair 2000D Airflow did not reach the top ranks in graphics card or CPU cooling, the overall design and wide range of options despite its smaller size earns it the “Approved” award.
English translation and edit by Jozef Dudáš
| Corsair 2000D Airflow |
| + Fine dust filters |
| + Almost no compromise in the choice of components |
| + Three 2.5" storage drive positions |
| + Presence of USB Type-C connector (10 Gbps) |
| + Almost flawless build |
| - The side panels are not flush |
| - Weaker cooling performance |
| - Fans only optional |