Interior
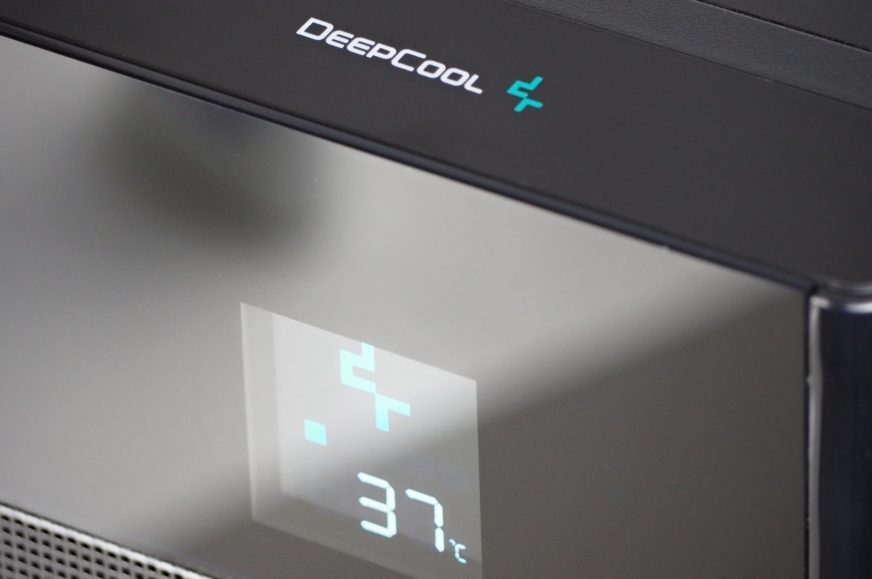
If you like to monitor the temperatures of your components, we have a tip for you to take your temperature monitoring to the next level. The new CH510 Mesh Digital has a small display on its front to show the current temperature of select hardware. But just monitoring isn’t enough, you also need to take action to lower the temperatures, and in that the case itself falls a little short. Just one pre-installed fan may not be enough.
Interior
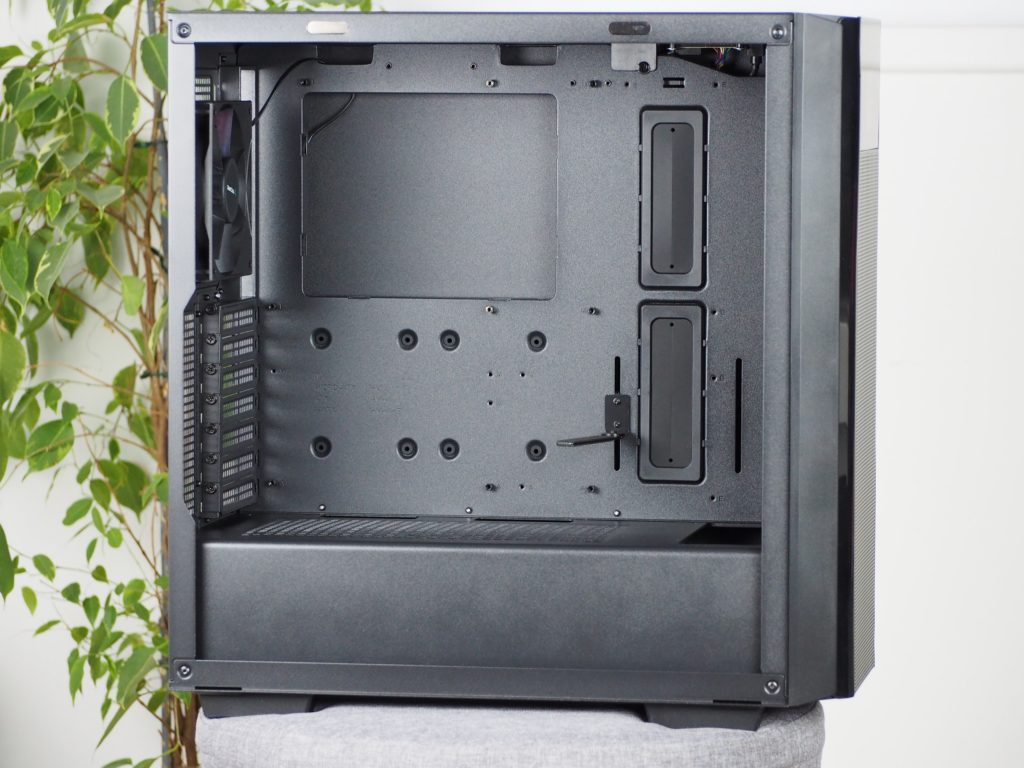
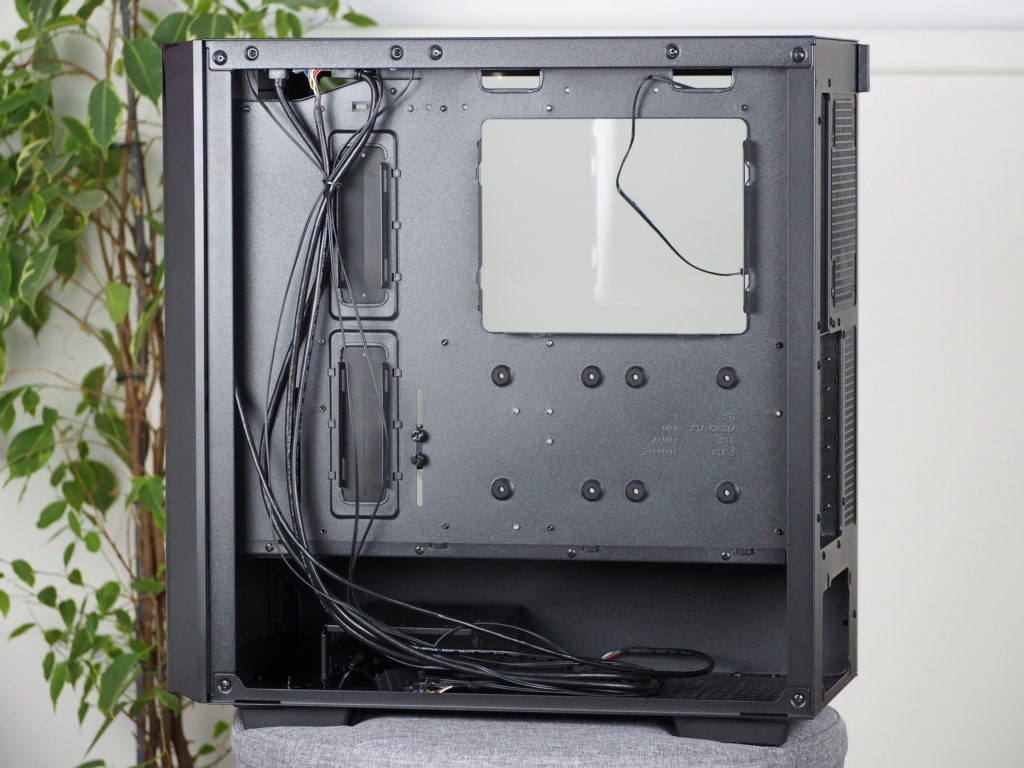
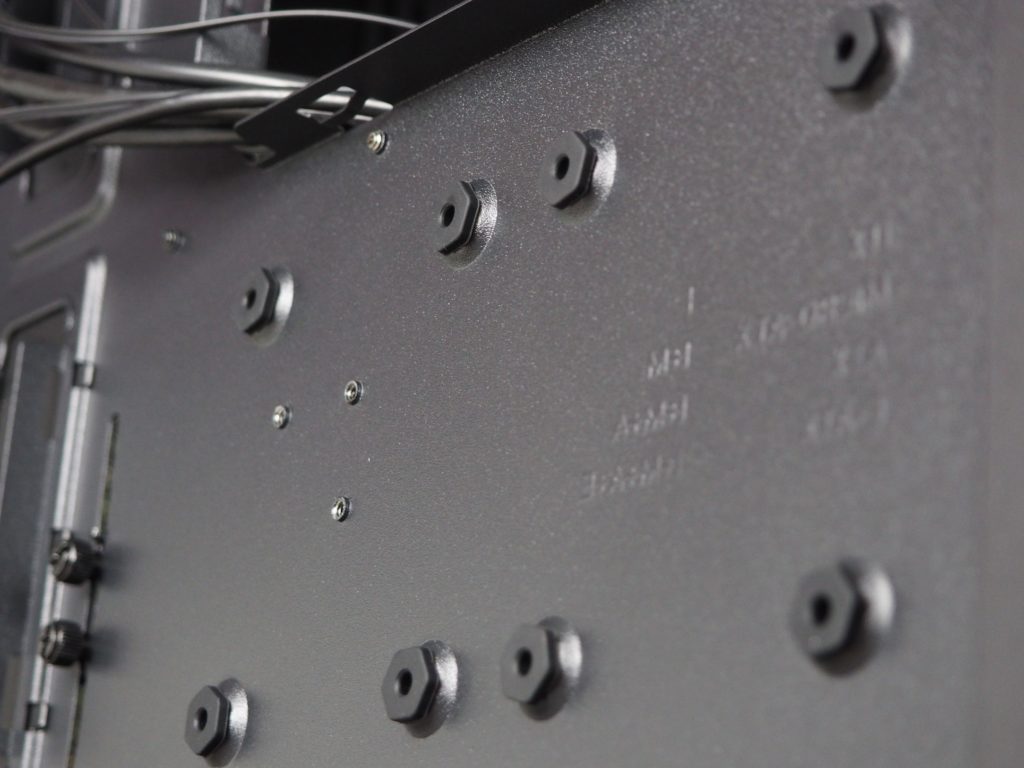
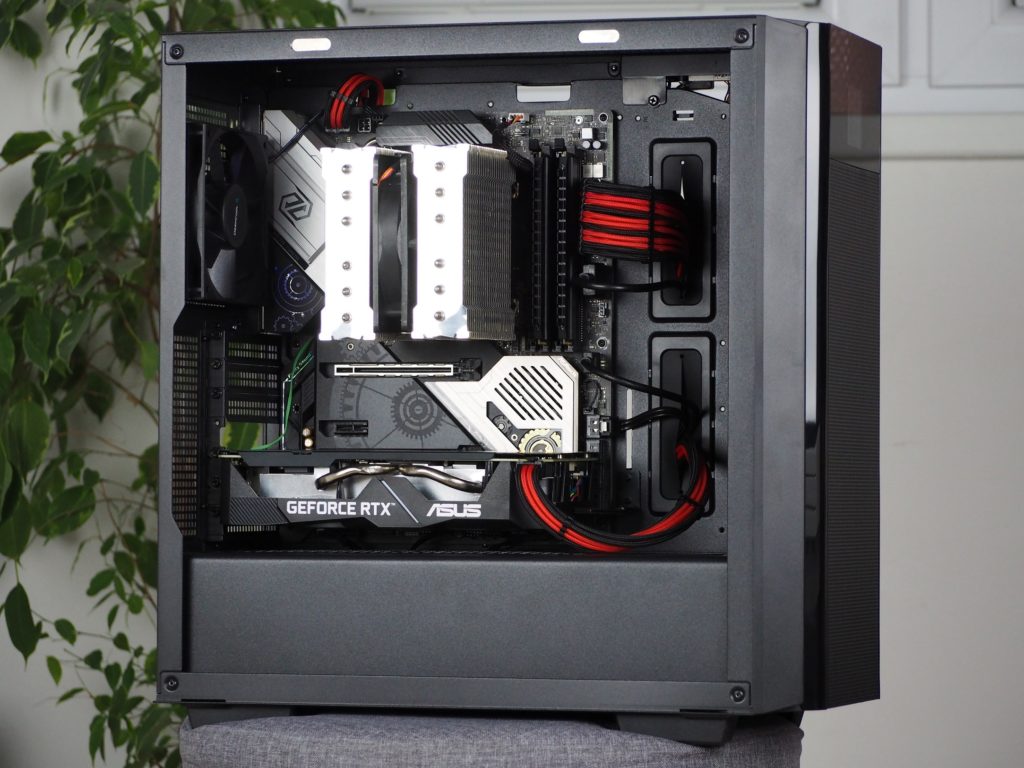
The inside is spacious with plenty of room for your hardware. It can accommodate motherboards in all standardized formats from Mini-ITX to E-ATX. For E-ATX boards, this is regardless of width (even 330mm wide SuperMicro boards will fit and there’s still room for a 75mm thick radiator in the front), but with 275mm PCBs, the wiring grommets are already completely covered.
For CPU cooling, you can use a tower cooler up to 175mm in size, meaning there is more than enough space and you don’t have to limit yourself in your choice. It’s the same with graphics card lengths and you can fit any card. That is, until a new edition comes along that’s more than 380mm long.
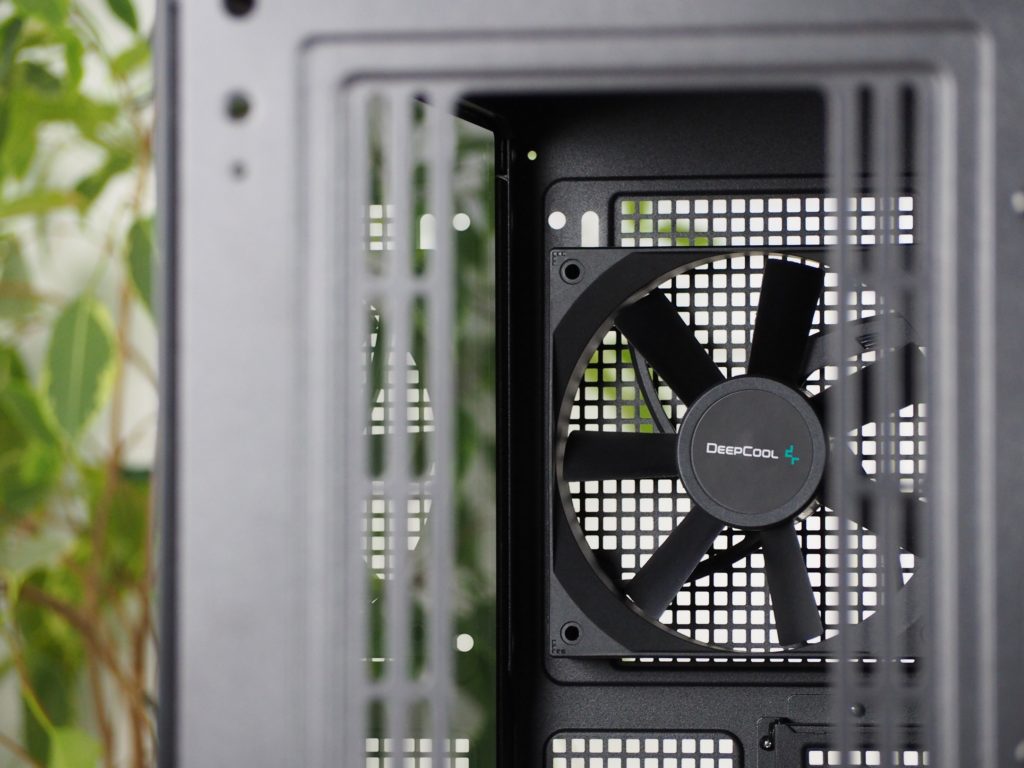
The case is factory fitted with a single 120 mm fan, directly behind the CPU tower cooler position for exhausting warm air. Unfortunately, the manufacturer does not have it in their portfolio for more information regarding the performance, the bearings used or its speed.
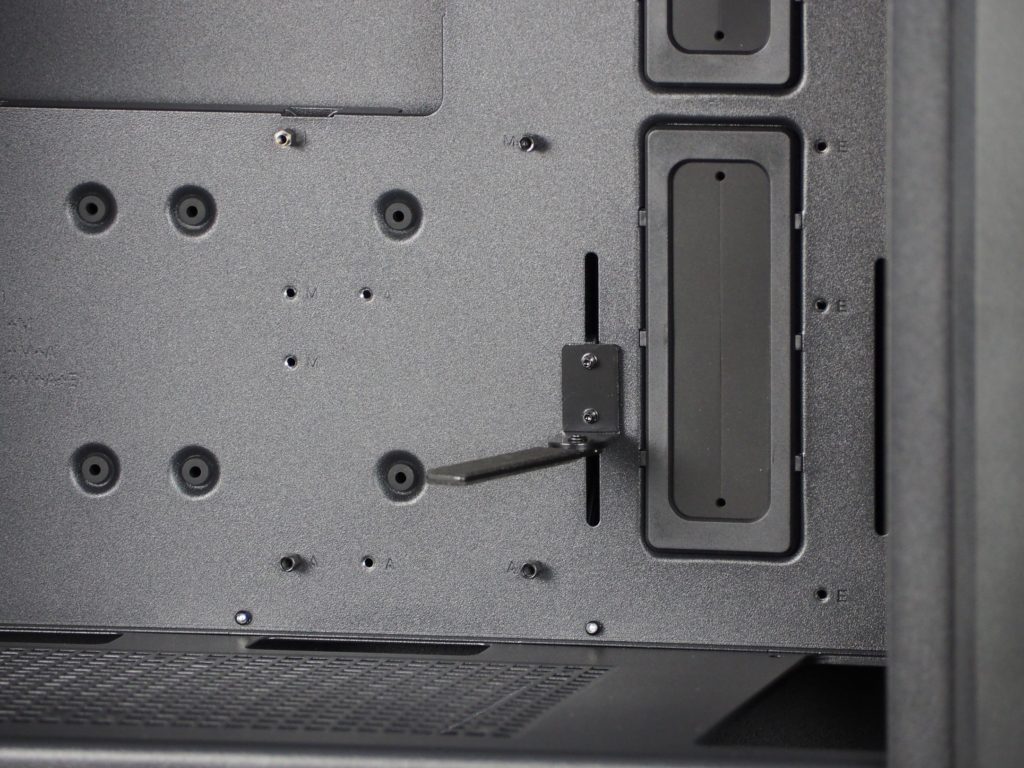
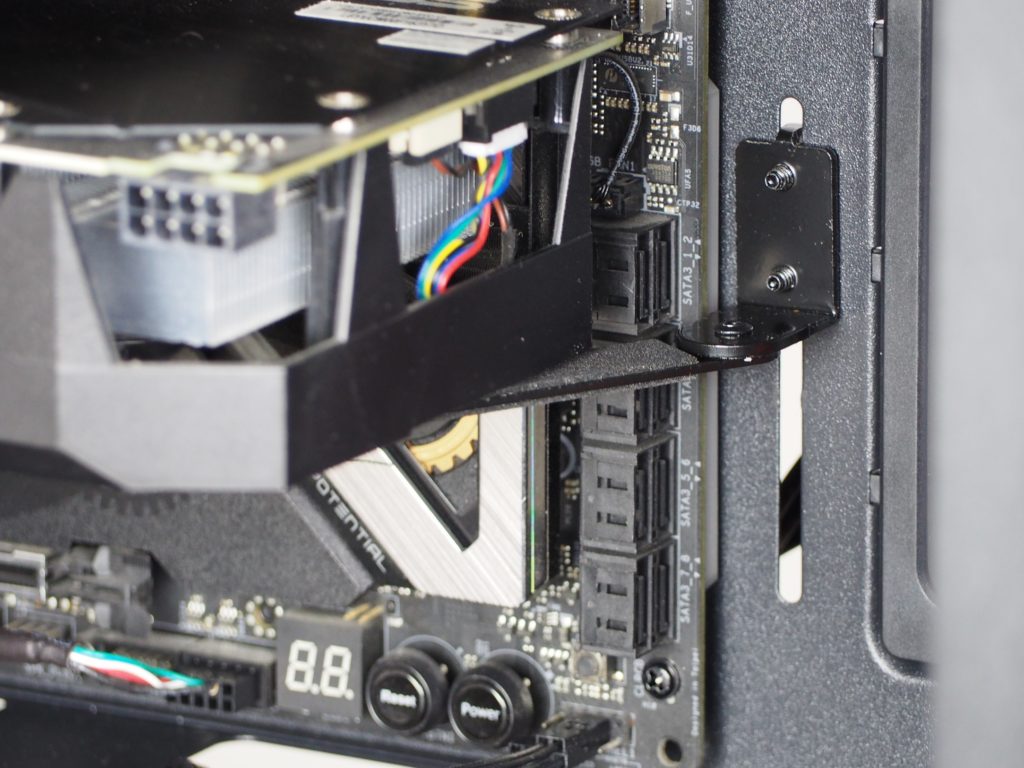
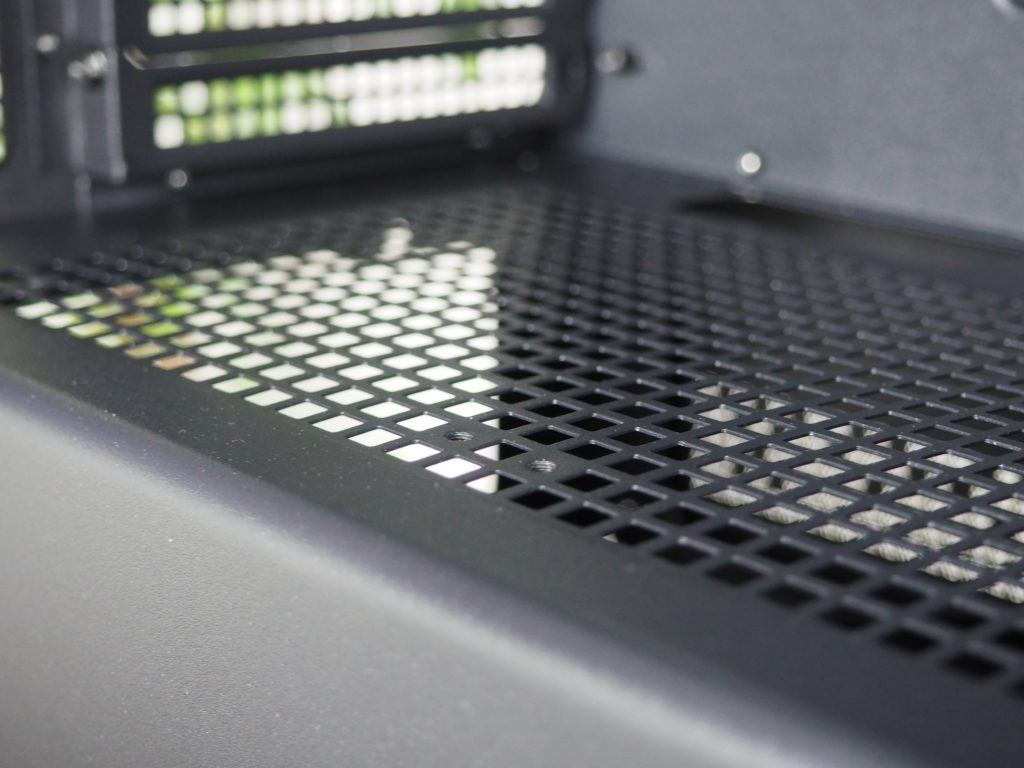
To help lighten the weight on the motherboard, there’s a support bracket directly on the tray for heavier graphics cards. The bracket can be adjusted both horizontally and vertically to position it precisely. Its contact surface with the card is lined with foam to prevent scratches. Parallel with the holder are two grommets, which are the only ones with rubber hole covers. I must commend the firmness of their mounting to the chassis. With less than 30 mm of space in the grommet, I have never once had the cover slip out when routing cables.Mostly, we’ve had cases with the option to place a 2.5″ storage on top of the tunnel, but here it is different. Combined with the perforation of the tunnel, the supply of cool air through the holes on the side panel, the manufacturer decided to give the option to fit two 120 mm fans. I welcome this move, as this option is often forgotten.
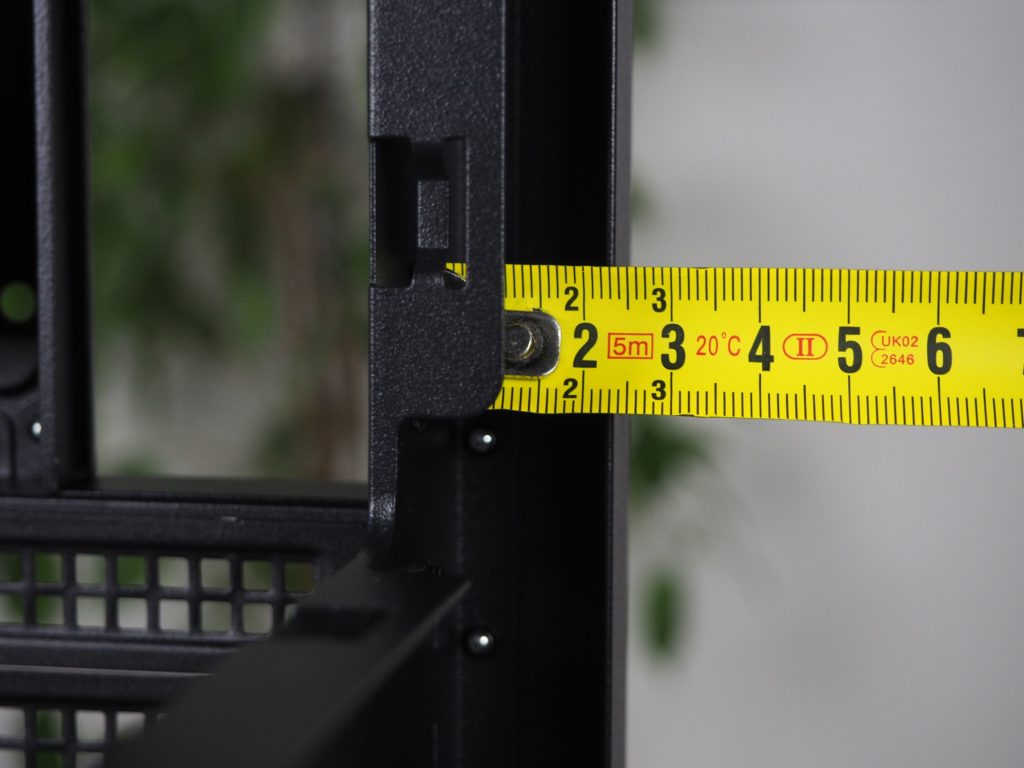
Behind the tunnel is a 75 mm opening for a liquid cooling radiator with fans.
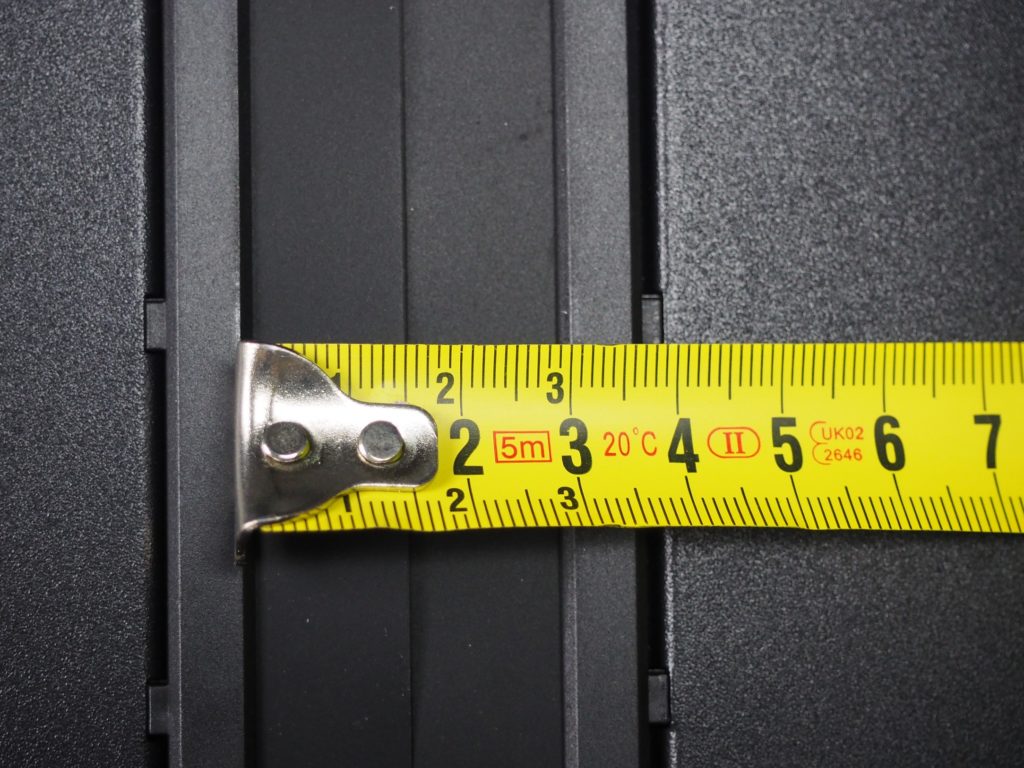
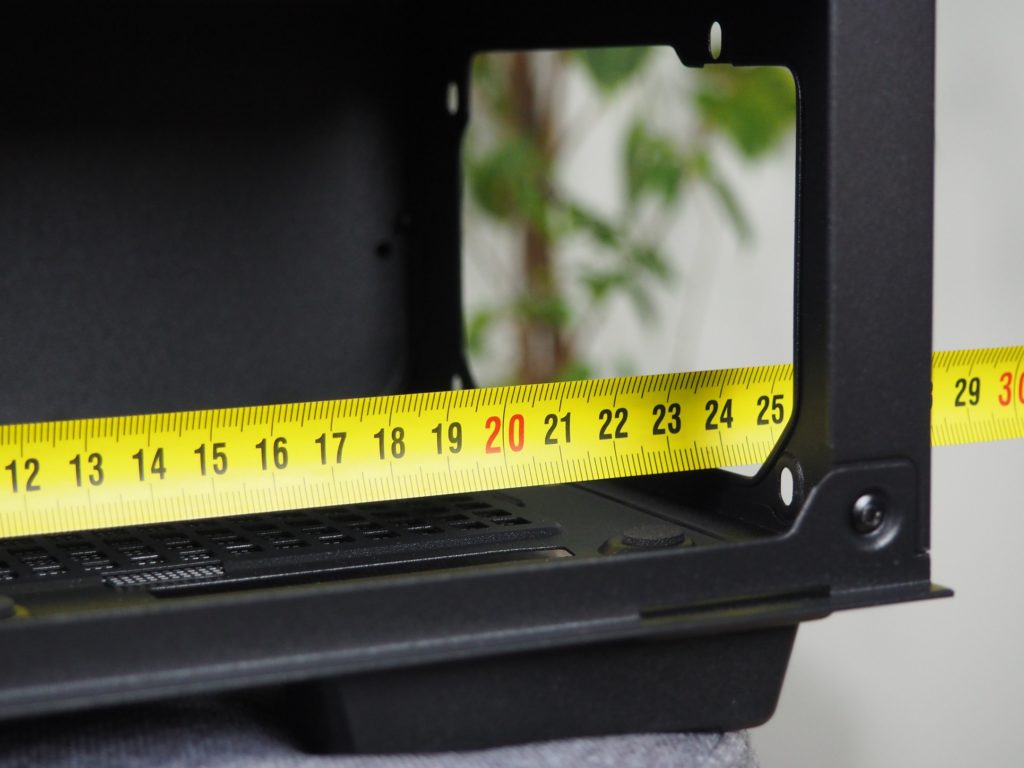
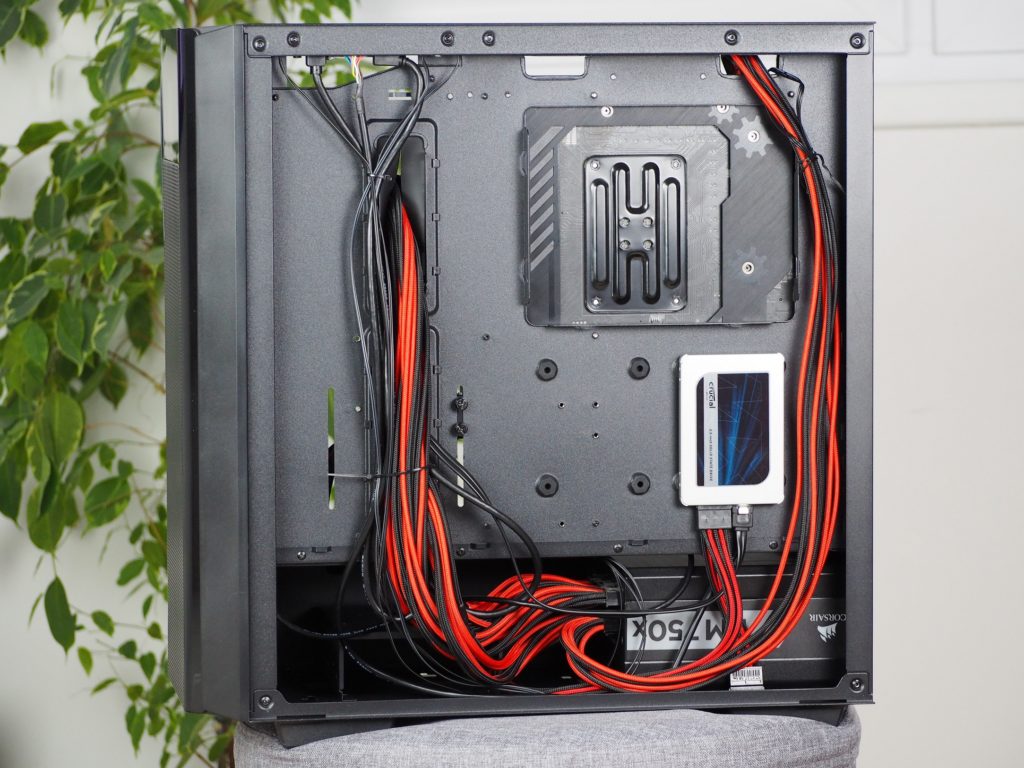
On the other side of the tray there isn’t a single Velcro strip for cable management, but with the large number of zip ties in the accessories, you could take that as a minor “offense”. You have up to 15 positions where you can use them. For actual cable management, there is less than 25mm of space at the back.
In addition to the cables, the tray also holds two 2.5″ storage units, which are easy to install. The specially adapted screws from the accessories screw onto the storage and then simply slot into the holes.
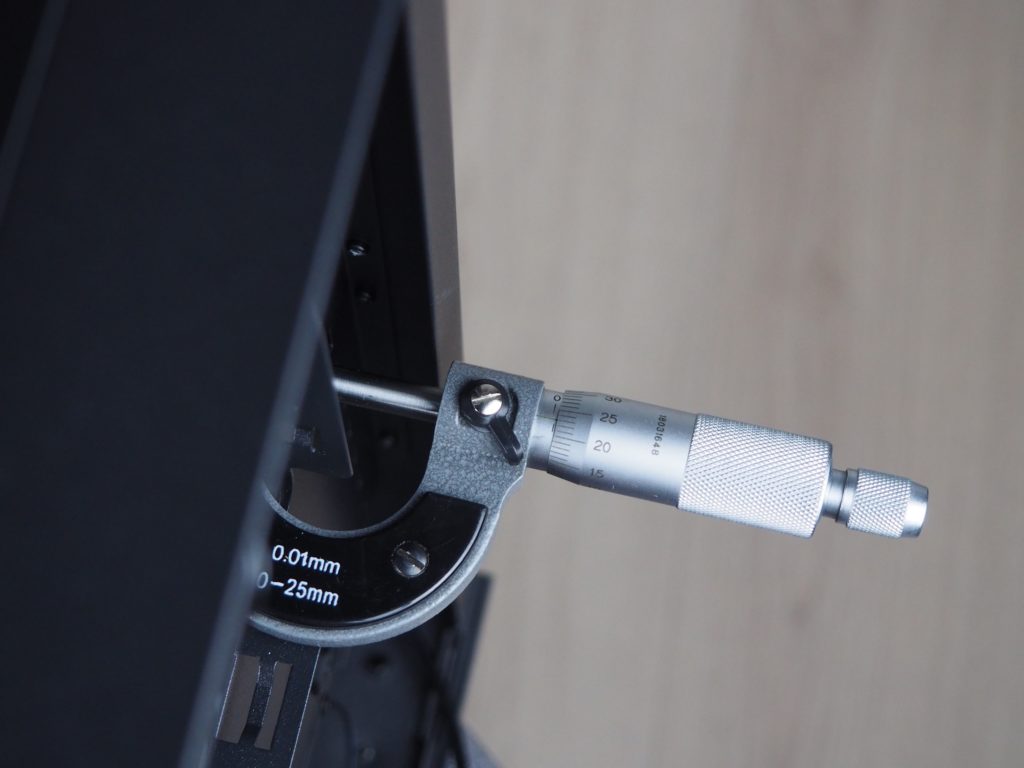
The thickness of the sheets varies from 0.7 to 0.75 mm, depending on the measuring point. Even though the measured value is decent, they bend more than I would expect, even with a slight touch.
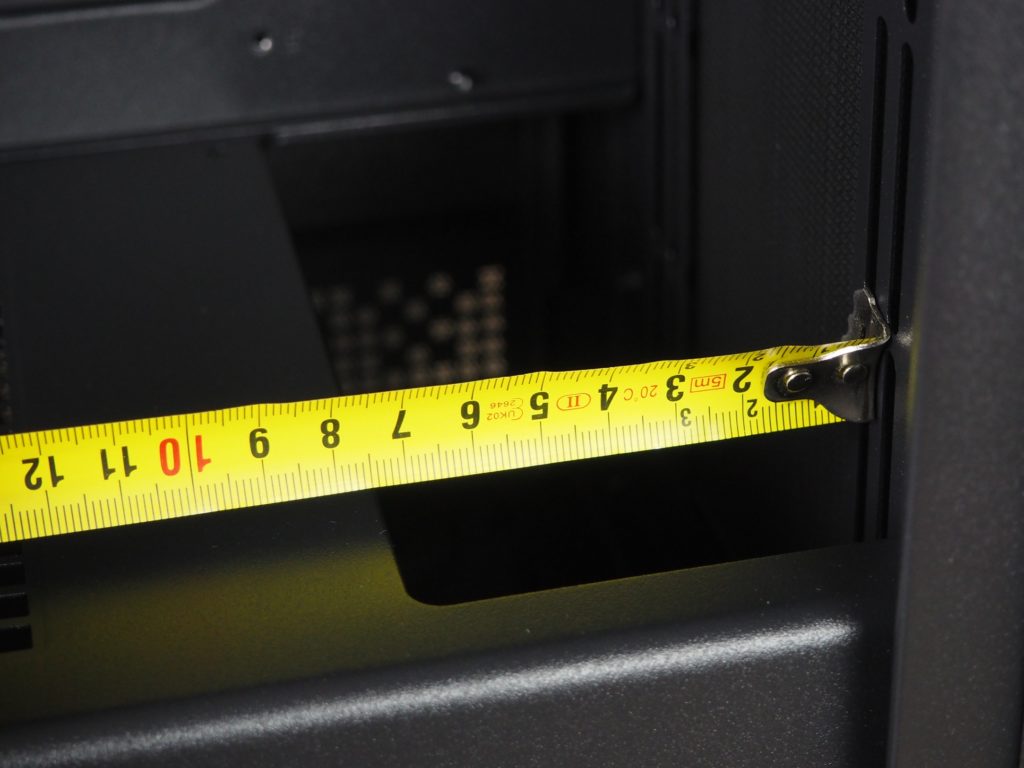
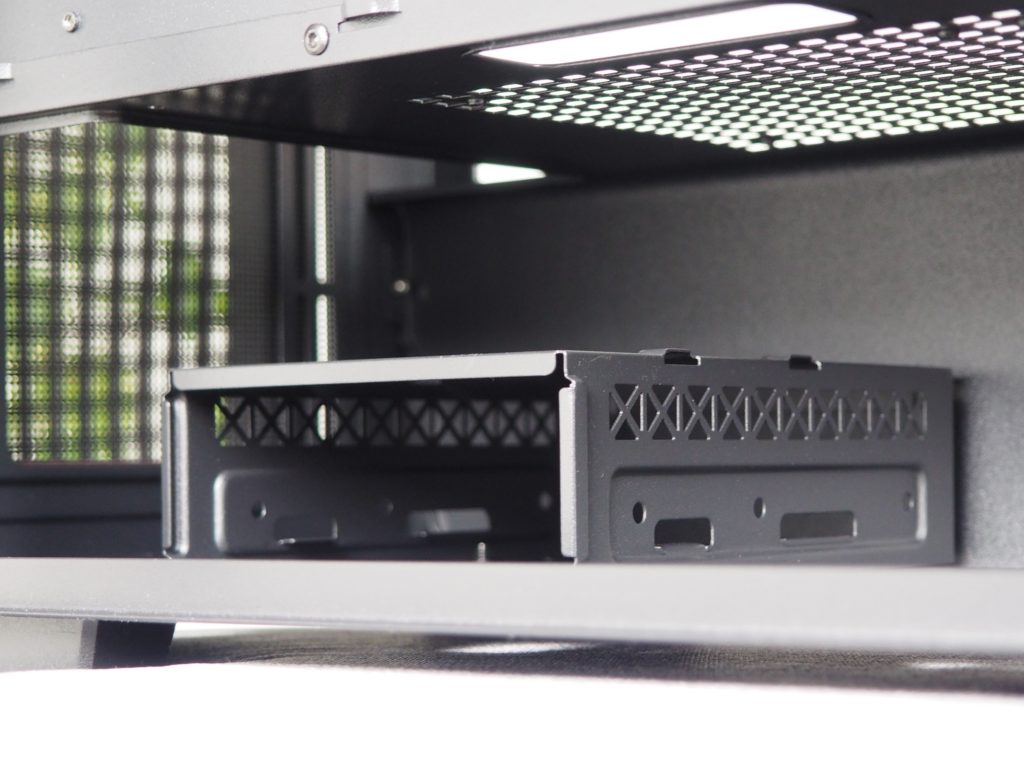
You can fit two 3.5″ HDDs in the tunnel compartment, and you can swap the format for 2.5″ storage in the top position. Behind it you have less than 240 mm of space for the power supply with cables, which was enough for me in the tested configuration. Mainly due to the fact that there is no compartment across the entire height of the tunnel. But if that wasn’t enough, you can move it closer to the front and gain another 25 mm.
Hardware installation was very easy and intuitive. There is plenty of room on both sides of the case for manipulation, and the cabling was easy to connect. Using multiple single-use zip ties would have made managing the cabling more appealing to the eye as well, but one was enough for the largest node of cables. There is no pressure on the metal side panel and it is easy to close.
- Contents
- Exterior
- Interior
- Test methodology
- CPU and GPU cooling tests
- Motherboard cooling tests
- SSD cooling tests and under-ceiling temperature
- Conclusion


