


Testing methodology
Aquarium or terrarium? In short, a proper glass (panoramic?) case with a good view of the components. It is not only the appearance that is supposed to be “attractive”, but also the abundant options for cooling, or rather installation of liquid coolers. And reconfiguring the system fans can also make sense with the DeepCool CH780. We chart the differences in the comparison tests as well.
Basic parameters
| Parameters | DeepCool |
| CH780 | |
| Supported motherboard formats | Mini-ITX, mATX, ATX, E-ATX |
| Supported PSU format | ATX/SFX |
| CPU cooler | up to 132 mm |
| Graphics cards | up to 480 mm |
| Fan | 9× 120 mm/9× 140 mm (3× pre-installed)/4× 180/200 mm |
| Supported liquid radiators | 3× up to 360/420 mm |
| 2,5" positions | 2 + 2 shared |
| 3,5" positions | 2 shared |
| 5,25" positions | 0 |
| Dimensions [H/D/W] (and volume) | 551 × 528 × 250 mm (69,7 l without feet) |
| Weight | 13.7 kg |
| Materials | steel + plastic + tempered glass |
| Connectivity | 4× USB 3.2 gen. 1 type A + 1× USB 3.2 gen. 2 type C + 1× 3,5mm jack |
| Approx. retail price | 179,99 EUR |
Exterior
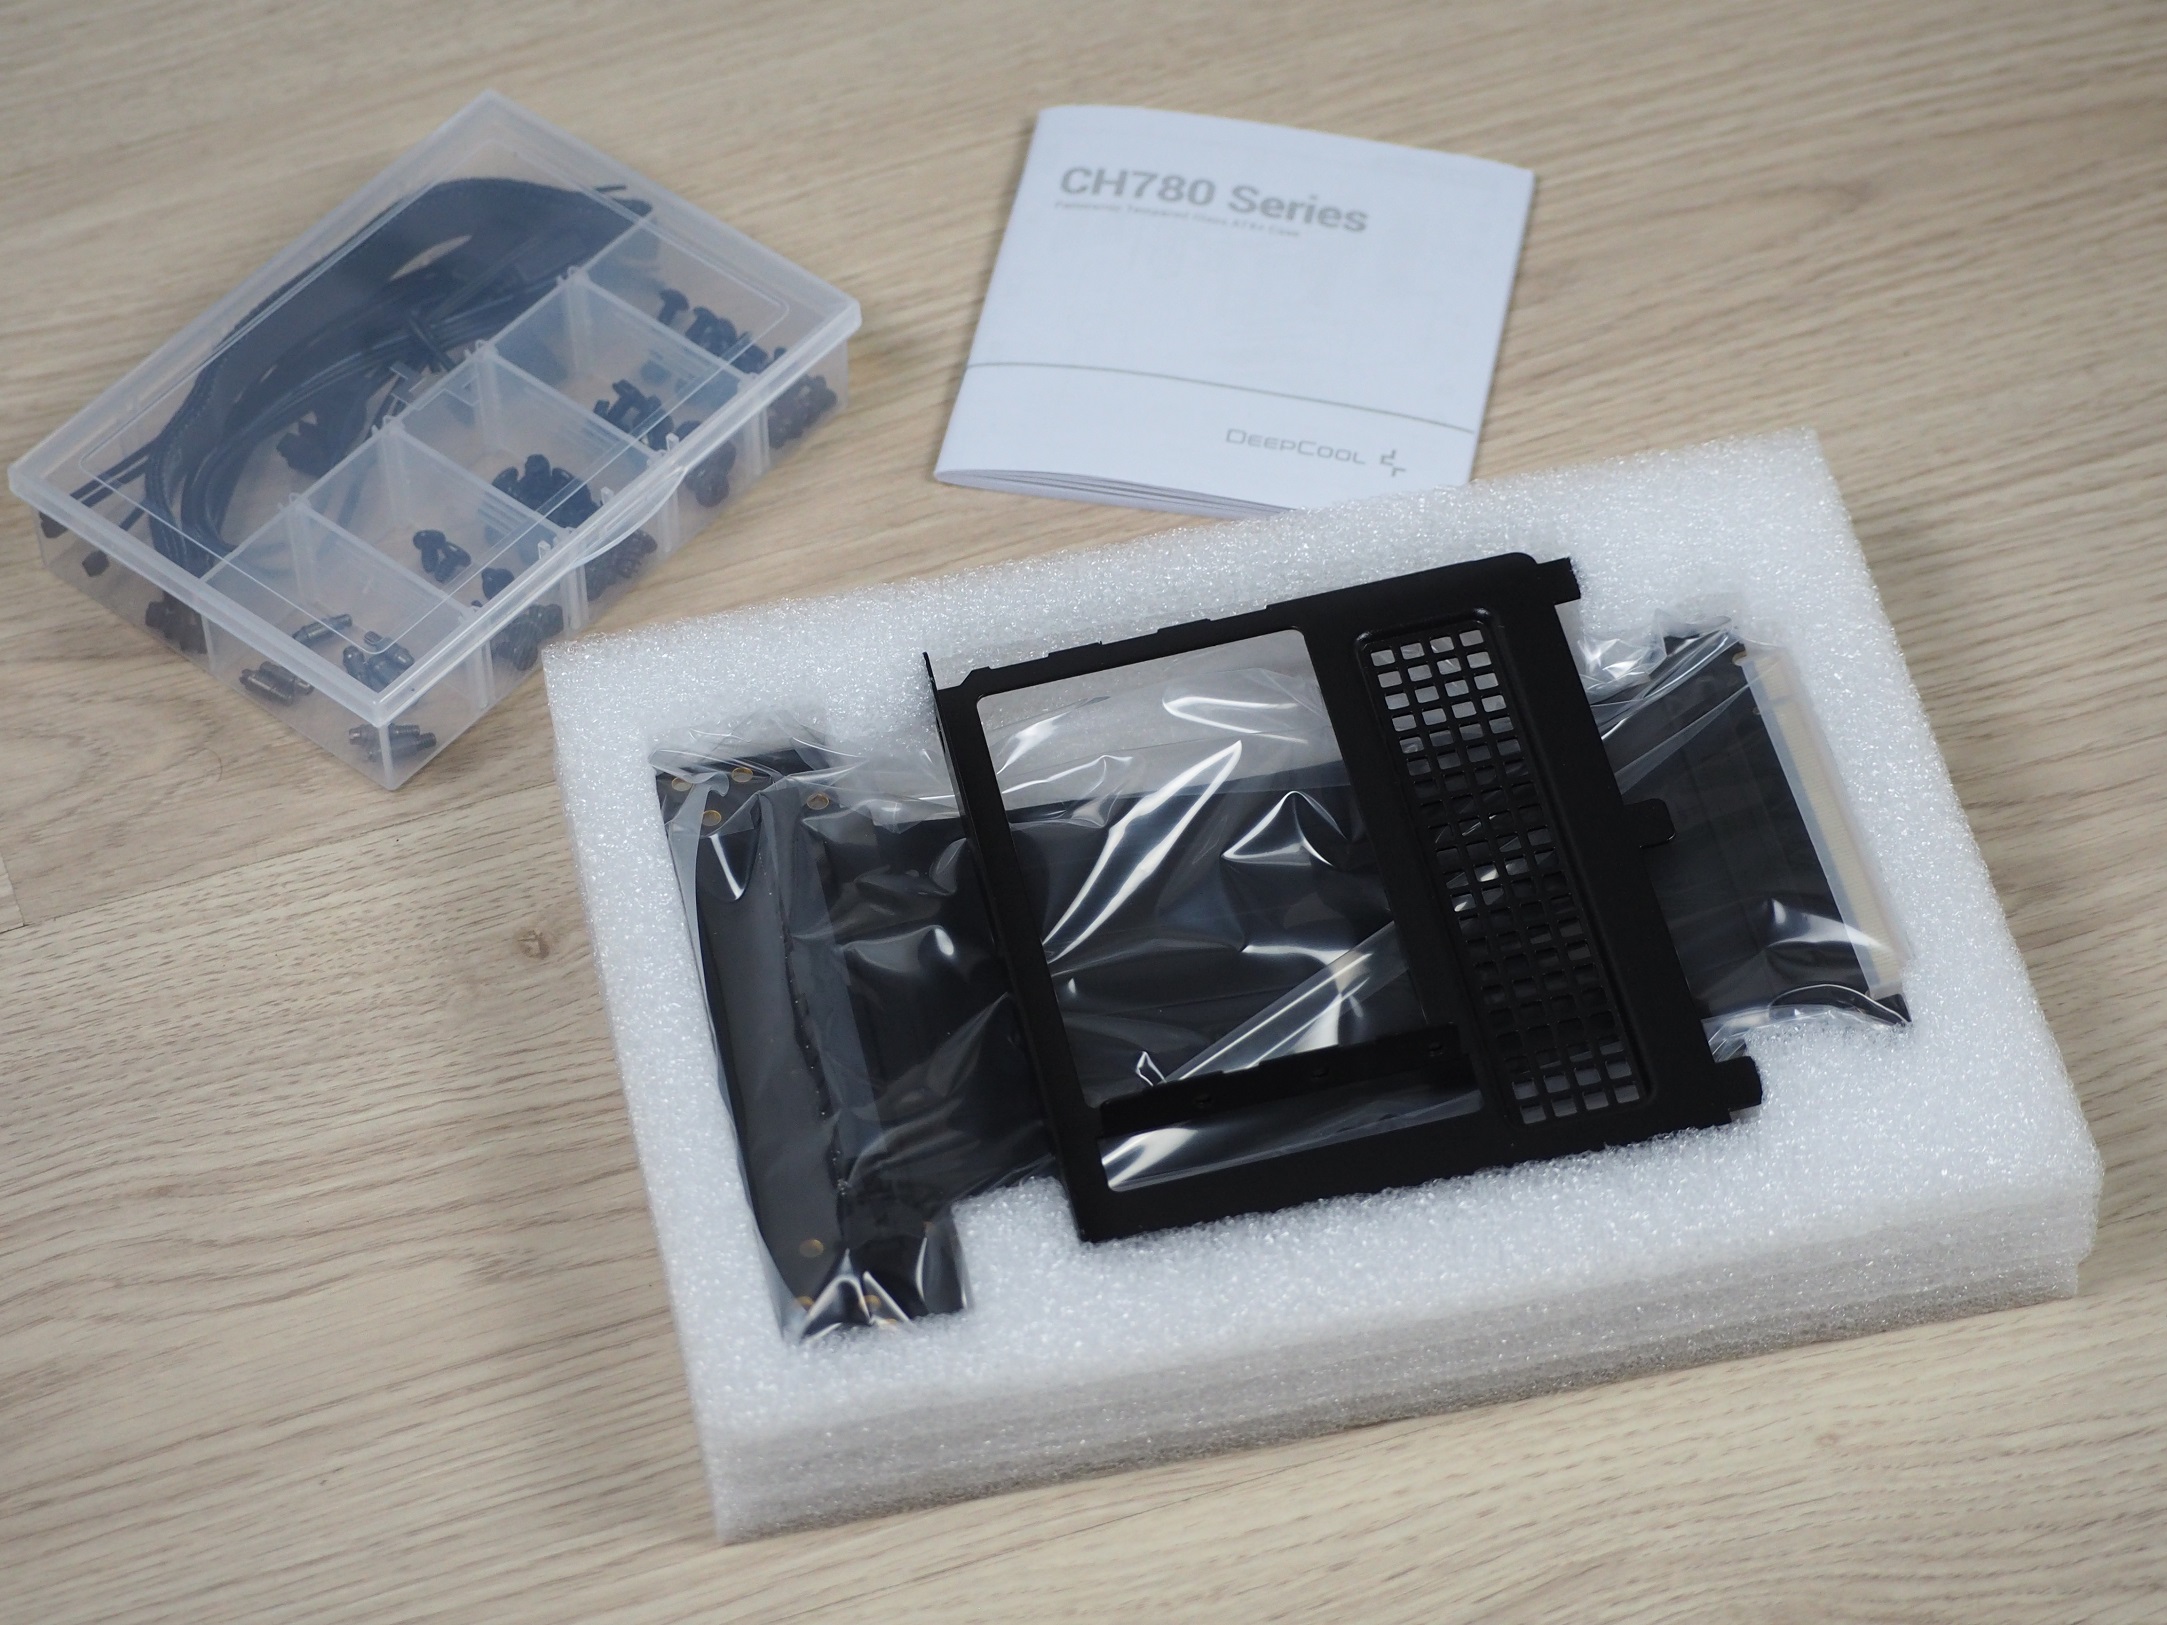
Regarding the packaging, I appreciate the protection of the case from damage. The foam filling used is very easy to handle and does not leave behind as much mess as, for example, polystyrene. The small accessories (screws, zip ties, …) are concentrated in a practical organizer with fixed dividers. A PCI Express riser with a bracket for vertical mounting of a graphics card is also a standard part (of the accessories).
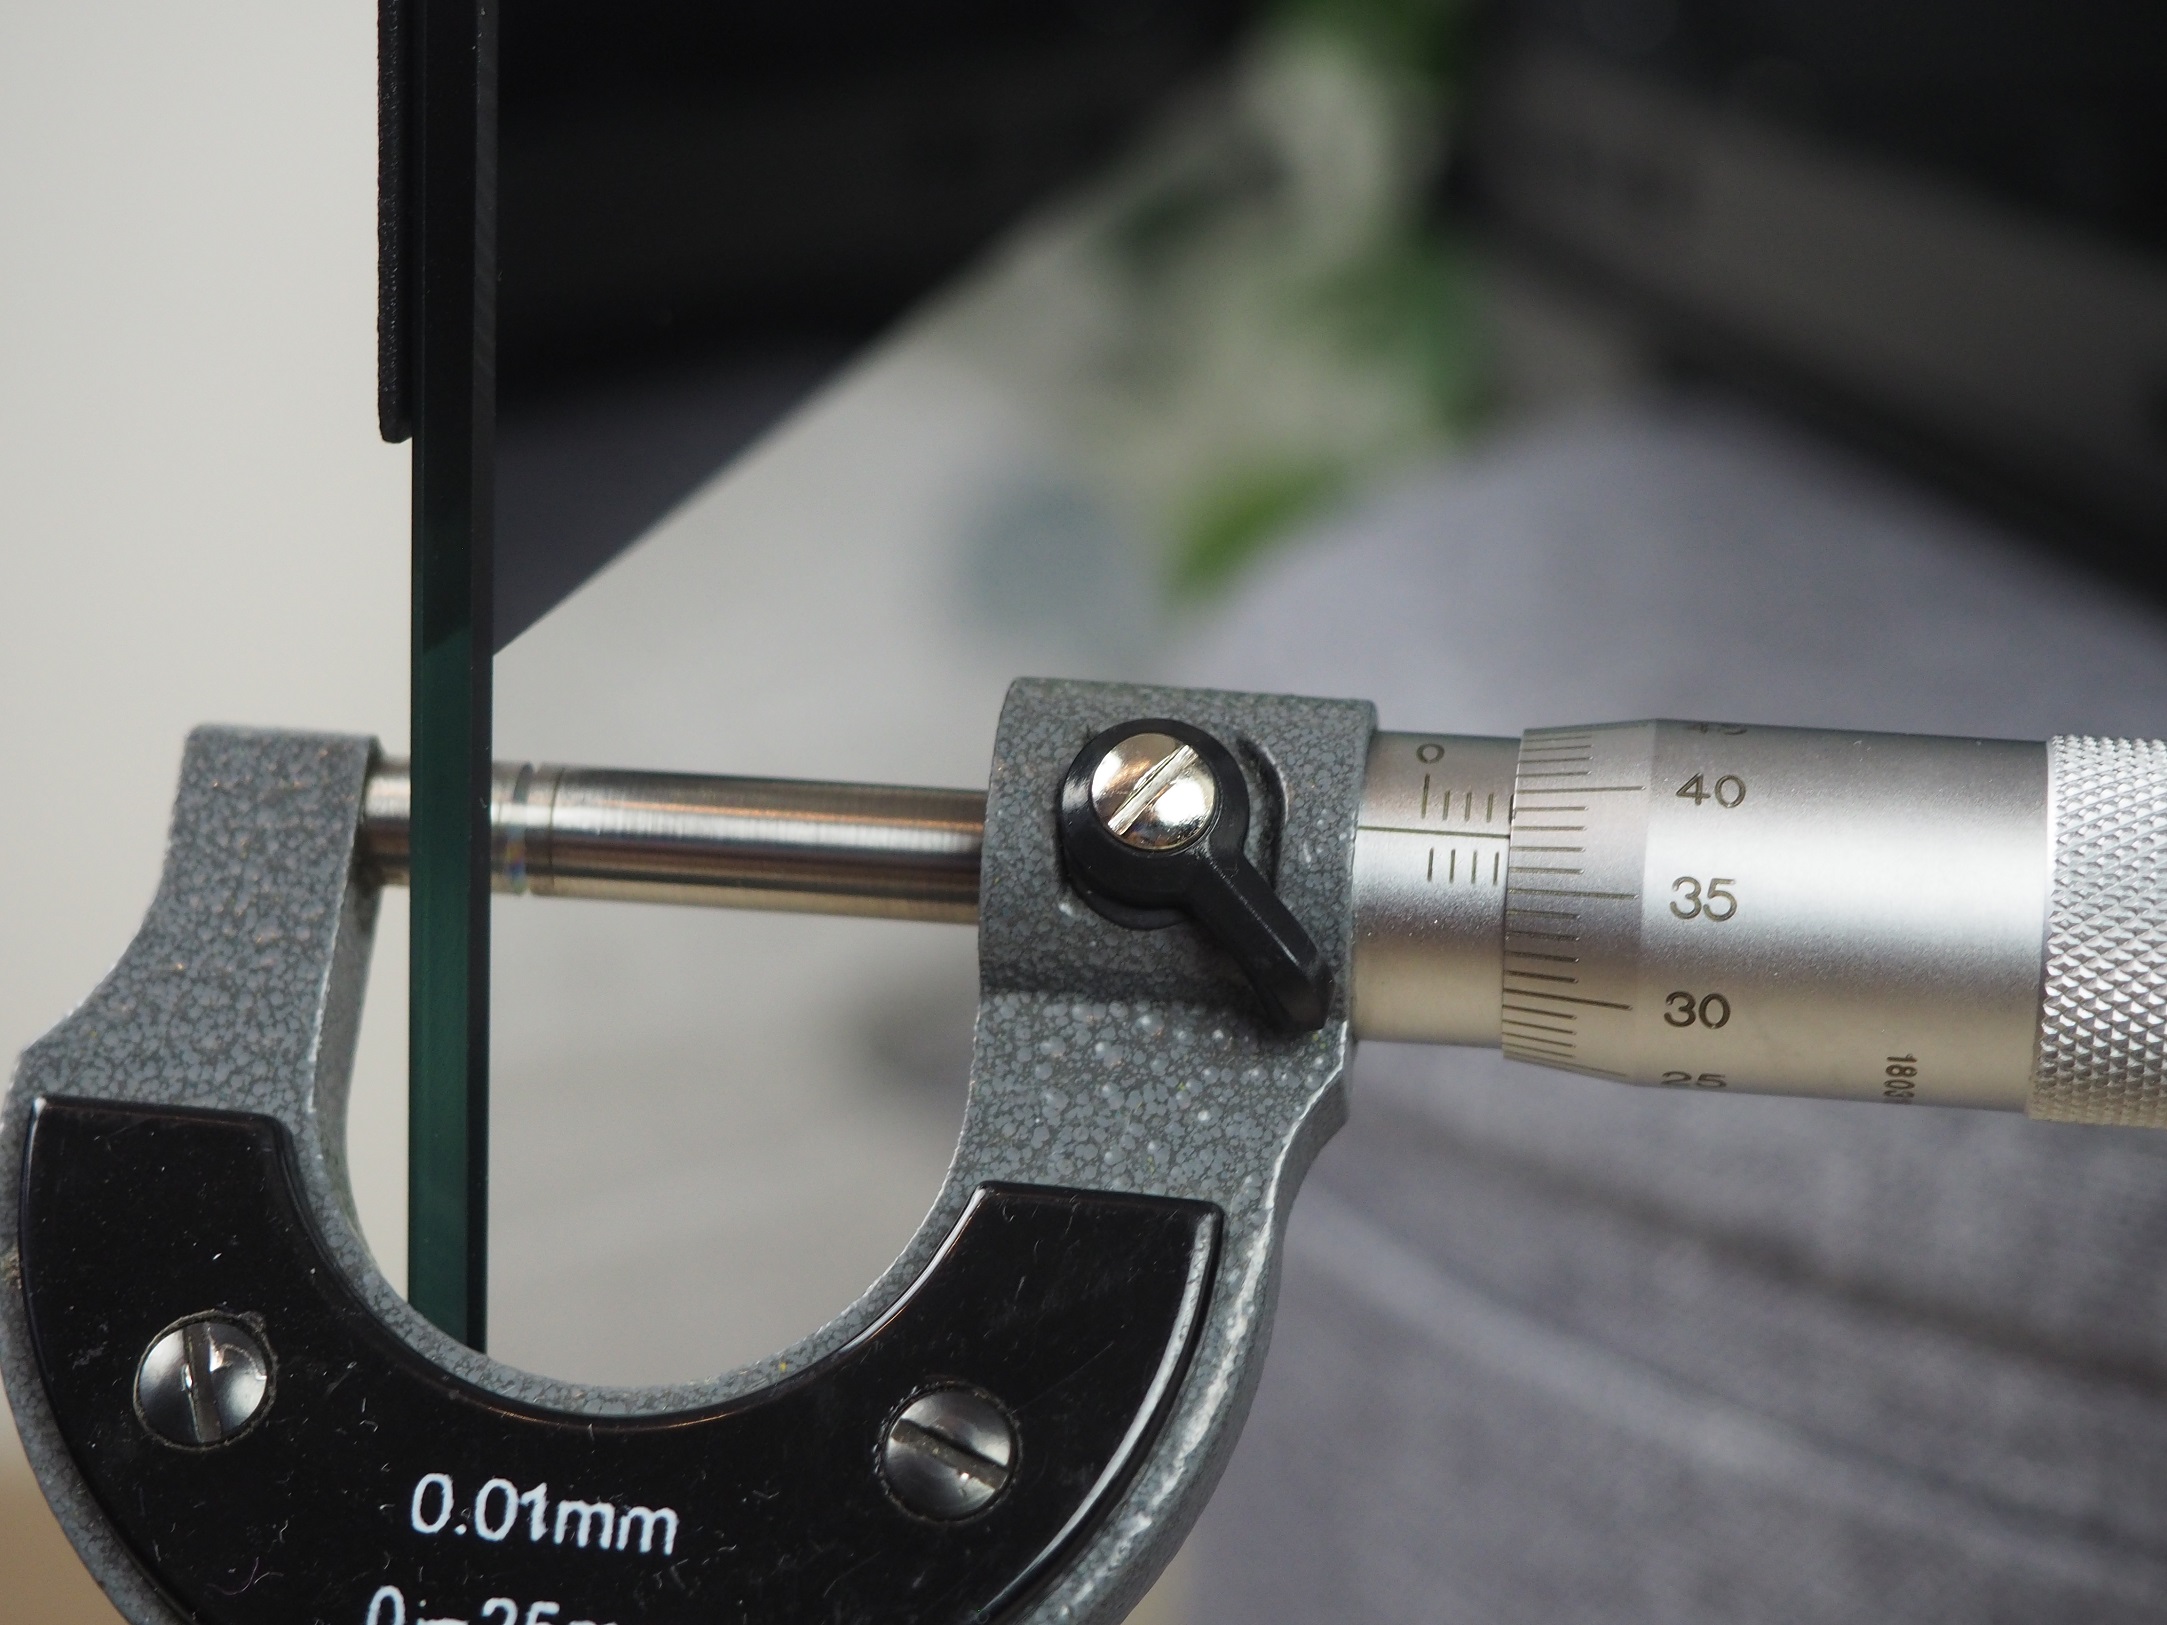
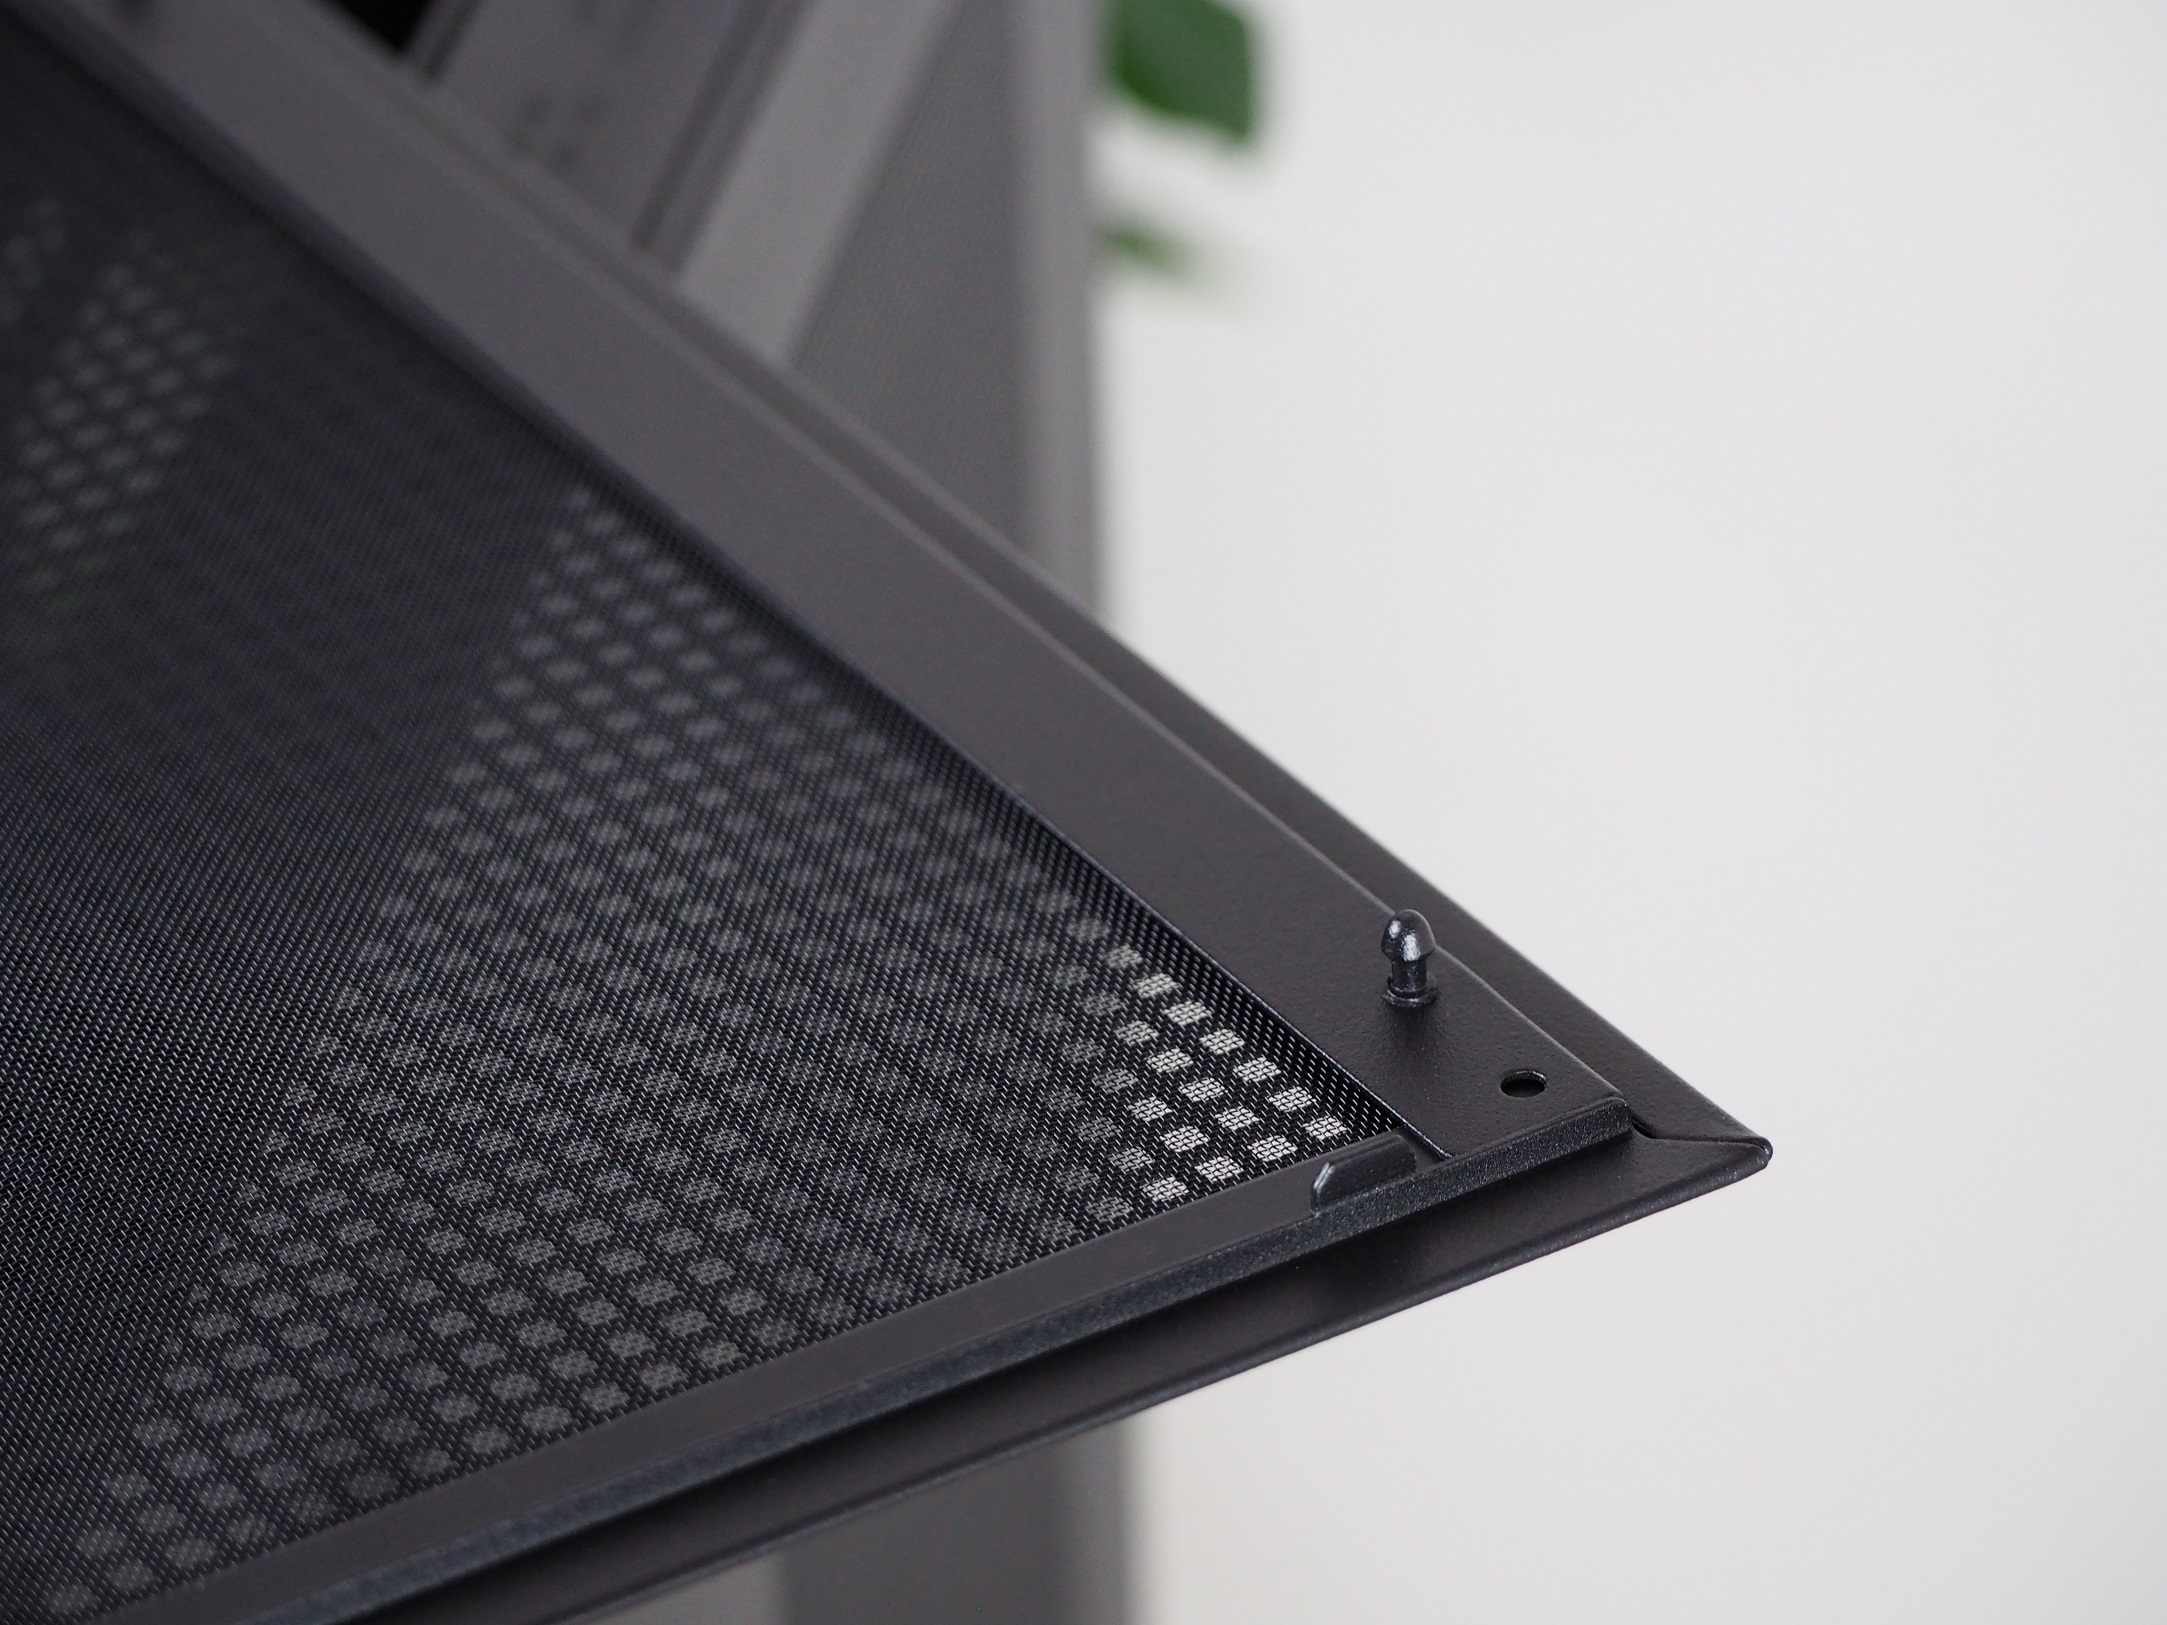
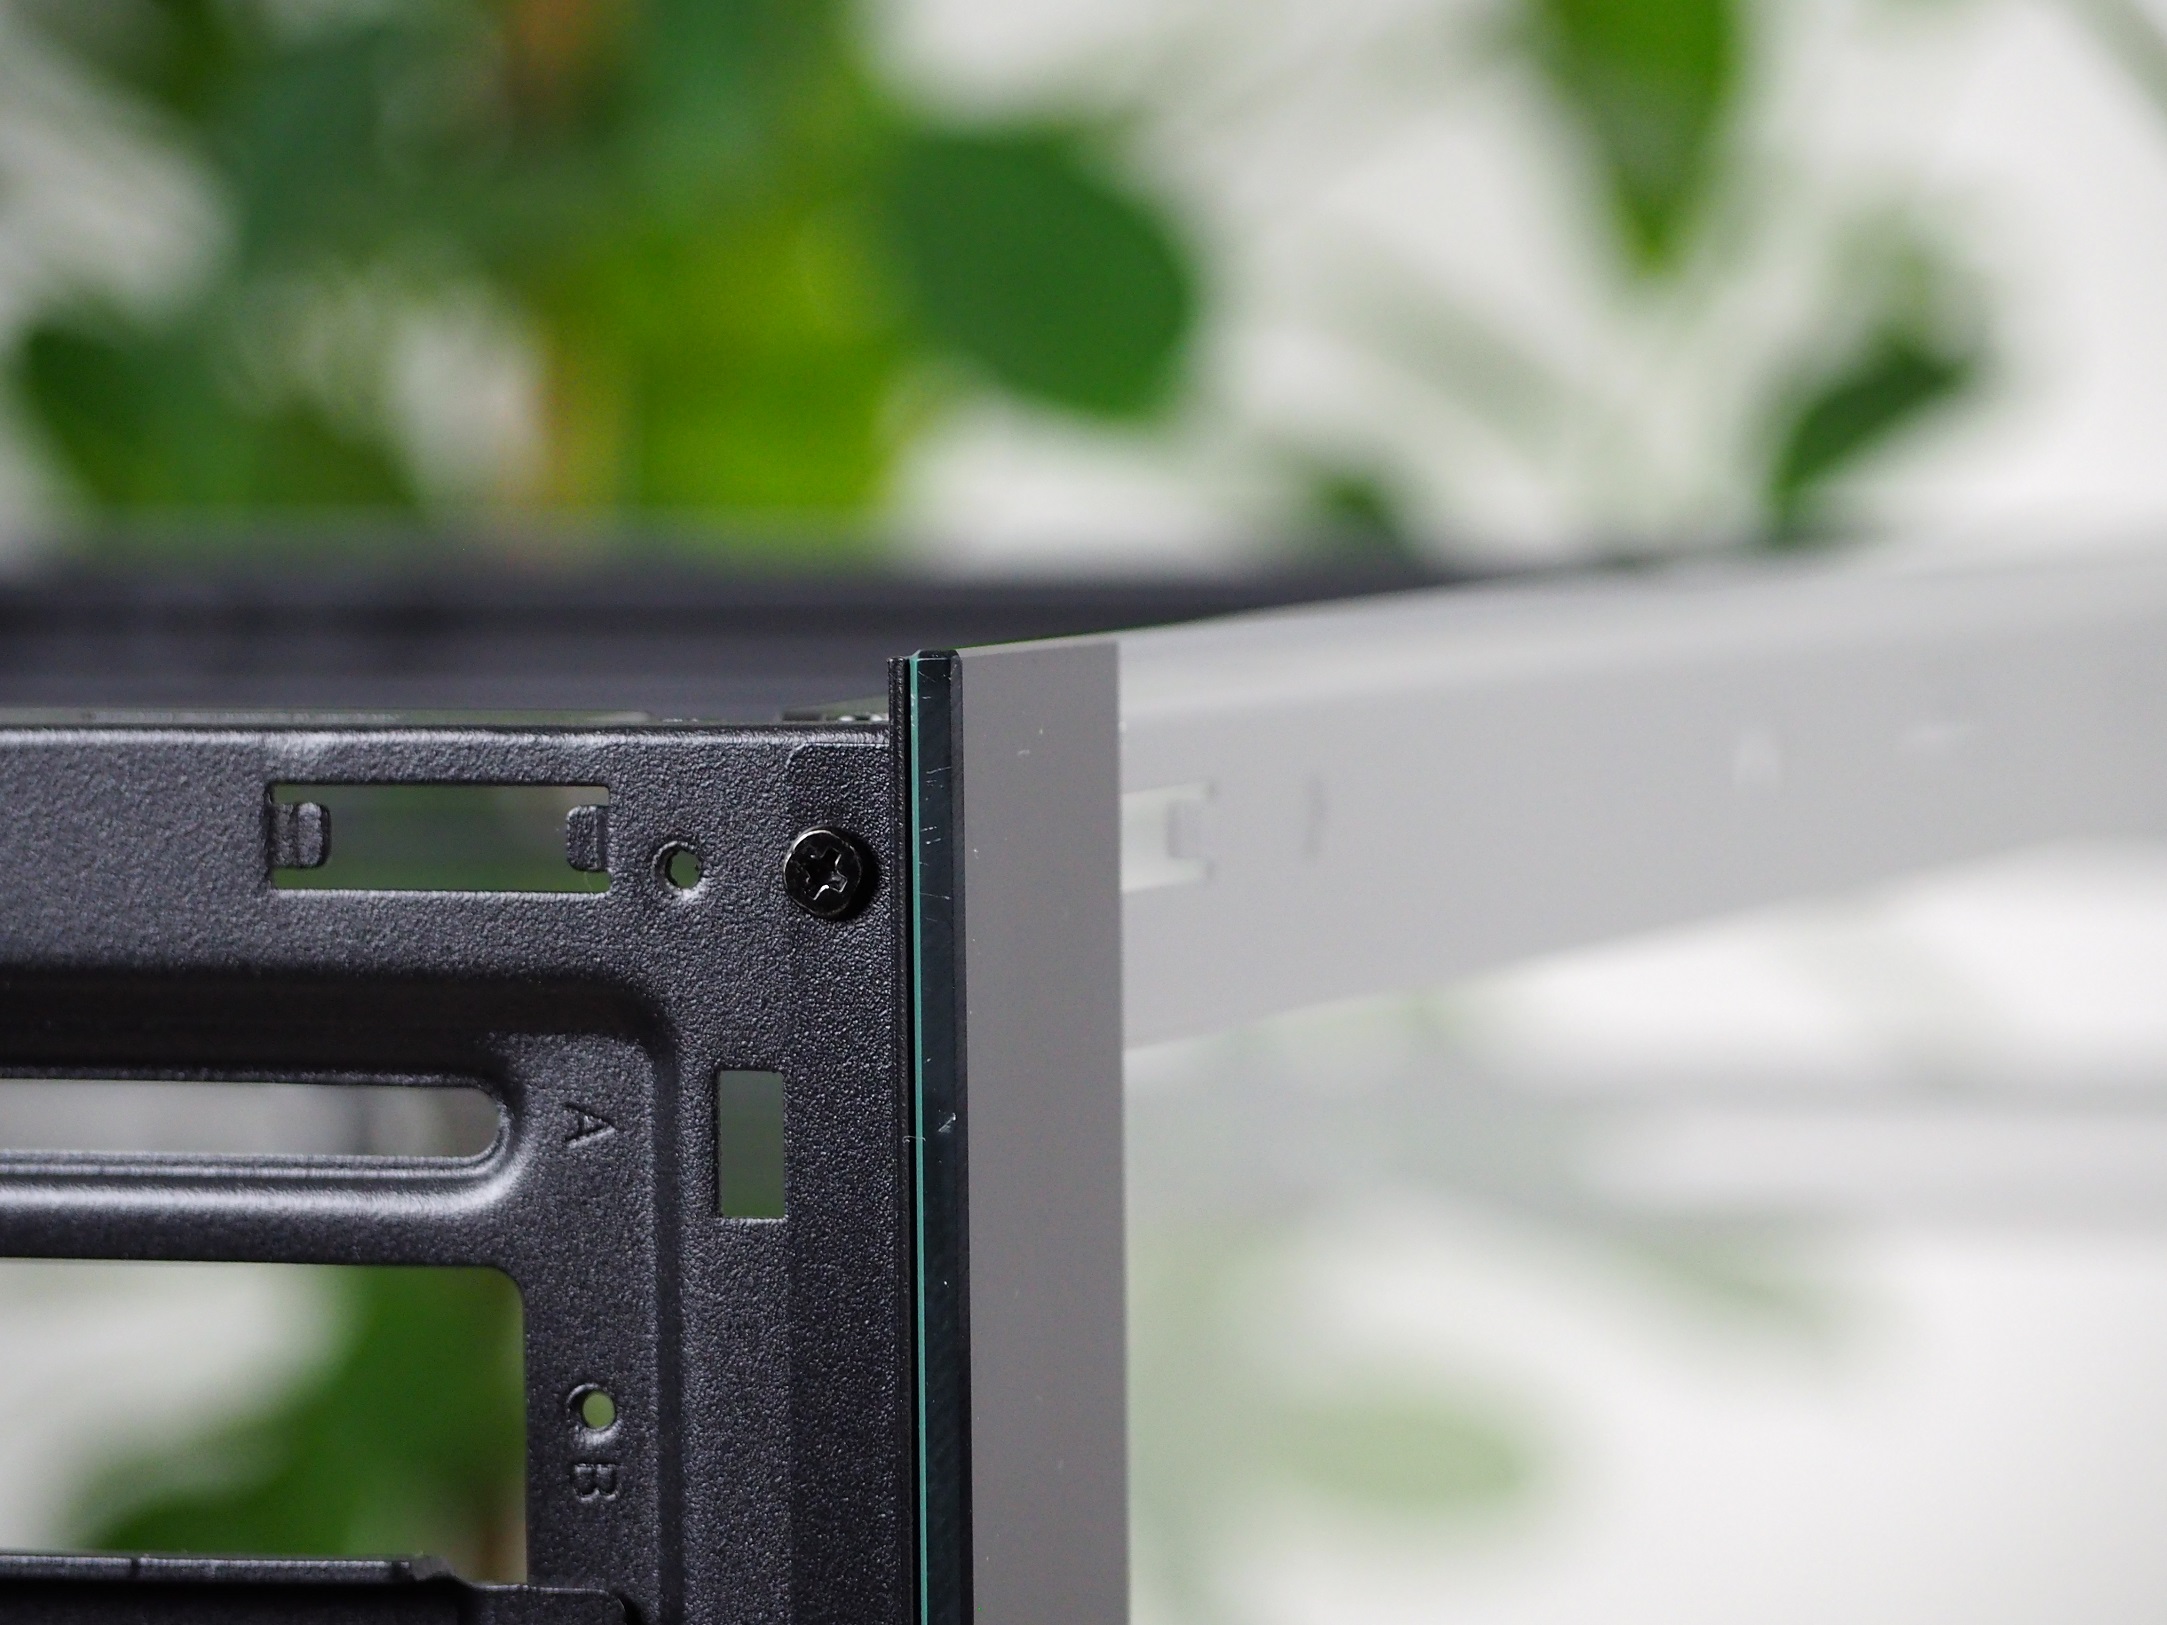
The front and left part of the case exterior is made of tempered glass. It is 3.90 mm thick. The left side panel is attached to the frame via a ratchet mechanism, which is becoming increasingly popular among case manufacturers. I have to say, though, that the initial removal of the side panel from the frame was a struggle. It was held in so tightly that I was worried about damaging the glass when pulling it off.
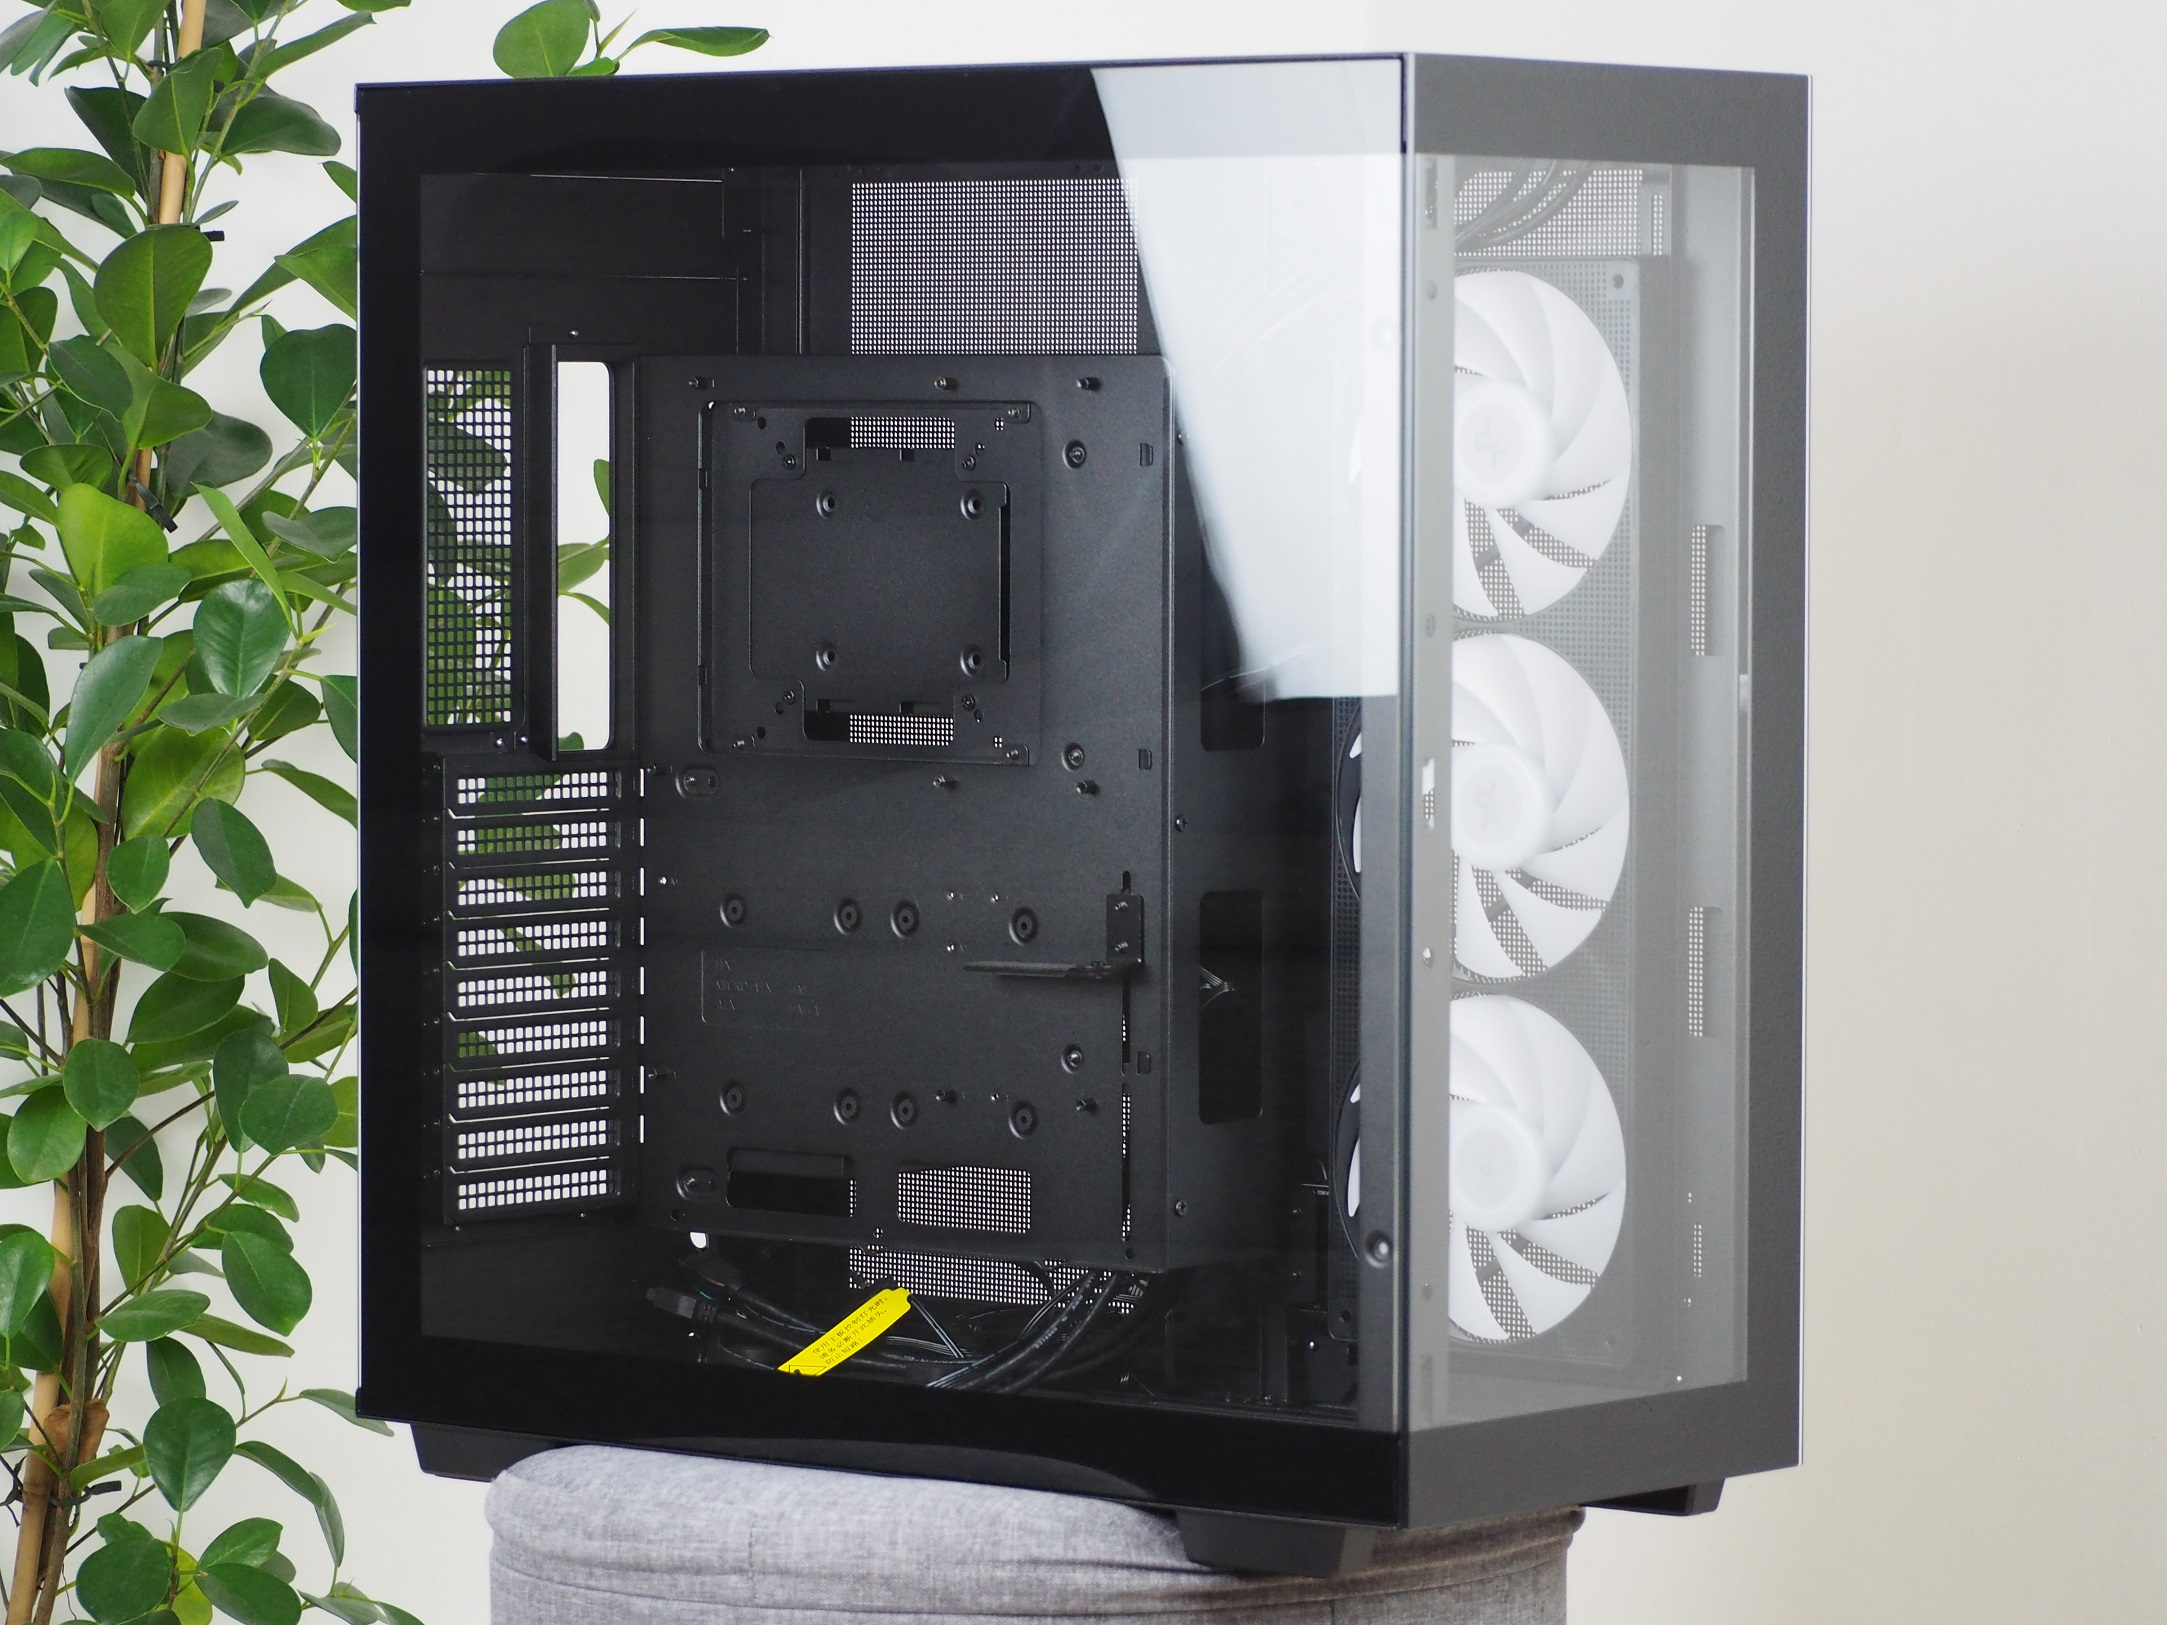
The right side of the case is constituted by a large metal side panel. It is solid even with two large perforations and there is minimal flexing of the side panel. This is mainly due to the thickness of the sheet metal, which is almost one millimetre. The manufacturer has not forgotten about effective mounting of this panel either. On the top and on the sides of the sheet metal there are conical latches, which hold the entire side panel on the case firmly enough.
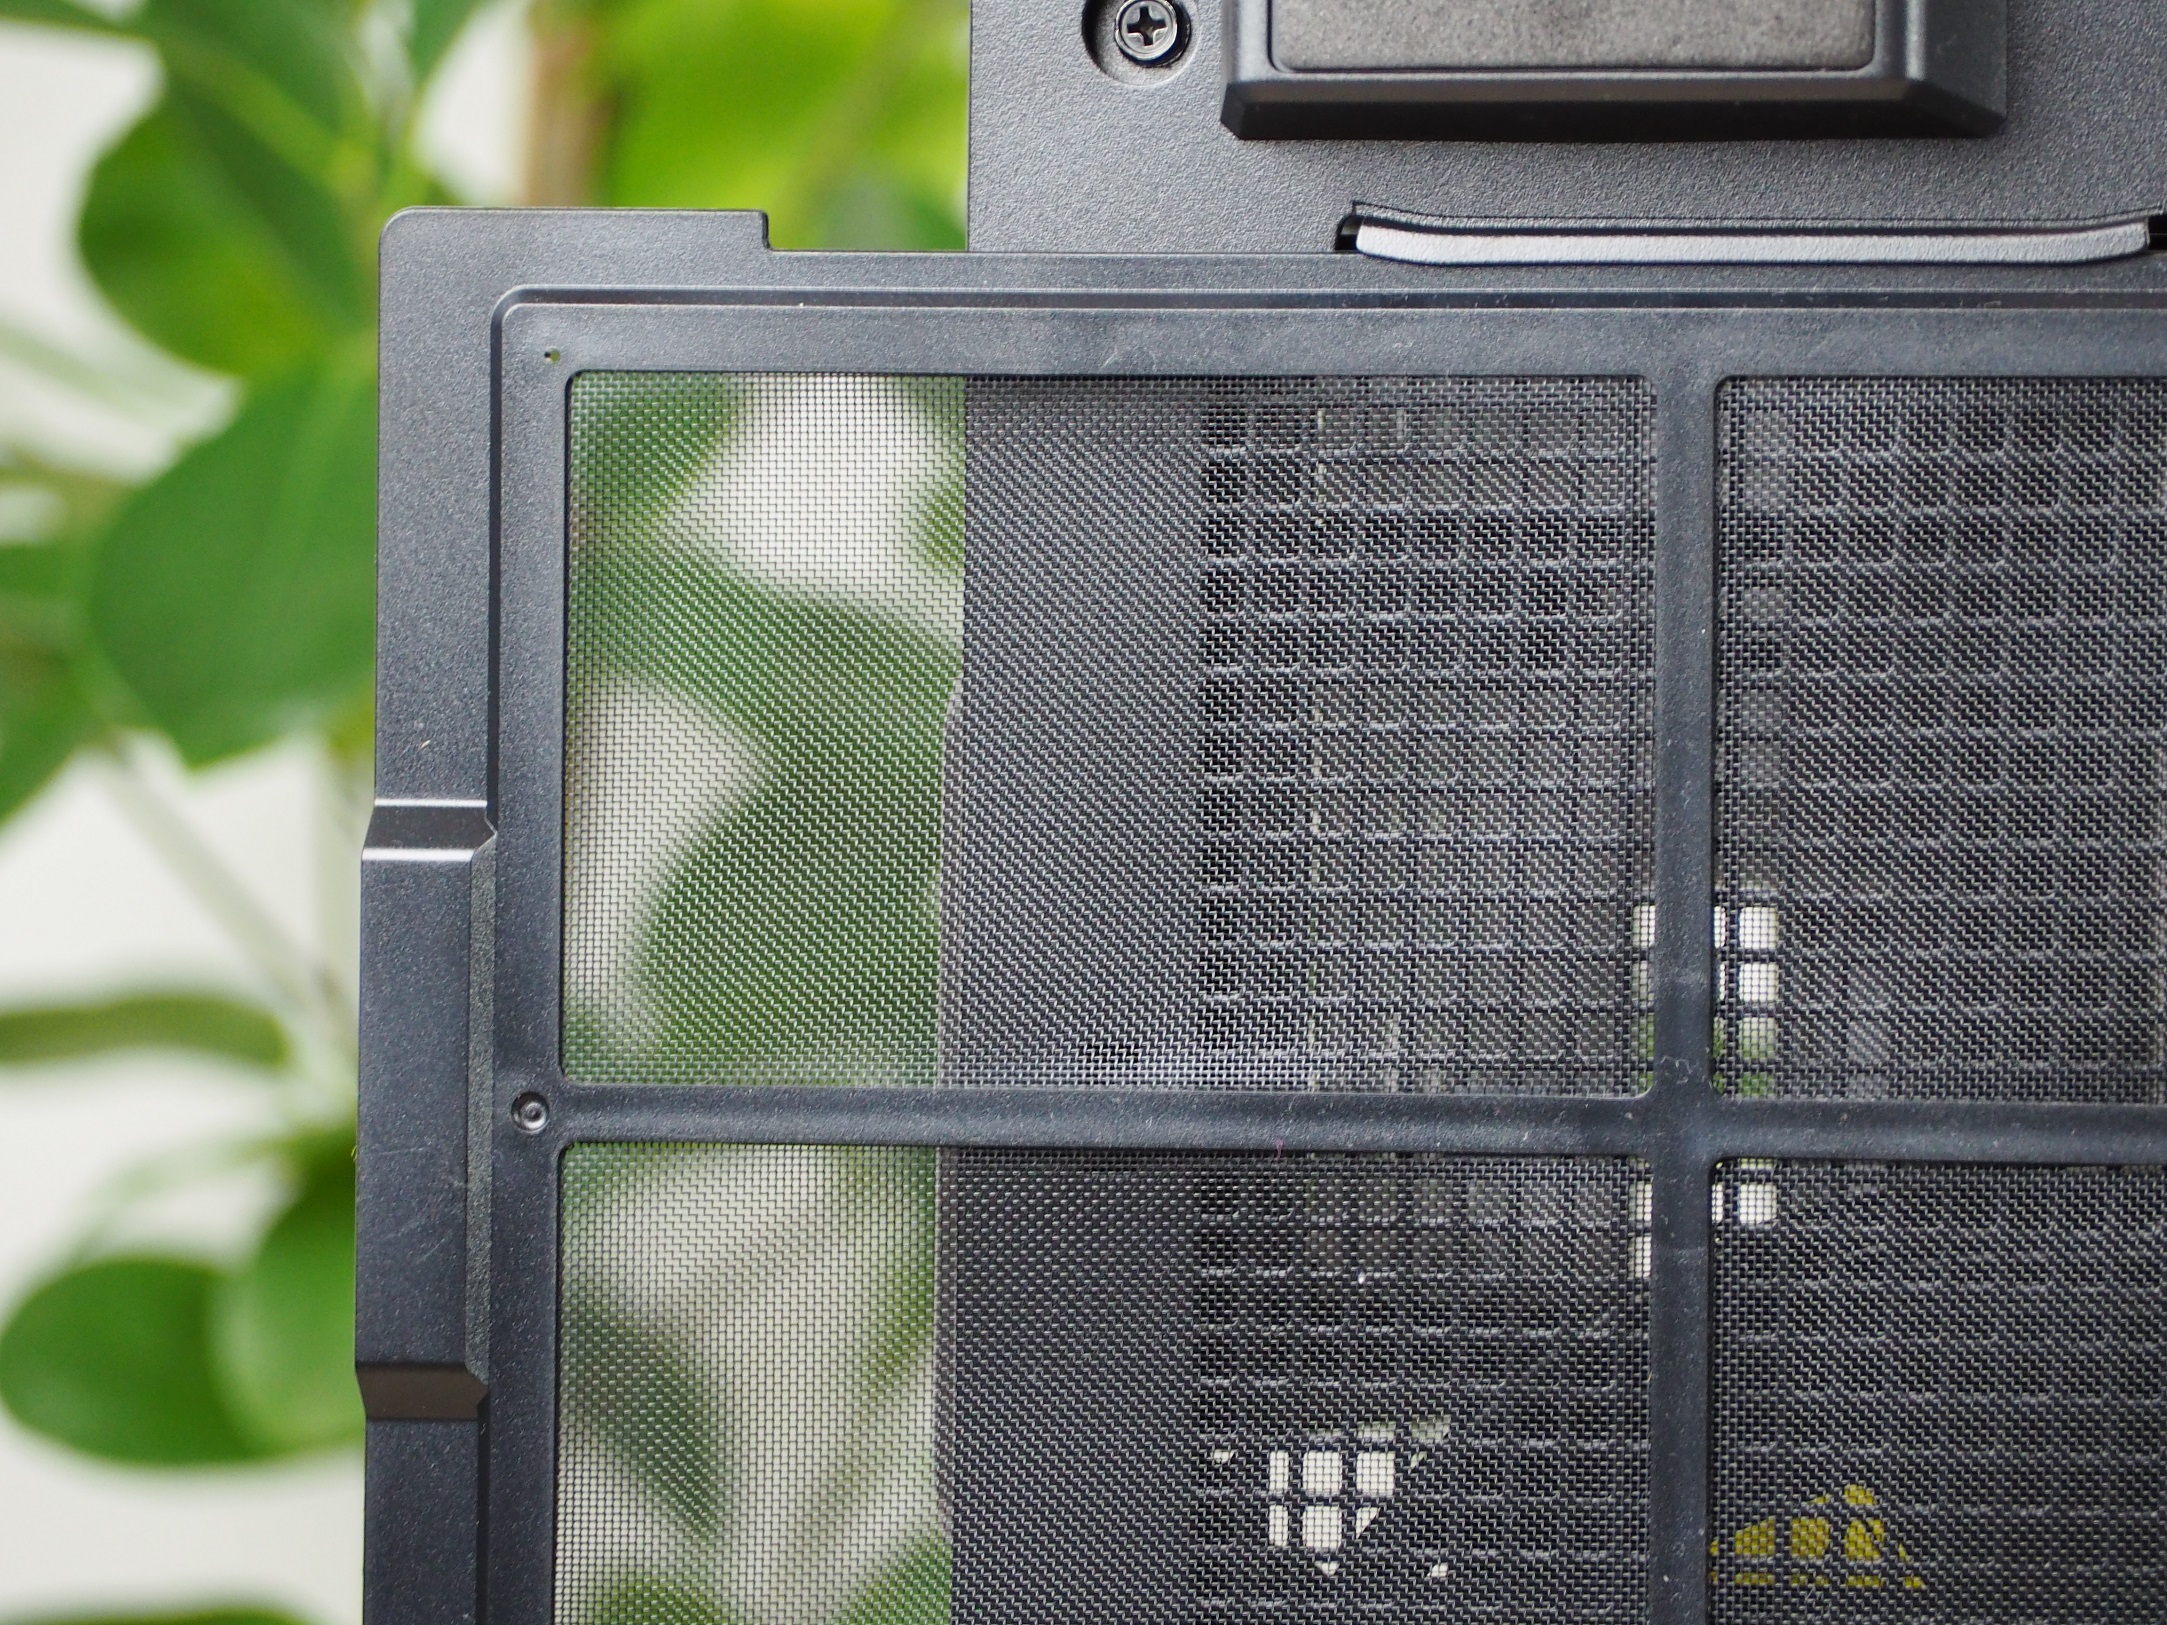
There is no dust filter behind the one and a half millimetre holes in the perforation. This makes it an ideal position for blowing warm air out of the case, instead of sucking in cool air.
A large percentage of the top of the case is again made up of holes. In this case, they are even slightly larger than on the right side, 4 mm. The advantage of the top section is that it also has a fine dust filter built into the panel. This is held onto the case with the same ratchet mechanism, but from the rear the panel is secured with two screws. These remain on the panel even after unscrewing. Since they are loose, it happened to me several times when putting the panel on that they got in the way of the ratchet mechanism being correctly secured. They simply need to be fiddled with to allow the sheet metal to fully contact the case frame.
The dominant feature of the top is the I/O panel located along the right edge. Here you will find as many as six connectors in total. Four of these are USB Type-A ports and one faster USB Type-C port. The last connector is a 3.5mm Jack, which is a joint headphone and microphone jack. The first and larger of the two buttons is for turning the computer on/off. Its activation path is relatively short and will give you both a tactile and audible response when activated. The small button is used to change the backlight mode. This is more difficult to press because of its size and also the longer activation path. Especially when you have the computer on your desk and you want to turn off/change the backlight from the comfort of your chair. The last part of the I/O panel is a strong white LED that indicates the computer is on.

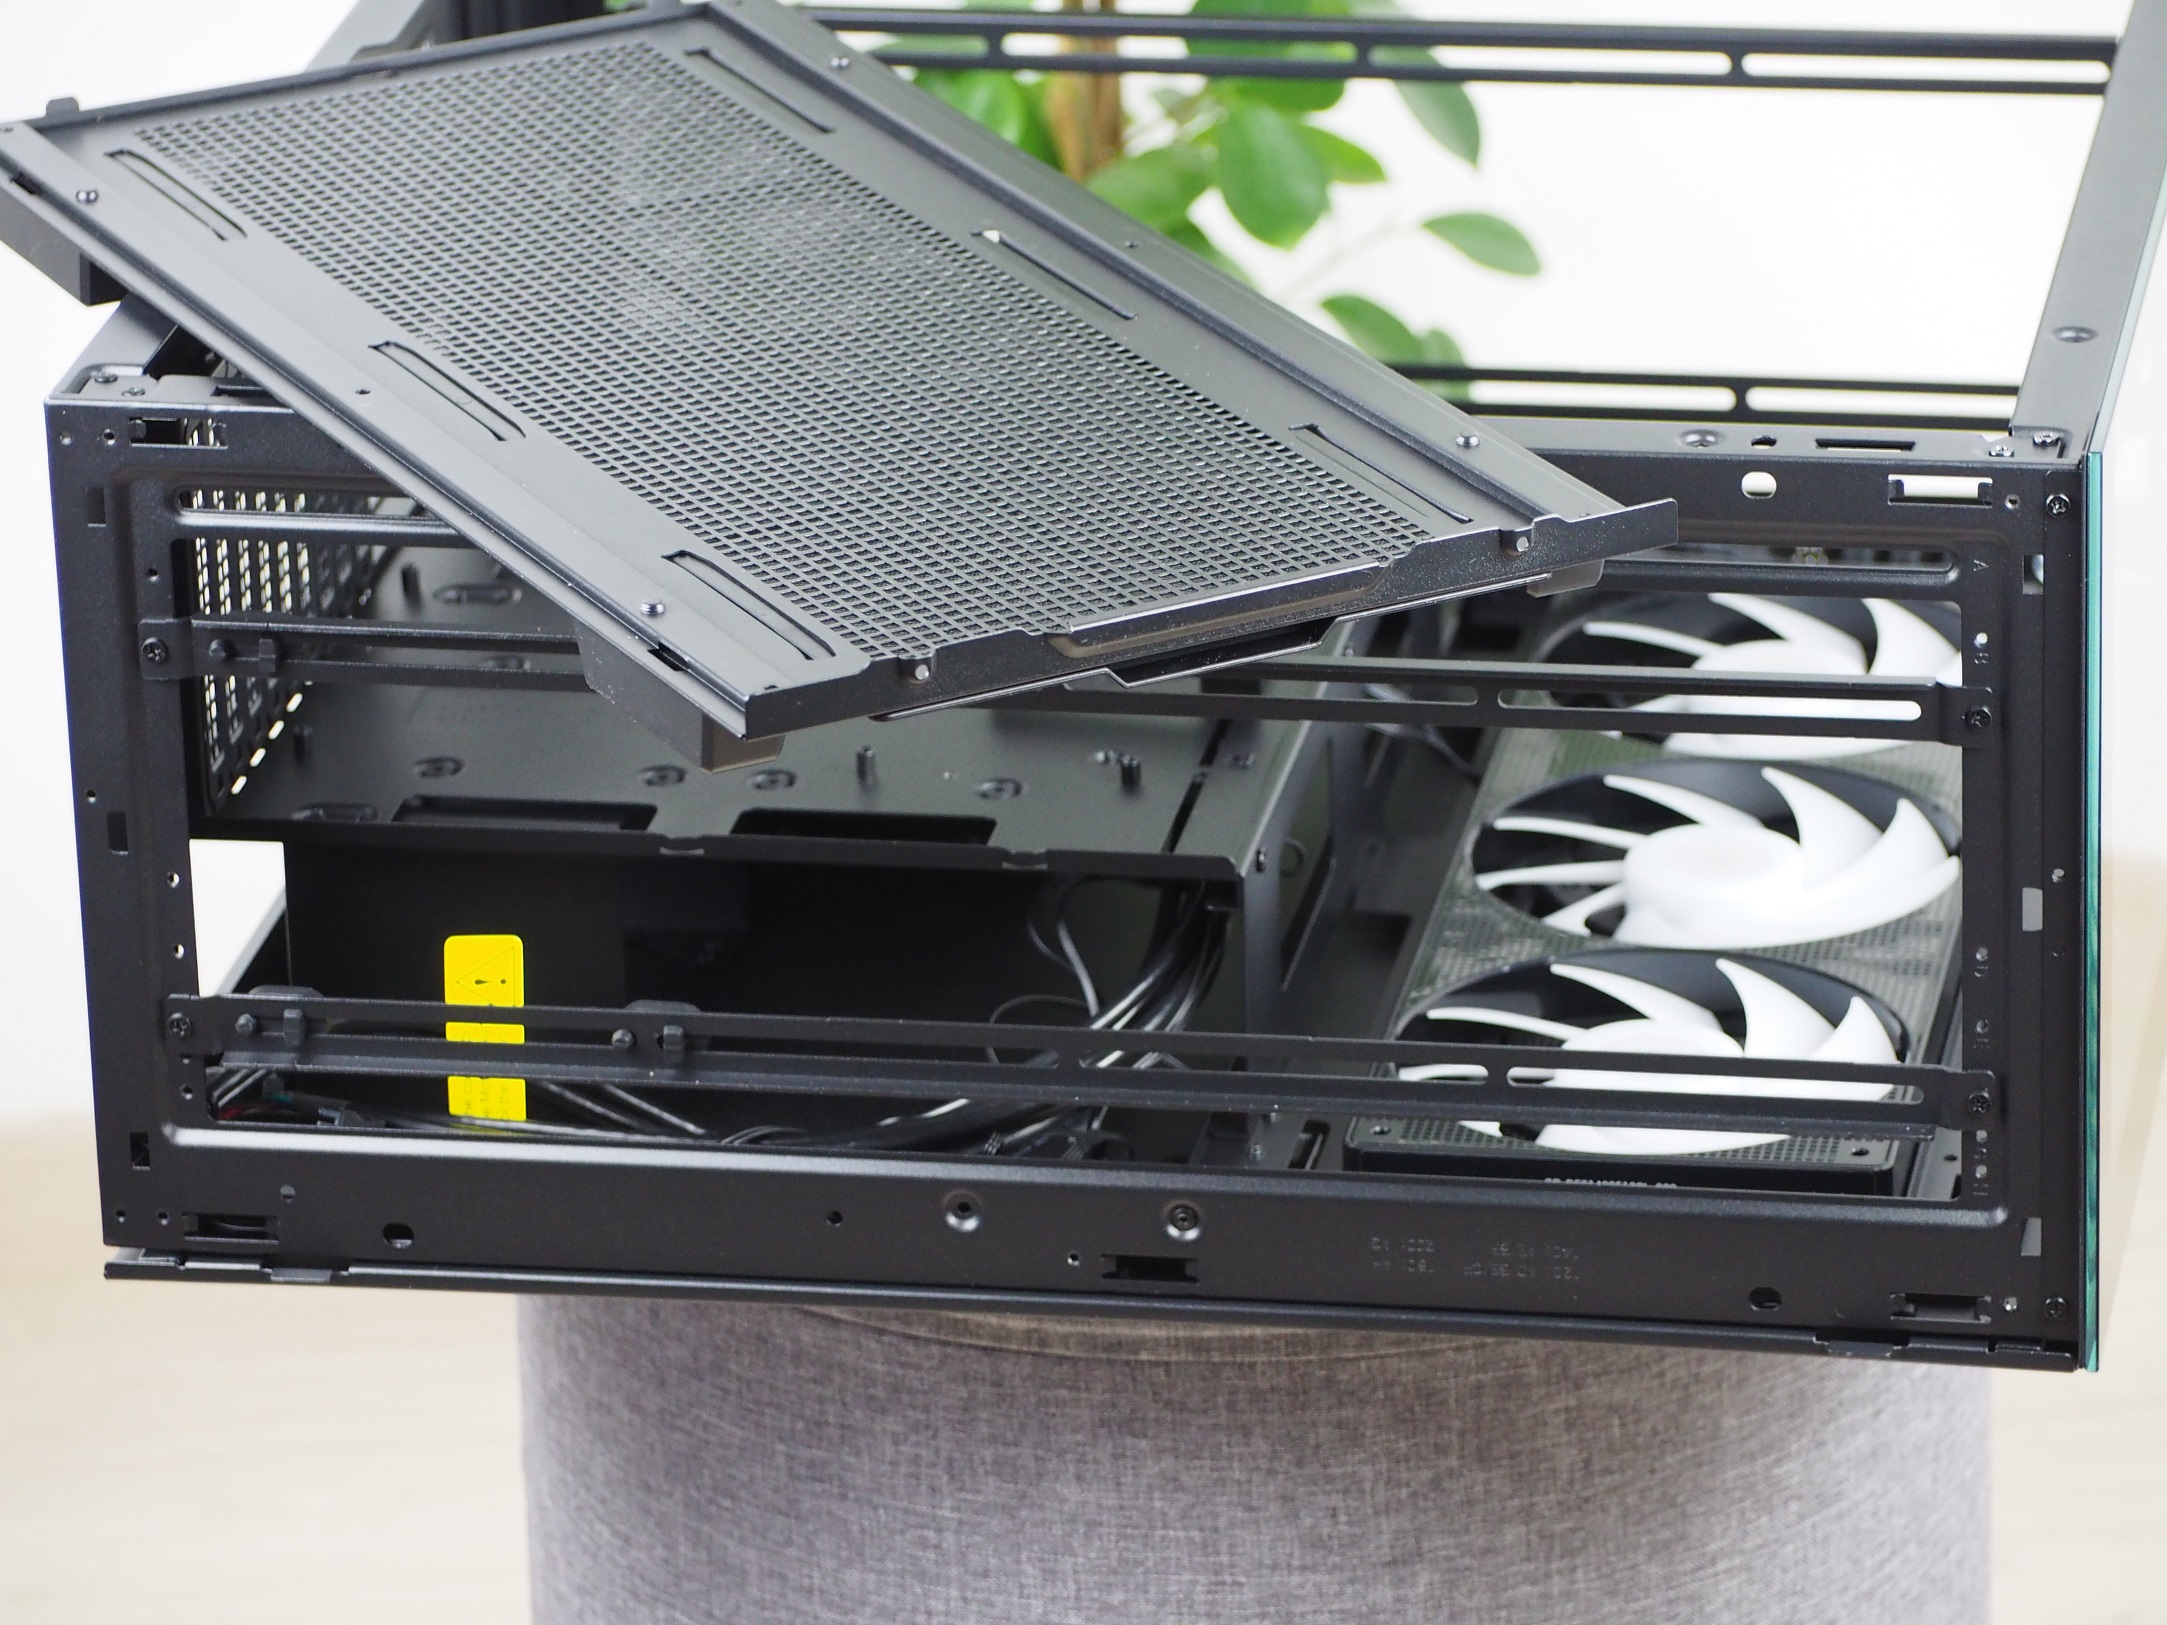
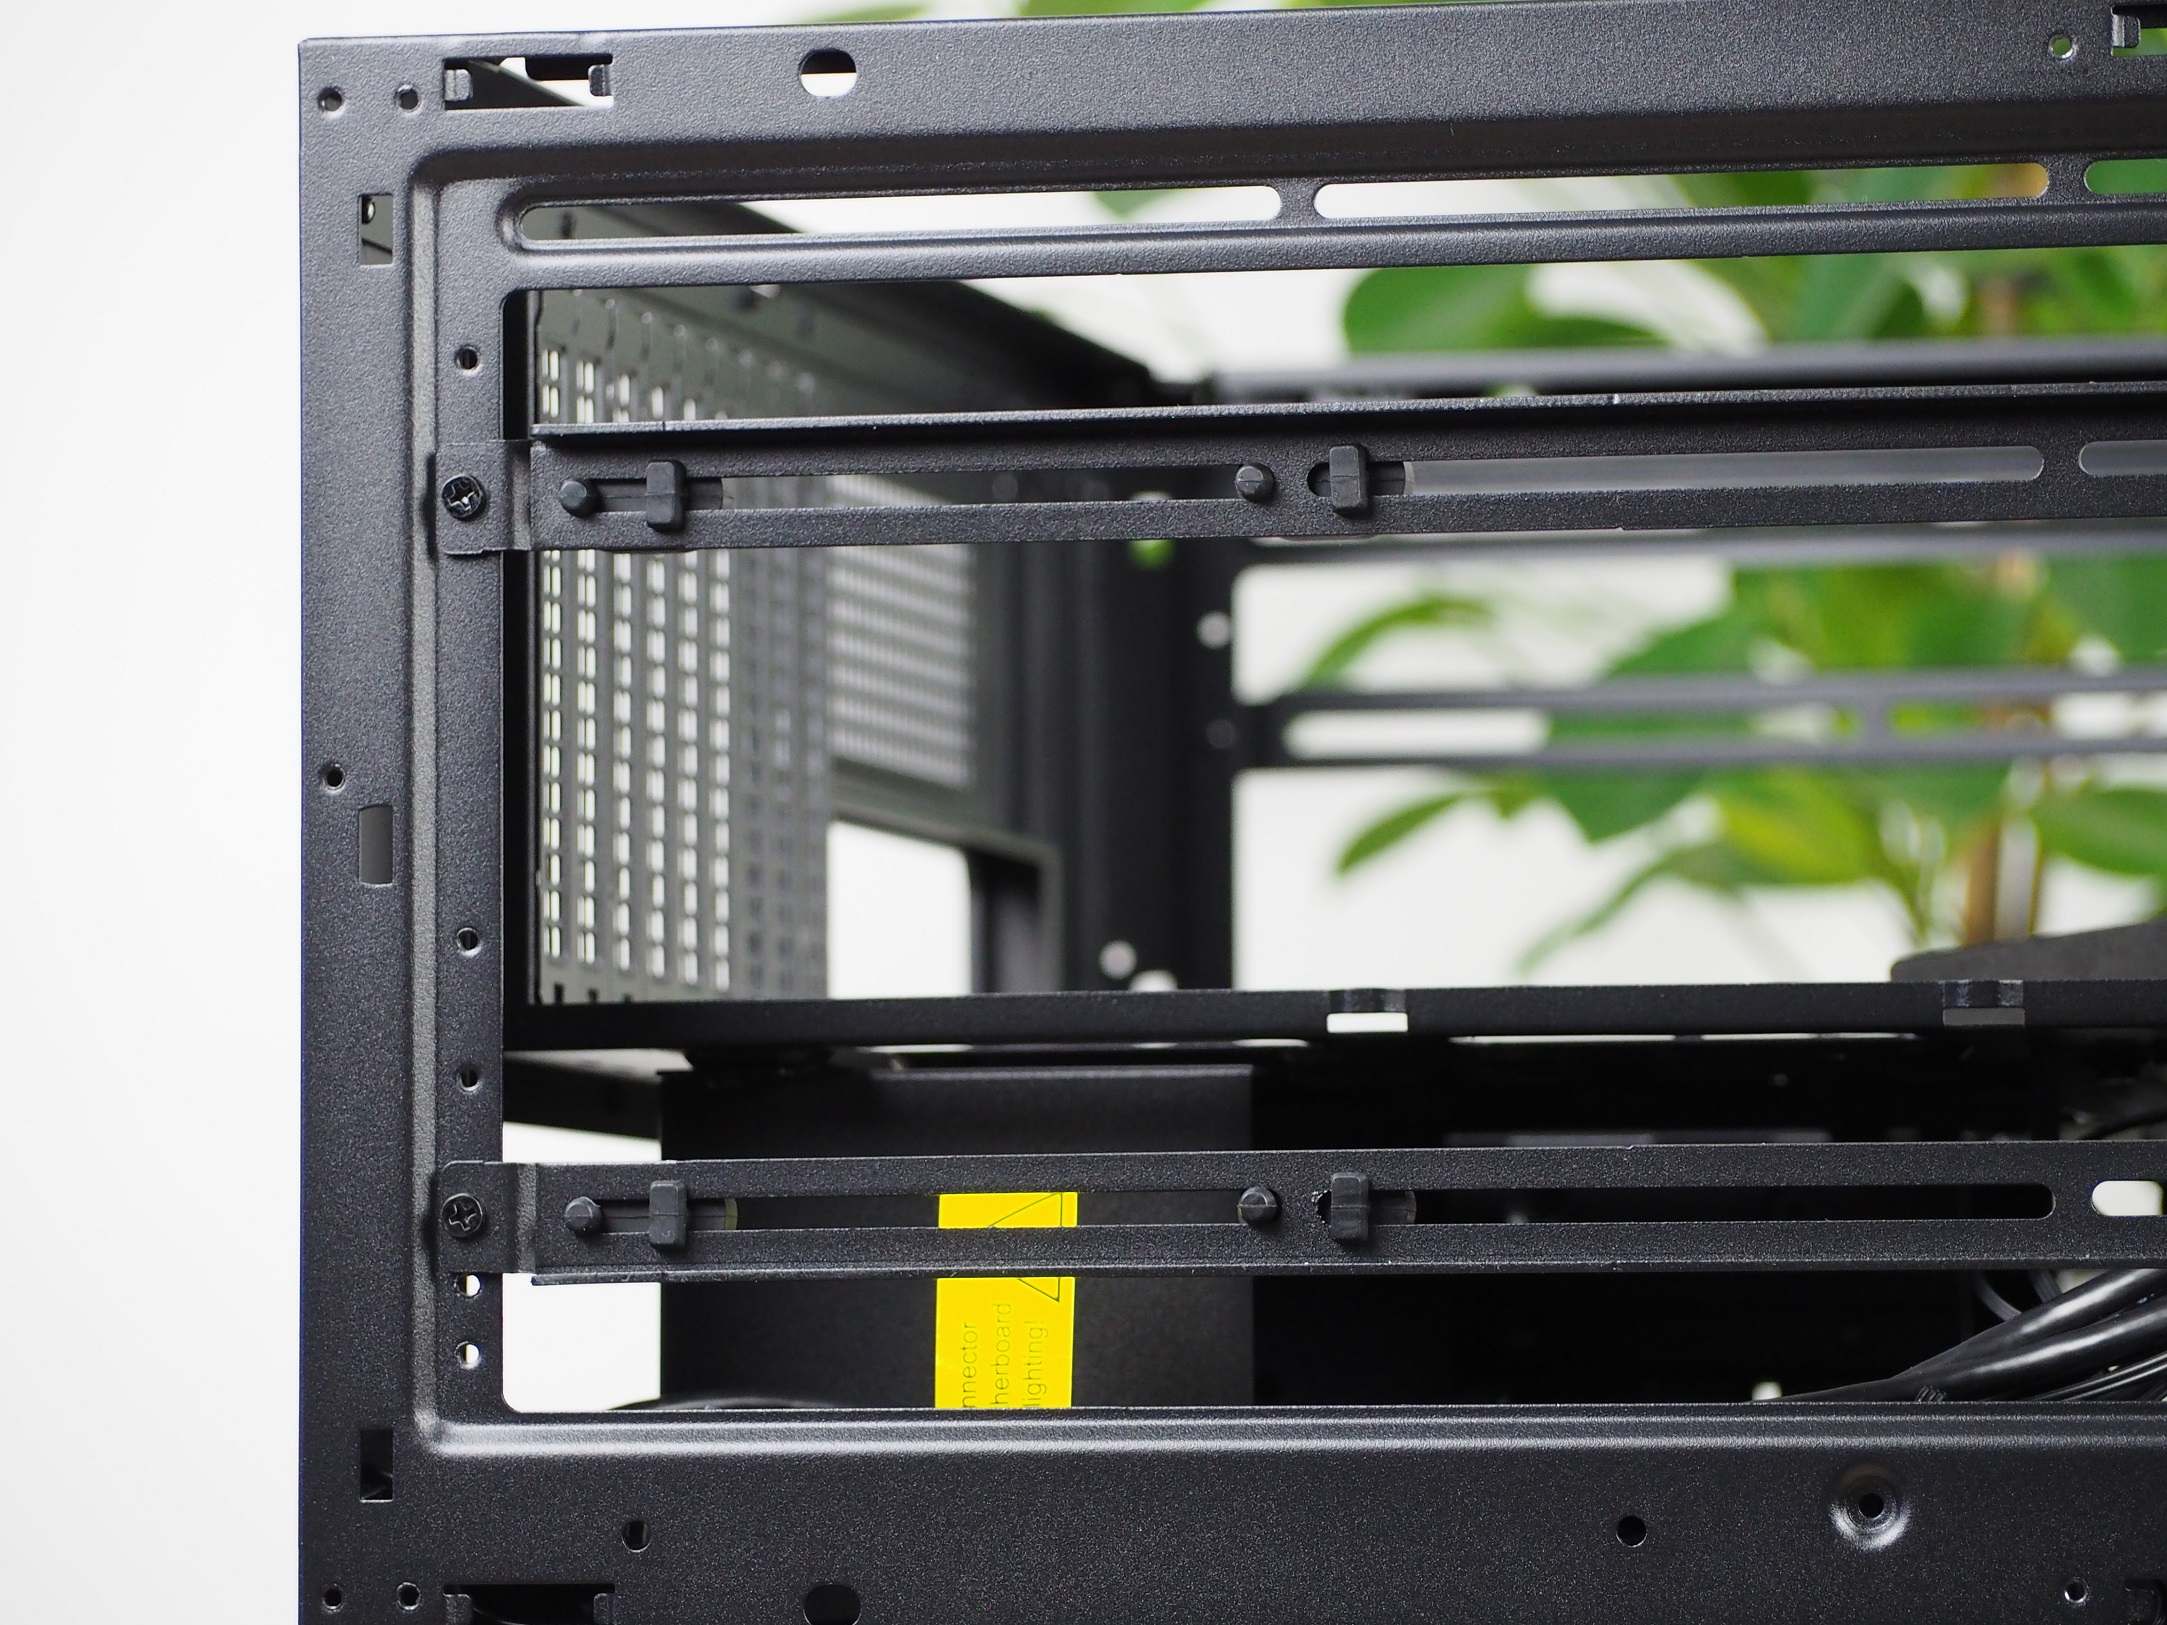
Under the top panel, there is a space for mounting fans or a liquid cooler radiator. Using two rails, the width for mounting fans can be adjusted ranging from 120 through 140, 180 and up to 200 mm format. There is space for three fans of the smaller formats (120 and 140 mm), and “only” two larger ones (180 and 200 mm). You won’t be limited with a liquid cooler radiator either, as there’s room for one up to 360/420 mm format.
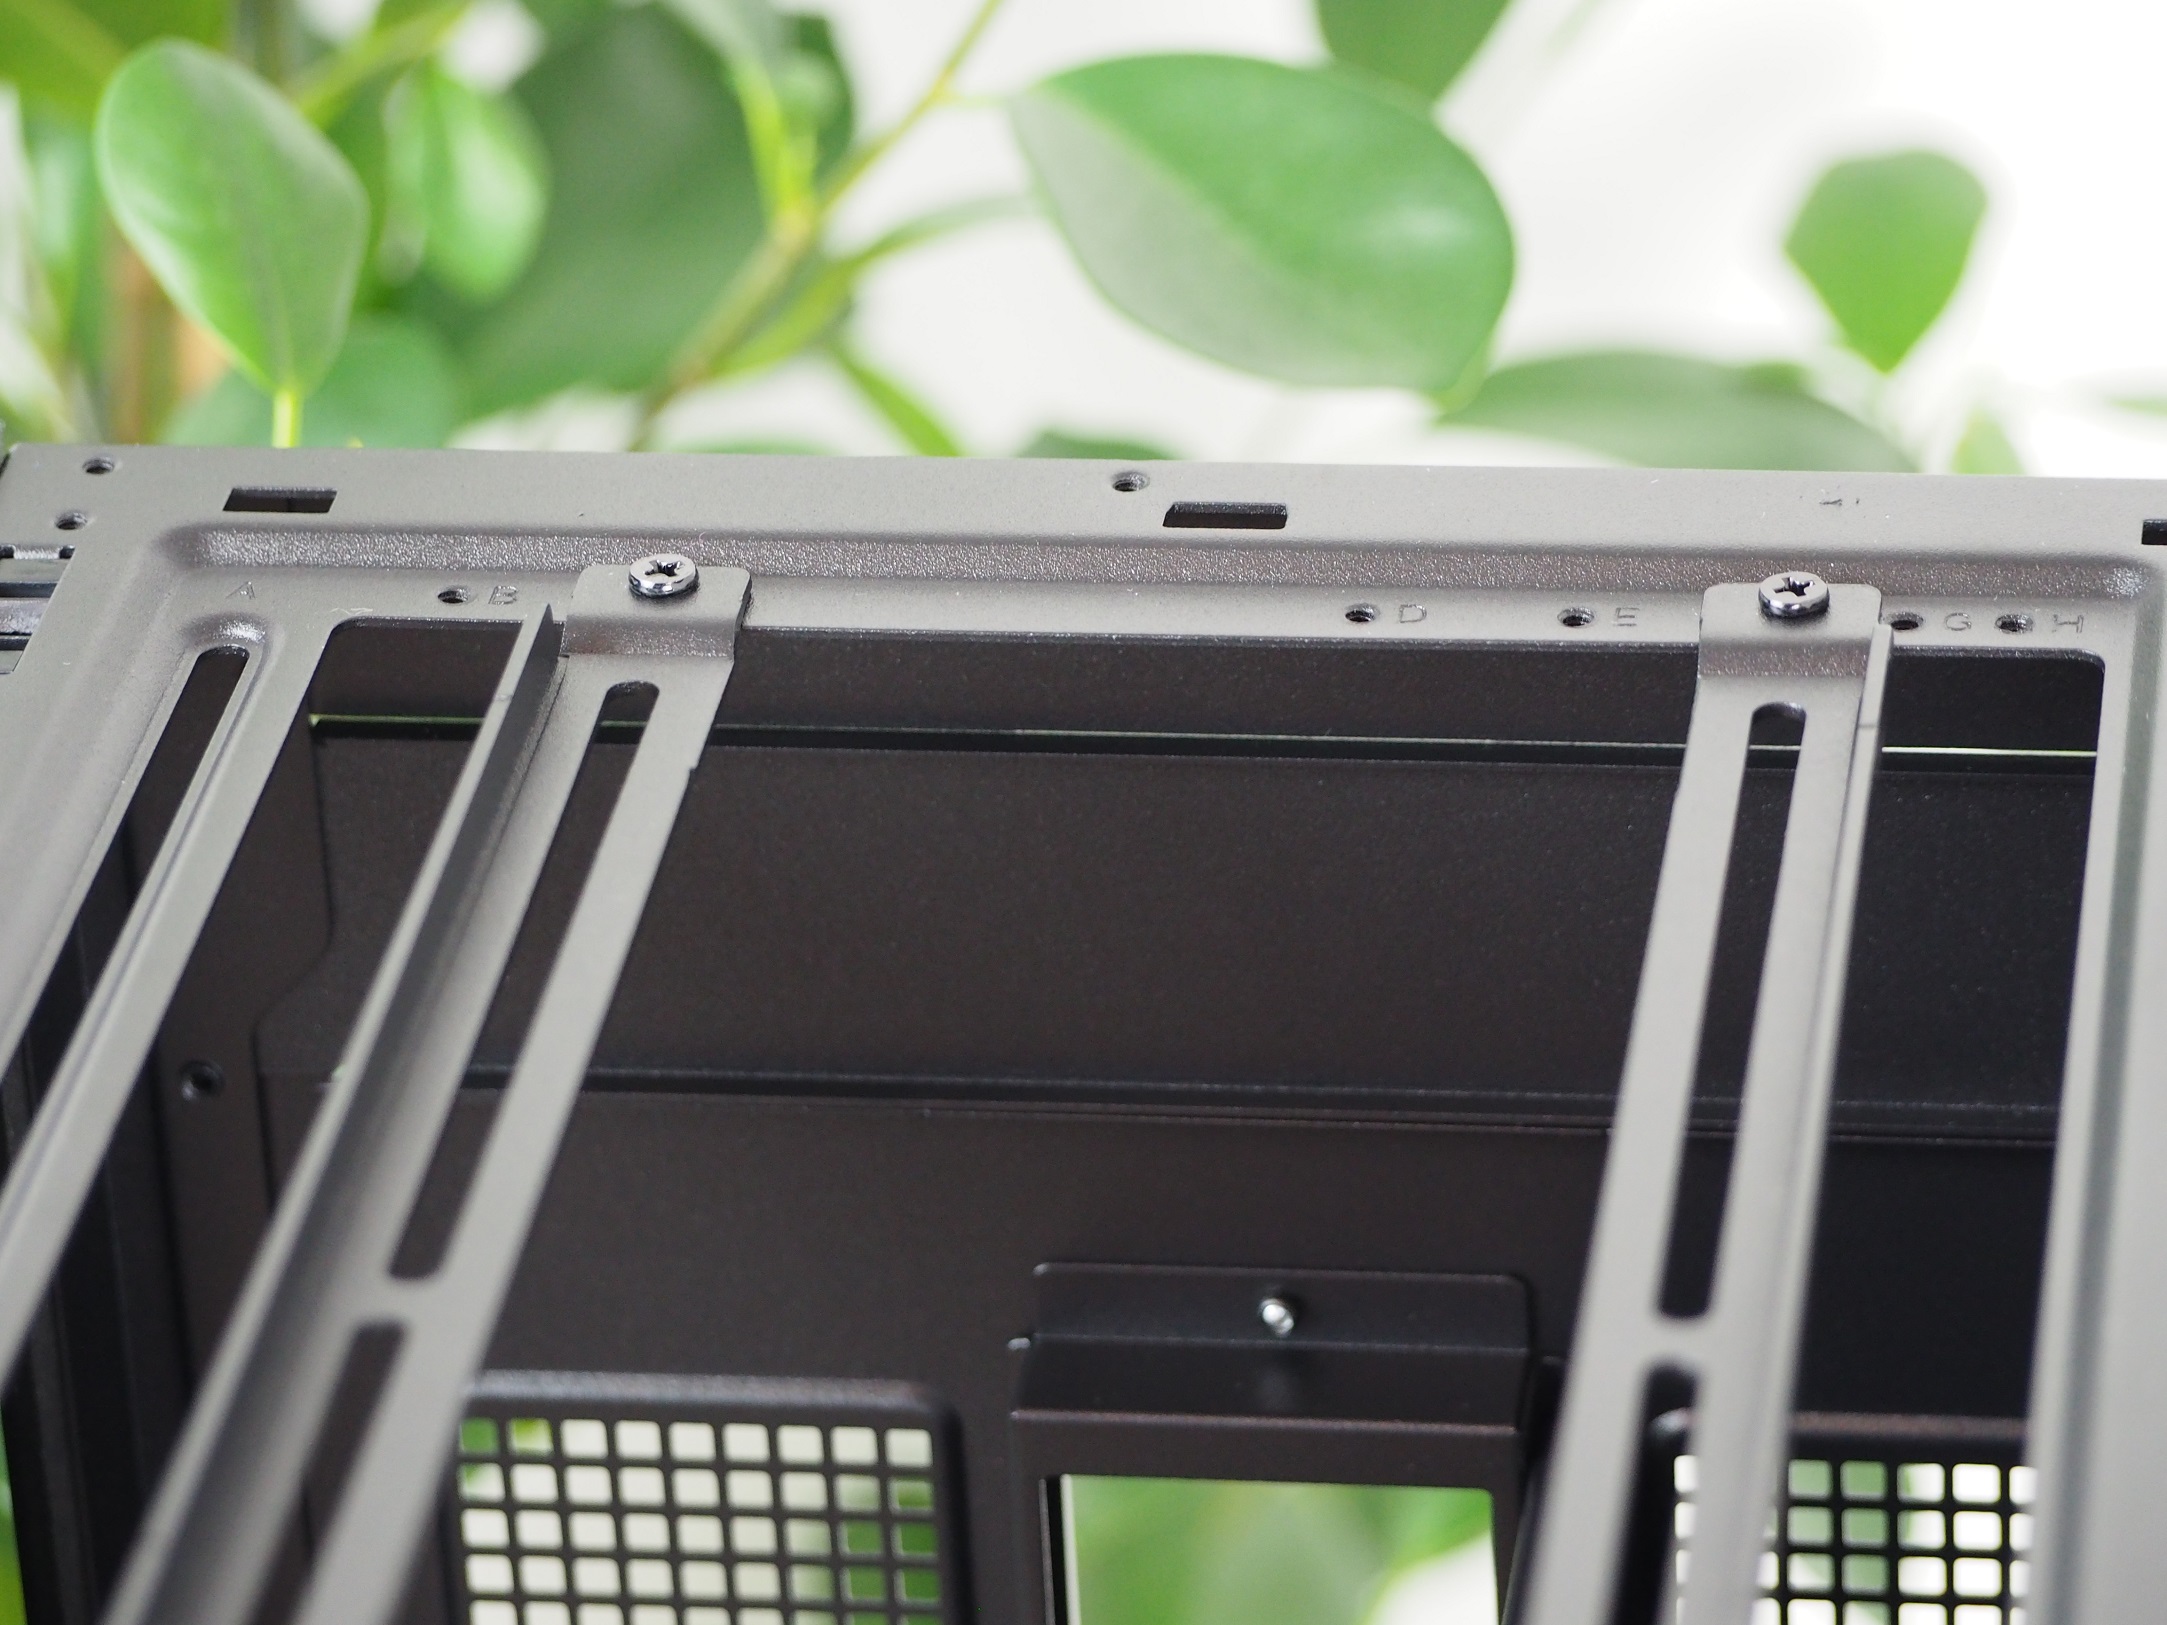
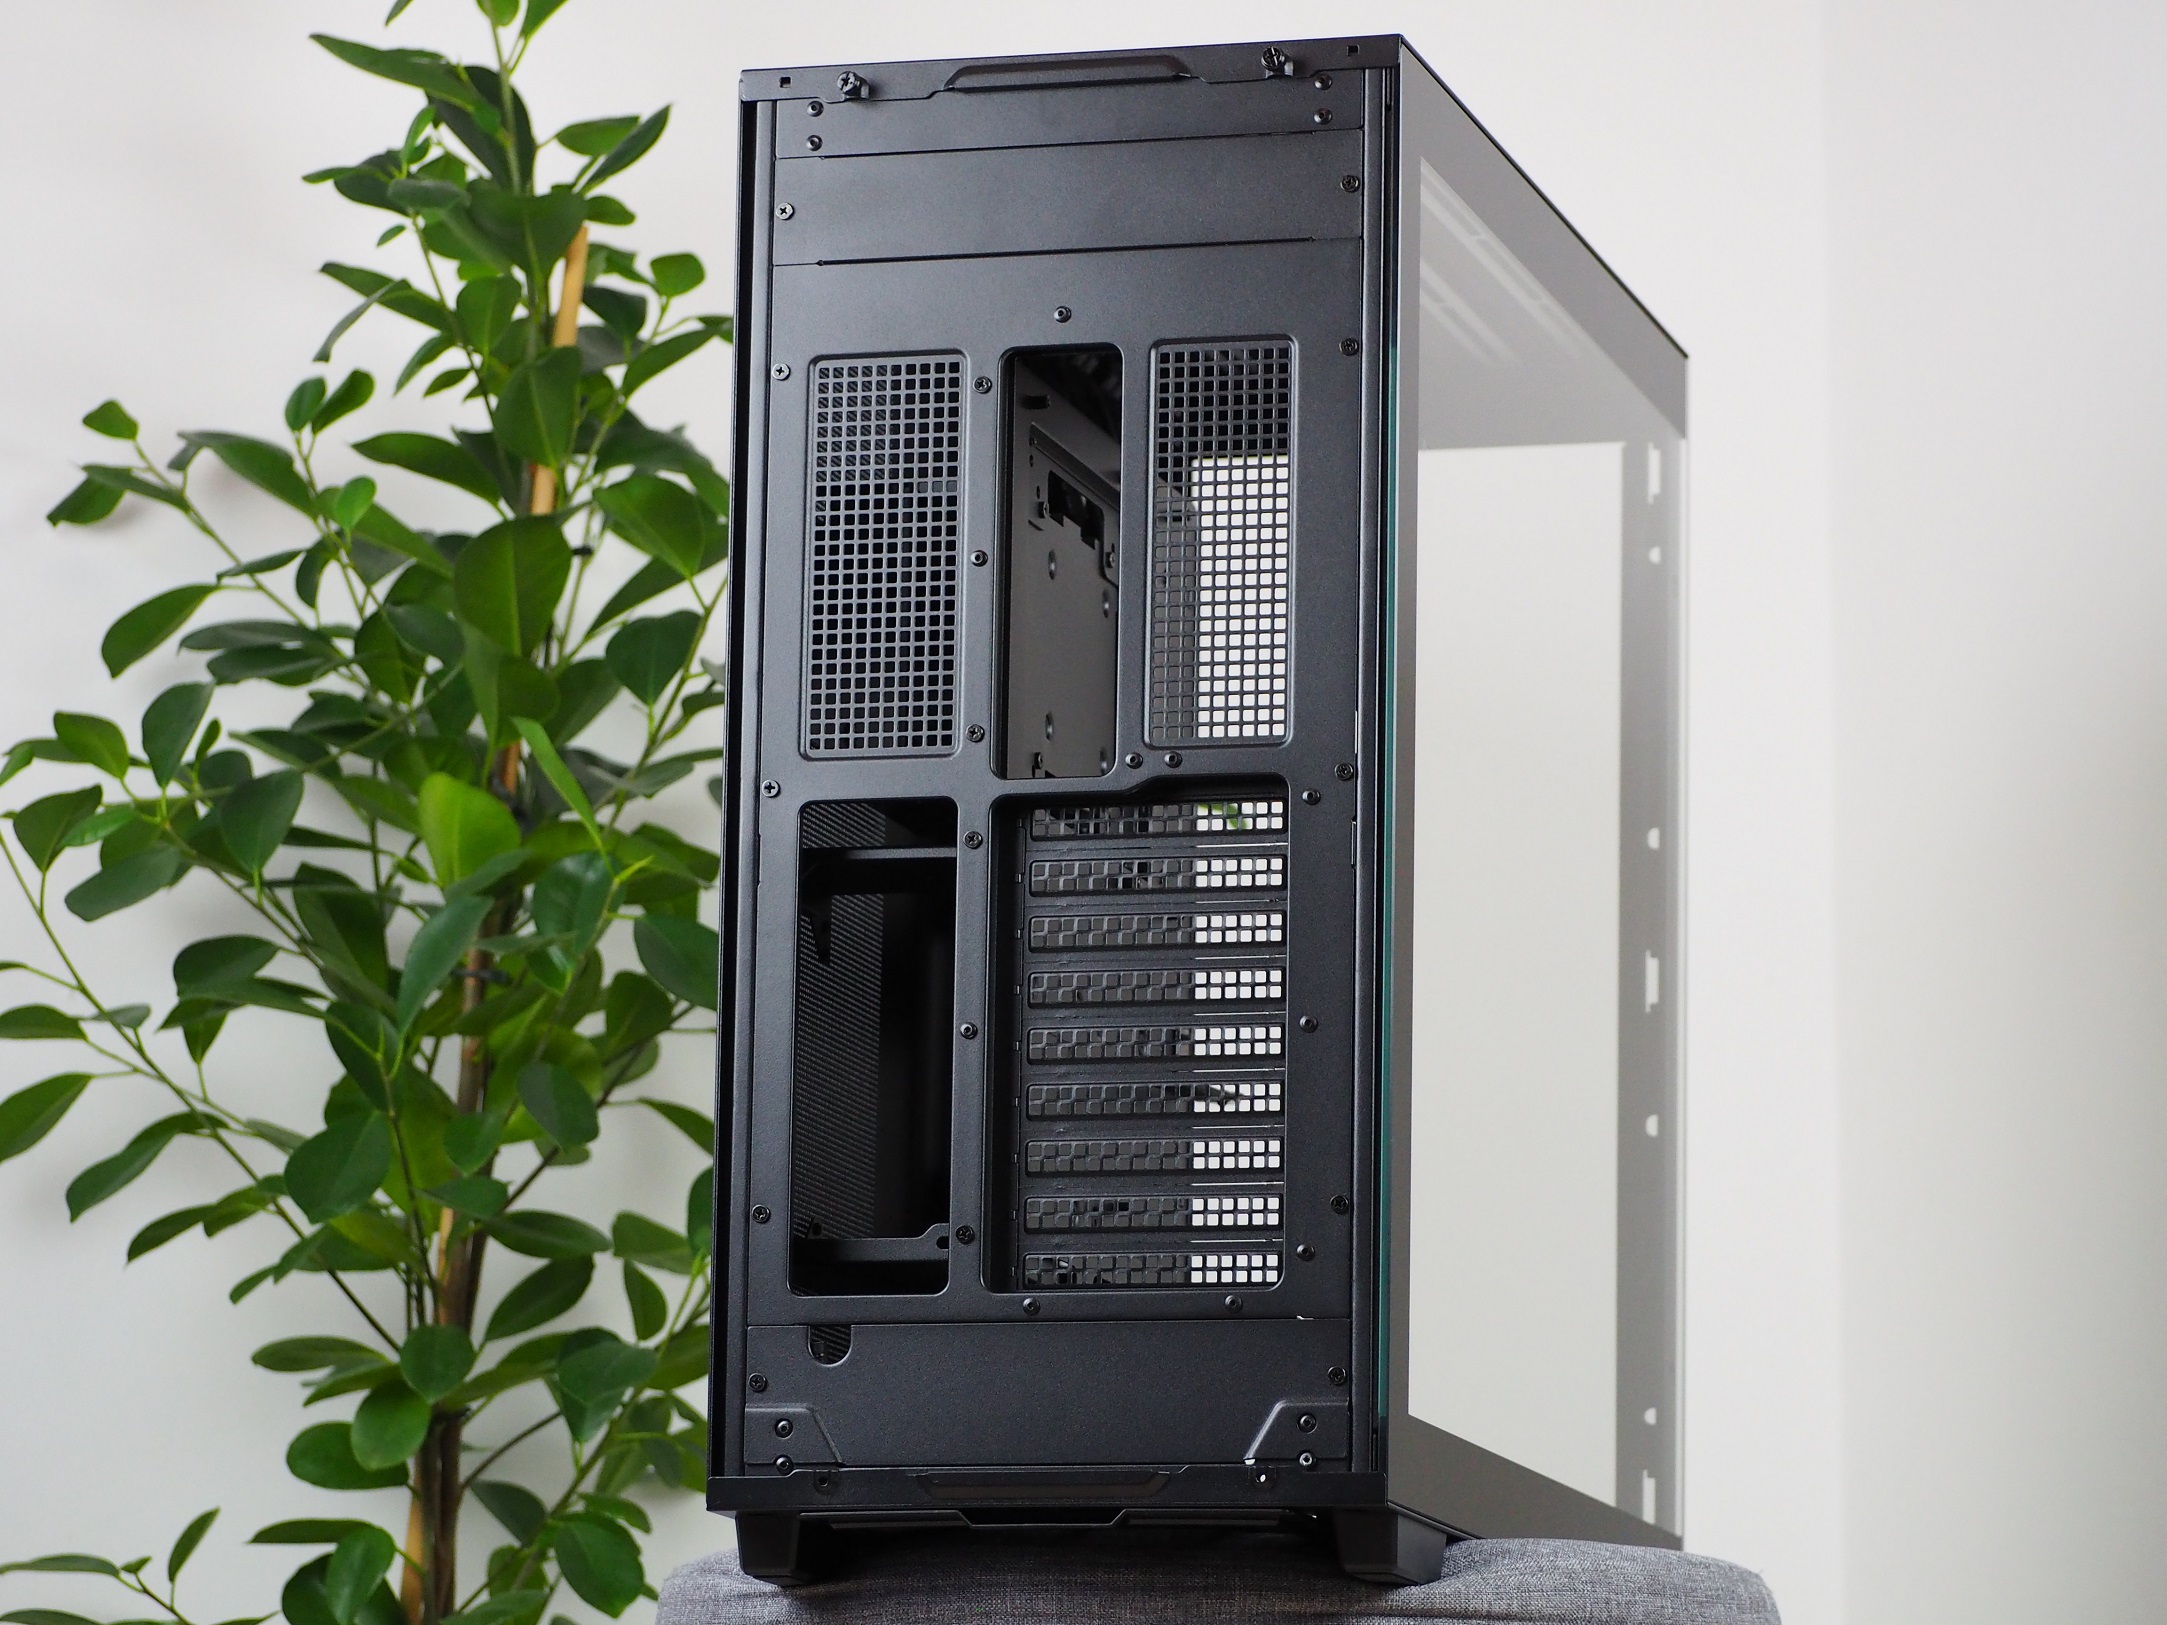
As you can notice, the back is arranged differently than most of today’s cases. There is a lot of free space under the ceiling, with the motherboard I/O panel opening starting in the second fifth of the case. Even its placement is not traditional – in the middle, between two perforations. Underneath, there are up to nine caps for PCI Express expansion card slots. Aligned with the caps is a hole for a PSU. The orientation of the hole indicates that the mounting of the PSU will be vertical.
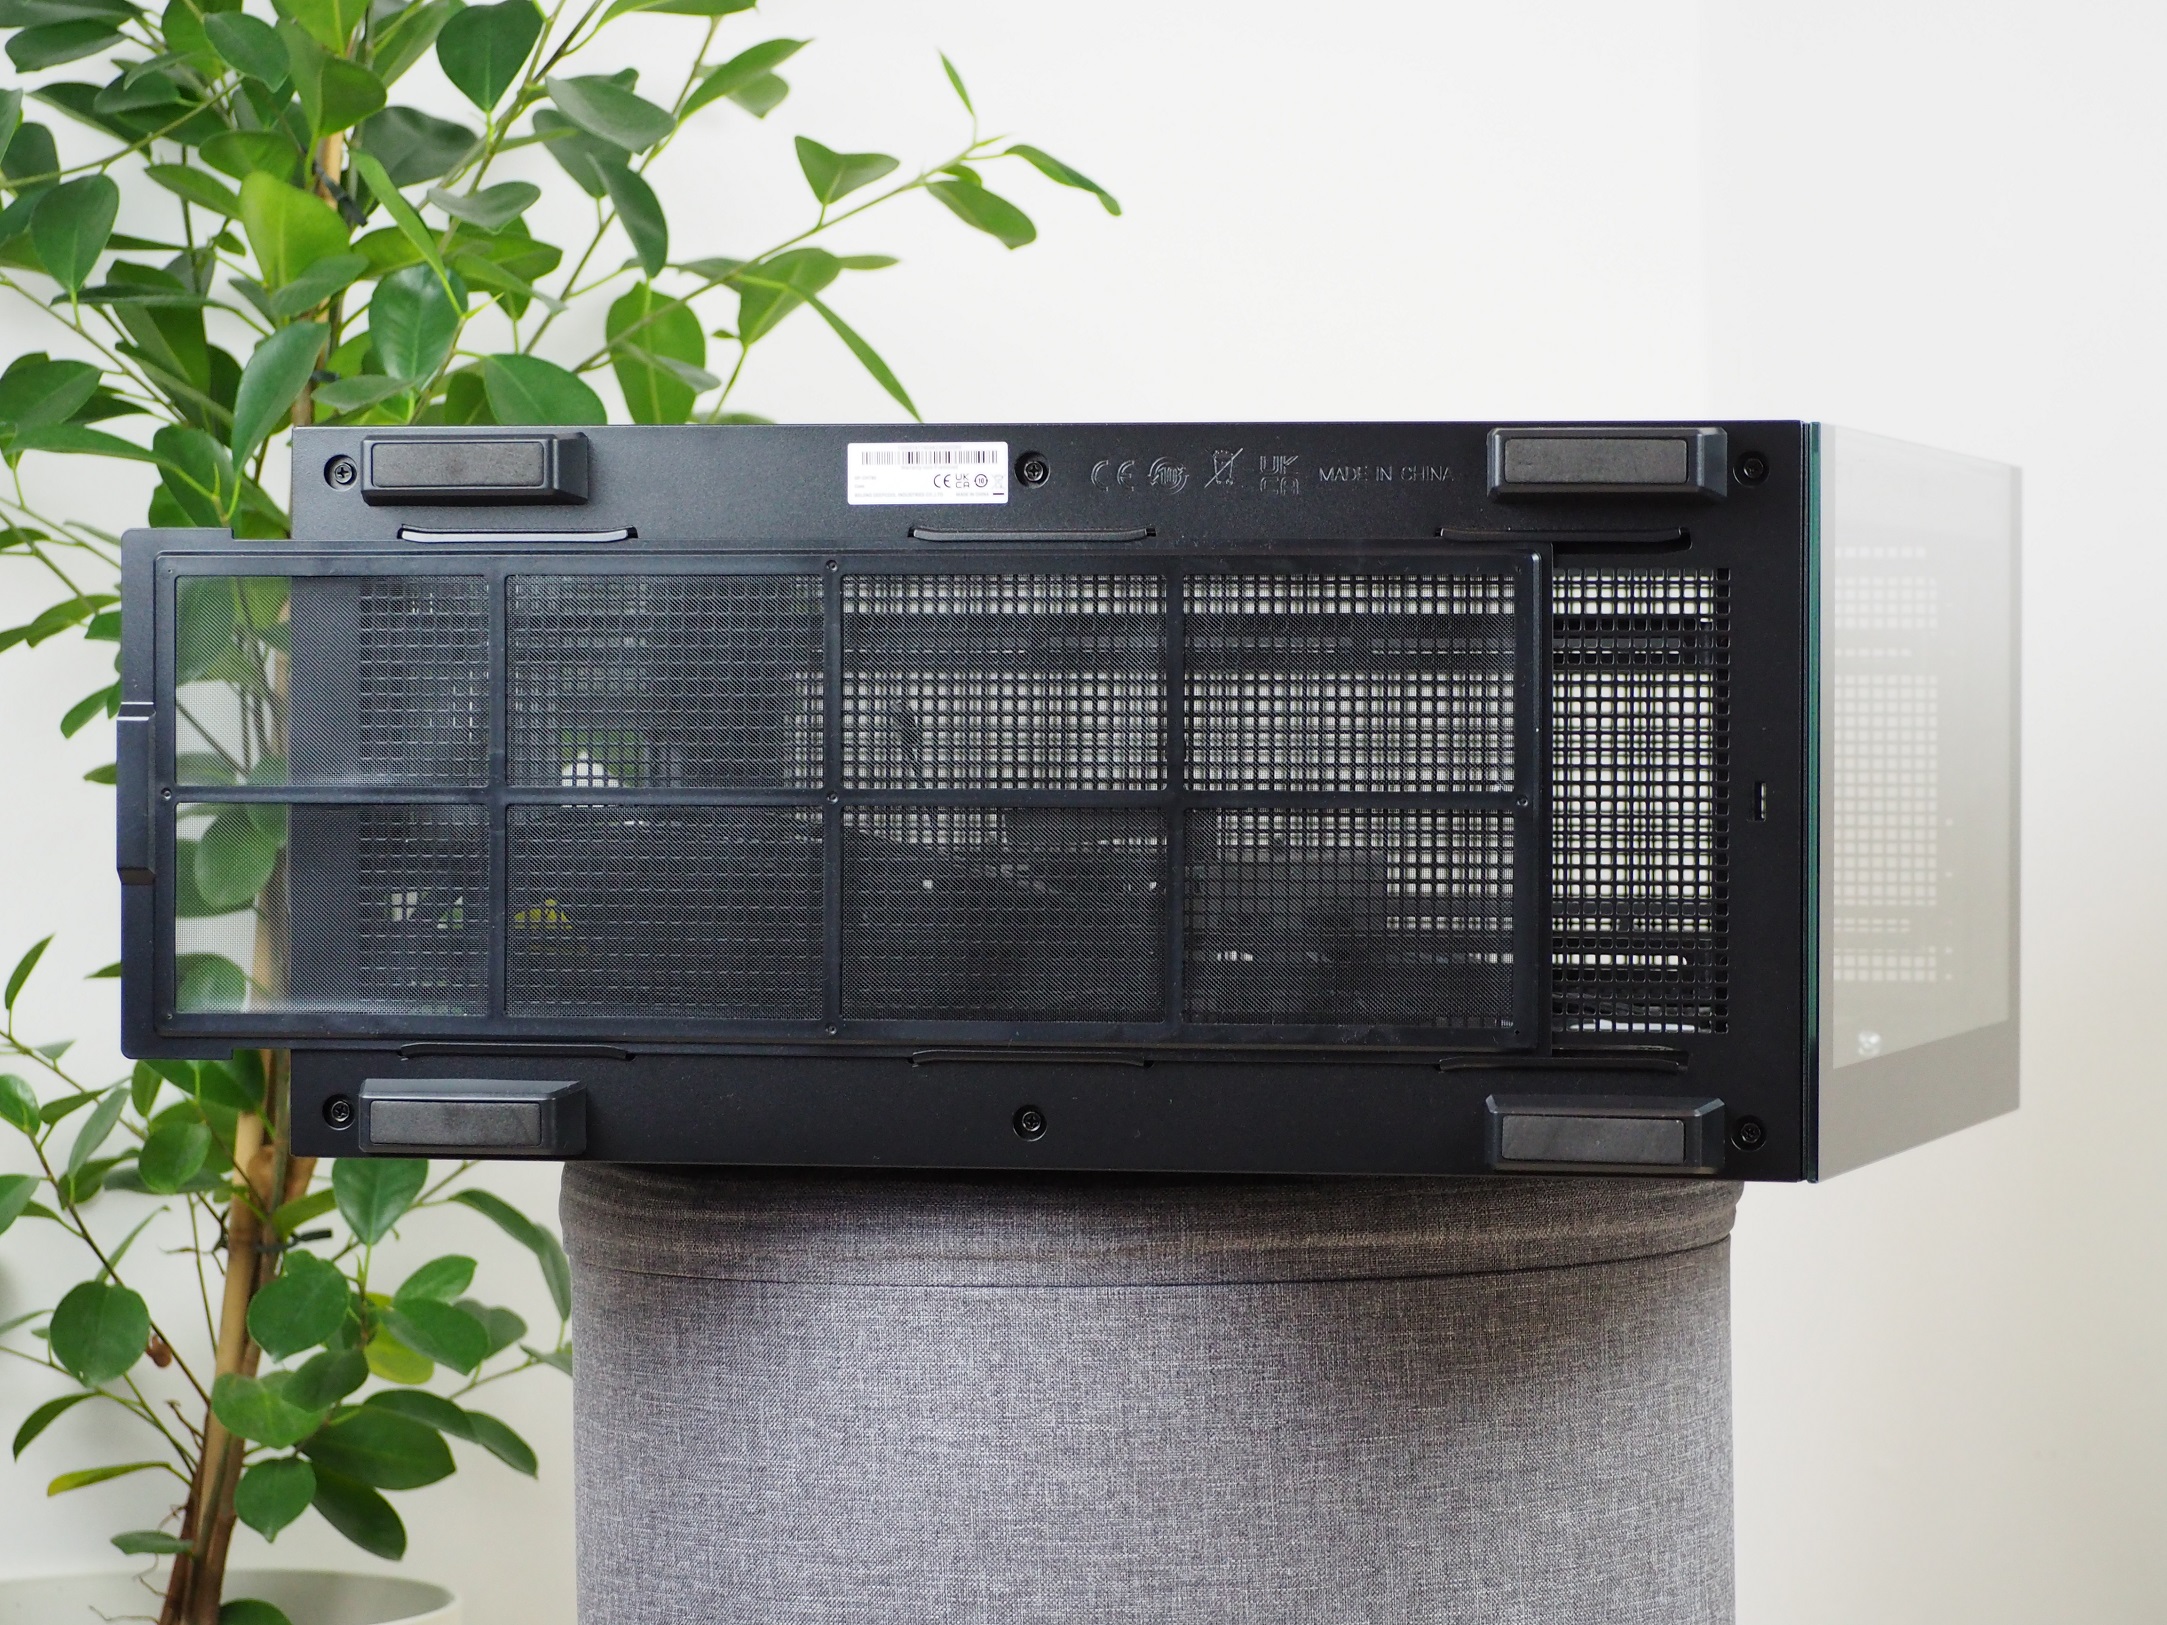
The case is 23 mm off the ground thanks to four elongated feet. These have a soft sole on them so as not to damage the surface on which the case is standing. The rest of the base is perforated with the same square holes as the top of the case. Dust control has also been thought of here, so there is a large dust filter with a fine nylon mesh. The latter can be removed and cleaned. Unfortunately, the filter is removed by pulling it out from the back, which can be hindered by the location of the case – if there is a wall behind it.
The bottom part is secured to the case frame by six screws, through which it can be loosened and removed. This gives you access to the same two rails as under the case ceiling. These can be configured exactly as required for fans or a liquid cooler radiator. You can also accommodate less standard formats such as 180 or 200 mm, of which two will fit here. Smaller 120 and 140 mm fans are not forgotten either. You can put up to three of these here. For the liquid cooler radiator, you have the choice of up to 360/420 mm format.
The secondary function of removing the entire bottom section is to access the screws that secure the front glass.
Aquarium or terrarium? In short, a proper glass (panoramic?) case with a good view of the components. It is not only the appearance that is supposed to be “attractive”, but also the abundant options for cooling, or rather installation of liquid coolers. And reconfiguring the system fans can also make sense with the DeepCool CH780. We chart the differences in the comparison tests as well.
Interior
The inside of the case offers a huge open space with a protruding tray for the motherboard. You can fit almost all motherboard formats on it. From Mini-ITX through mATX, ATX and even E-ATX up to a width of 285 mm. Due to the protruding tray, the selection of a tower CPU cooler is limited to only 132 mm. For graphics cards, there is again more space than would be needed, up to 480 mm. This guarantees compatibility for future generations of graphics cards as well. For the heavier ones, there is also a support bracket on the tray that can be adjusted in height for wider graphics cards.
0.95 mm thick solid metal plates compensate (only) for the lateral mounting of the tray. This makes the tray sturdy and it shows no signs of flexing, despite the two 40 mm side holes for cabling.


Due to space constraints, most graphics cards are mounted in a vertical position. An adapter for such positioning can be found in the accessories with the PCIe slot extension. This is supplied in the PCIe 4.0 standard. Seven of the nine caps need to be removed to mount the graphics card in the vertical position. You then screw the adapter into these free positions. The retaining screw of the bottom cap is illogically covered by the wider frame of the case. You can’t loosen it with an ordinary screwdriver, and you have to reach for a small ratchet or an angled tool.


Since the case does not have a tunnel, you have rails underneath on which you can place fans up to 200 mm in size or a liquid cooler radiator of up to 360/420 mm.

Although there are three 140 mm fans included, they are mounted in one common frame on the side of the case. As a result, only two cables are routed out instead of six. One for their power supply and the other for the RGB backlight. From the factory, they are oriented as exhaust fans to get heated air out of the case. The side panel without the dust filter is made for this as well.


For a “clear” view of and into the case, the front support, where the side and front glass meet, can be removed. This will serve you in transport so that there is no damage to the glass by crossing or to the case frame itself in the event of a collision.

In addition to the motherboard, graphics card and processor, the tray must also carry the hardware which is usually located in the tunnel. Here you have two hybrid compartments for 2.5″ or 3.5″ storage. The first one is screwed directly onto the tray from the opposite side, so when you need to replace the storage in it, you also need to remove the mounted motherboard. The second compartment is fixed directly on the first one, so it can be easily handled.


A cage for the PSU is attached to the frame and tray by four screws. The PSu can be in ATX or SFX format. There is 260 mm of space available for the power supply with connected cabling.

With an SFX power supply mounted, you get room on the tray for two 2.5″ storage drives. With an ATX one, there is no more space between it and the tray for thin storage. Mounting it is easy, using the special screws in the accessories. These can be screwed into the holes in the tray tool-free after screwing them into the storage drives.


The bottom of the case also hides a small chip for backlight control. Thanks to it, you have 17 different backlight modes and colours at your disposal. It is powered by a SATA cable directly from the PSU. You also have the option to control and power the backlight directly from the motherboard.

The left side belongs to the opening with two rails, where the supplied triple fan is also mounted. In addition to the three 120/140 mm fans, it is possible to place the last of the three liquid cooler radiators here. As with the previous positions, a large 360/420 mm radiator fits here as well.

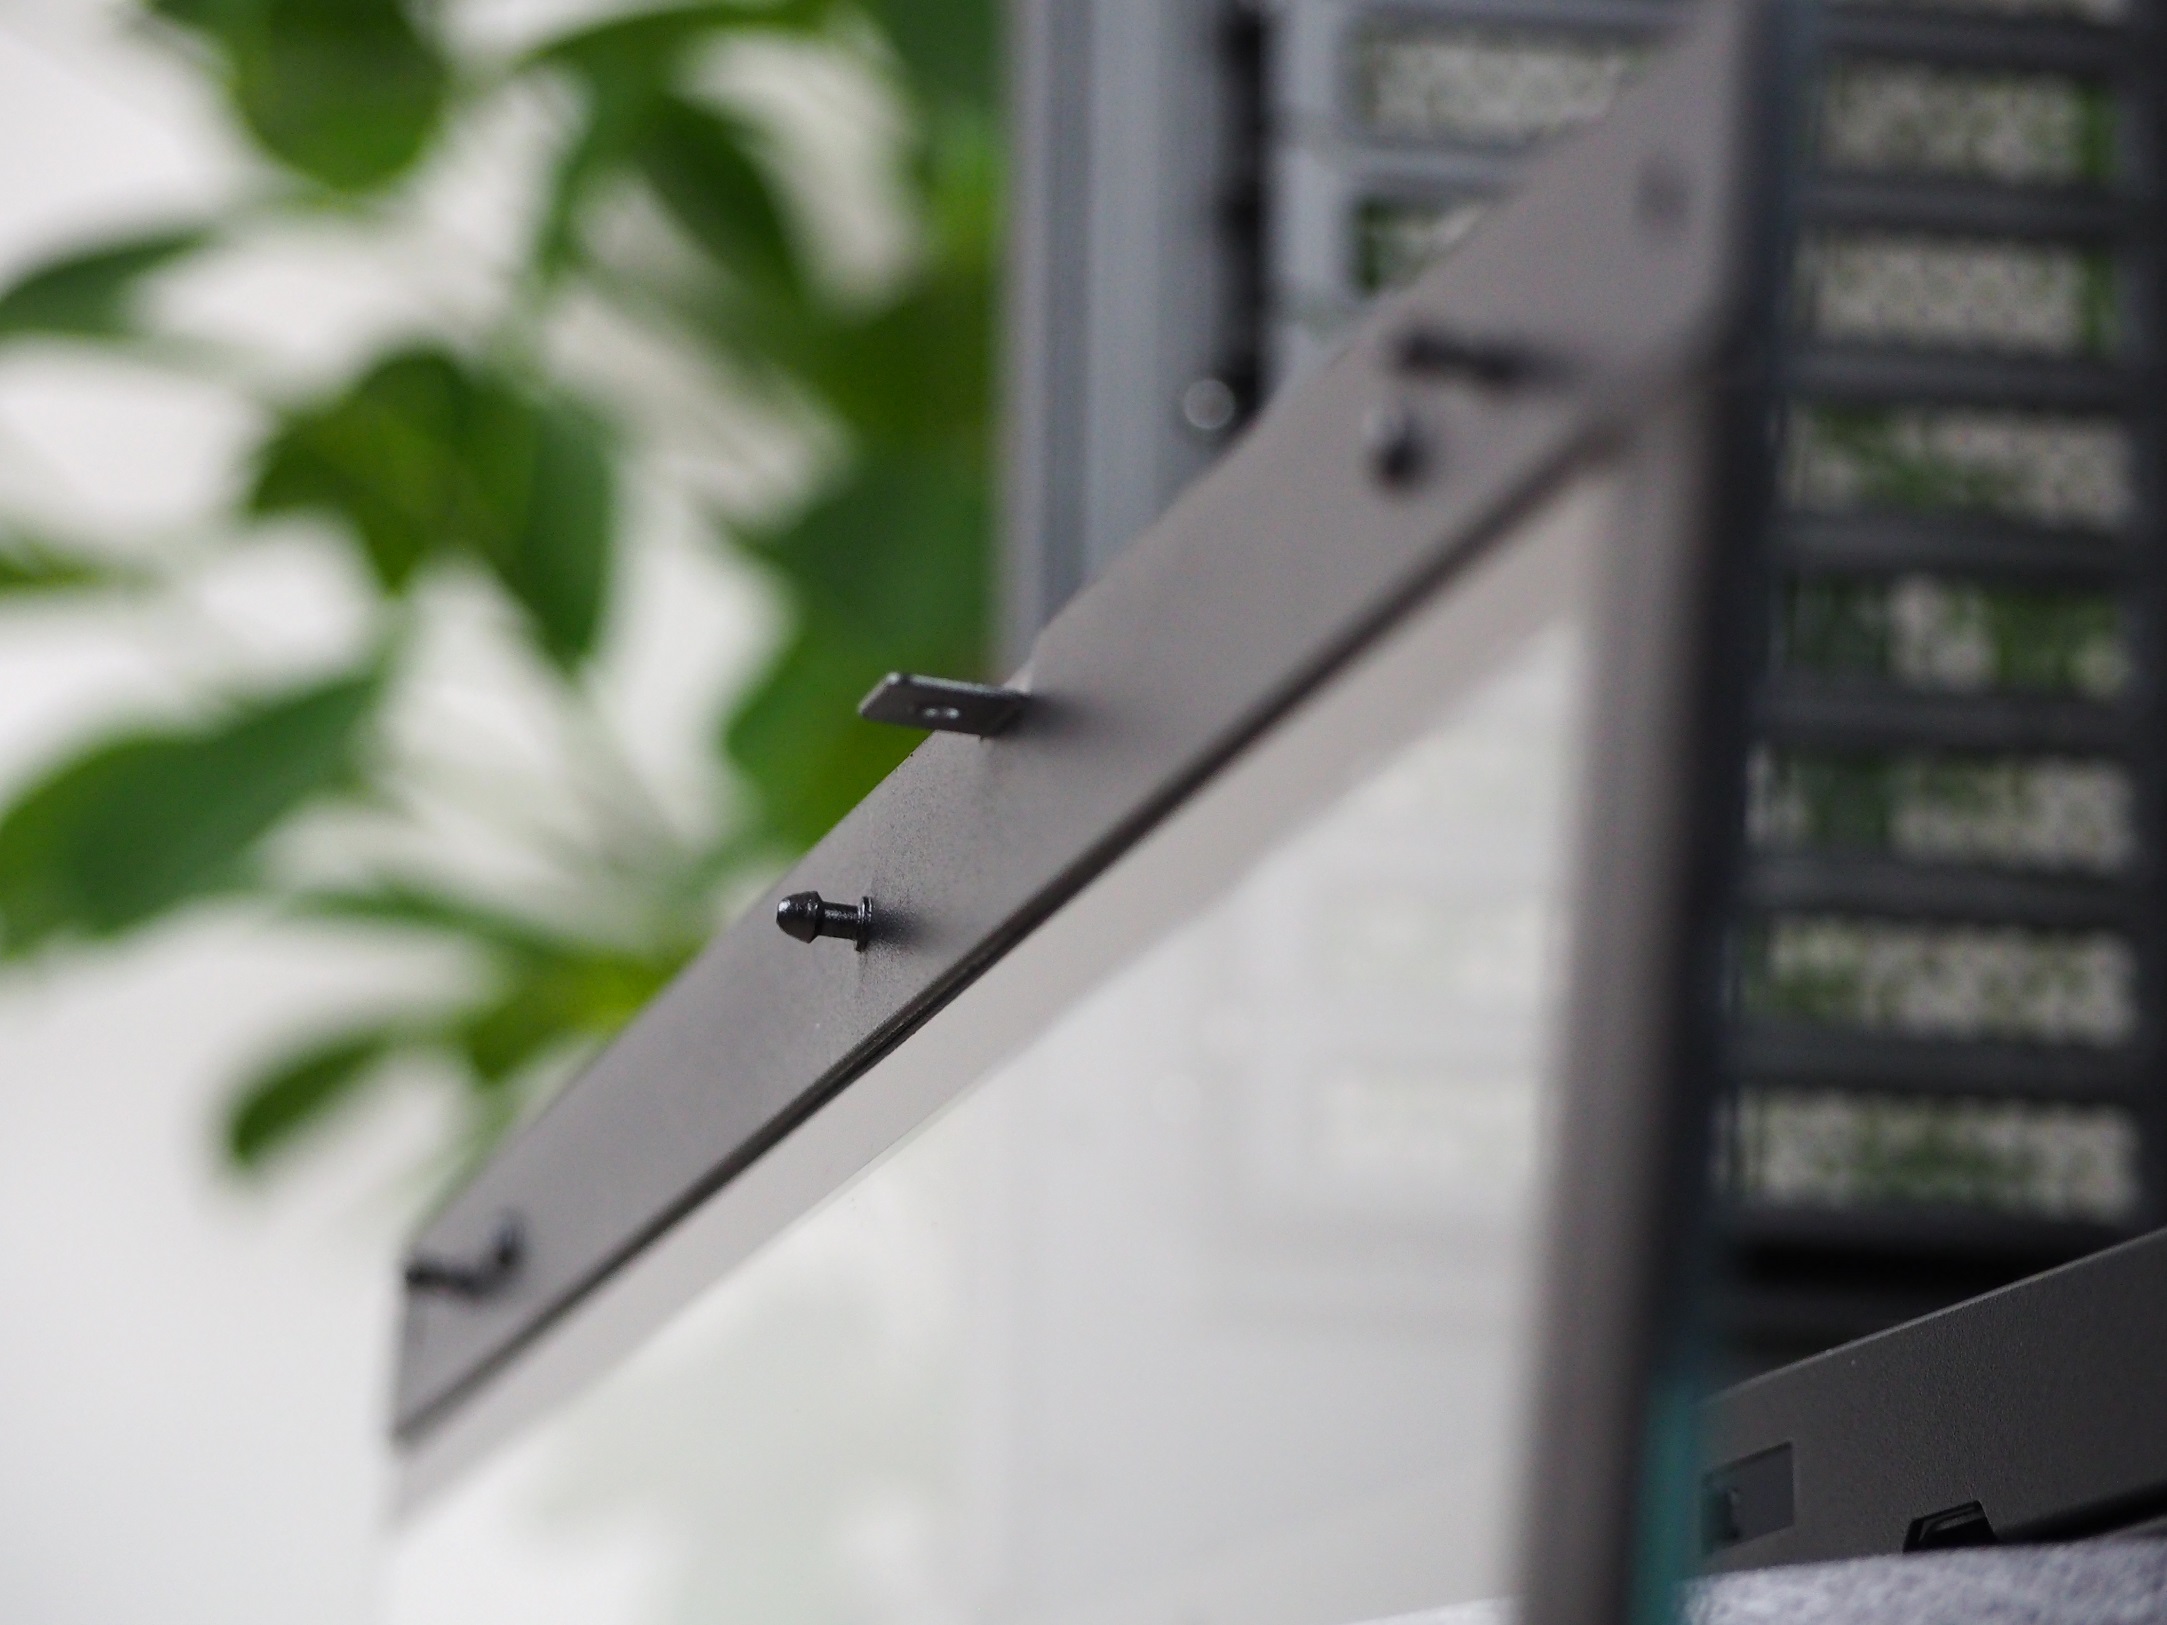
All of this is held together by the metal plates of the case frame, which are even thicker than the ones on the tray, up to 1.15 mm thick.

Installing the hardware into the case was convenient except for one small detail. Namely, I was “wrestling” a bit with the length of the supplied PCI Express riser when connecting a rather slim graphics card. The rest of it went together intuitively, so to speak. The three pre-prepared Velcro pull-tabs were good enough to manage the cabling. Everything else was already arranged by the space behind the tray itself, which is 95 mm wide, counting from the side panel.


Aquarium or terrarium? In short, a proper glass (panoramic?) case with a good view of the components. It is not only the appearance that is supposed to be “attractive”, but also the abundant options for cooling, or rather installation of liquid coolers. And reconfiguring the system fans can also make sense with the DeepCool CH780. We chart the differences in the comparison tests as well.
Testing methodology
Due to the tight space between the tray and the left side panel, the compatibility of tower CPU coolers is severely limited. Therefore, I fitted the hardware I use to test Mini ITX cases. But the CH780’s capabilities clearly call for installing a huge liquid cooler for at least the CPU, if not the graphics card as well. It can fit up to three 420mm radiators at a time.
With the supplied 420 mm triple-fan, I’ll test the original setup, which is oriented to pull heated air out through the right side panel. Even though there is no dust filter on the side panel, we compare them in the opposite direction as well – drawing in cool air in from outside – at the higher noise level (39 dBA).
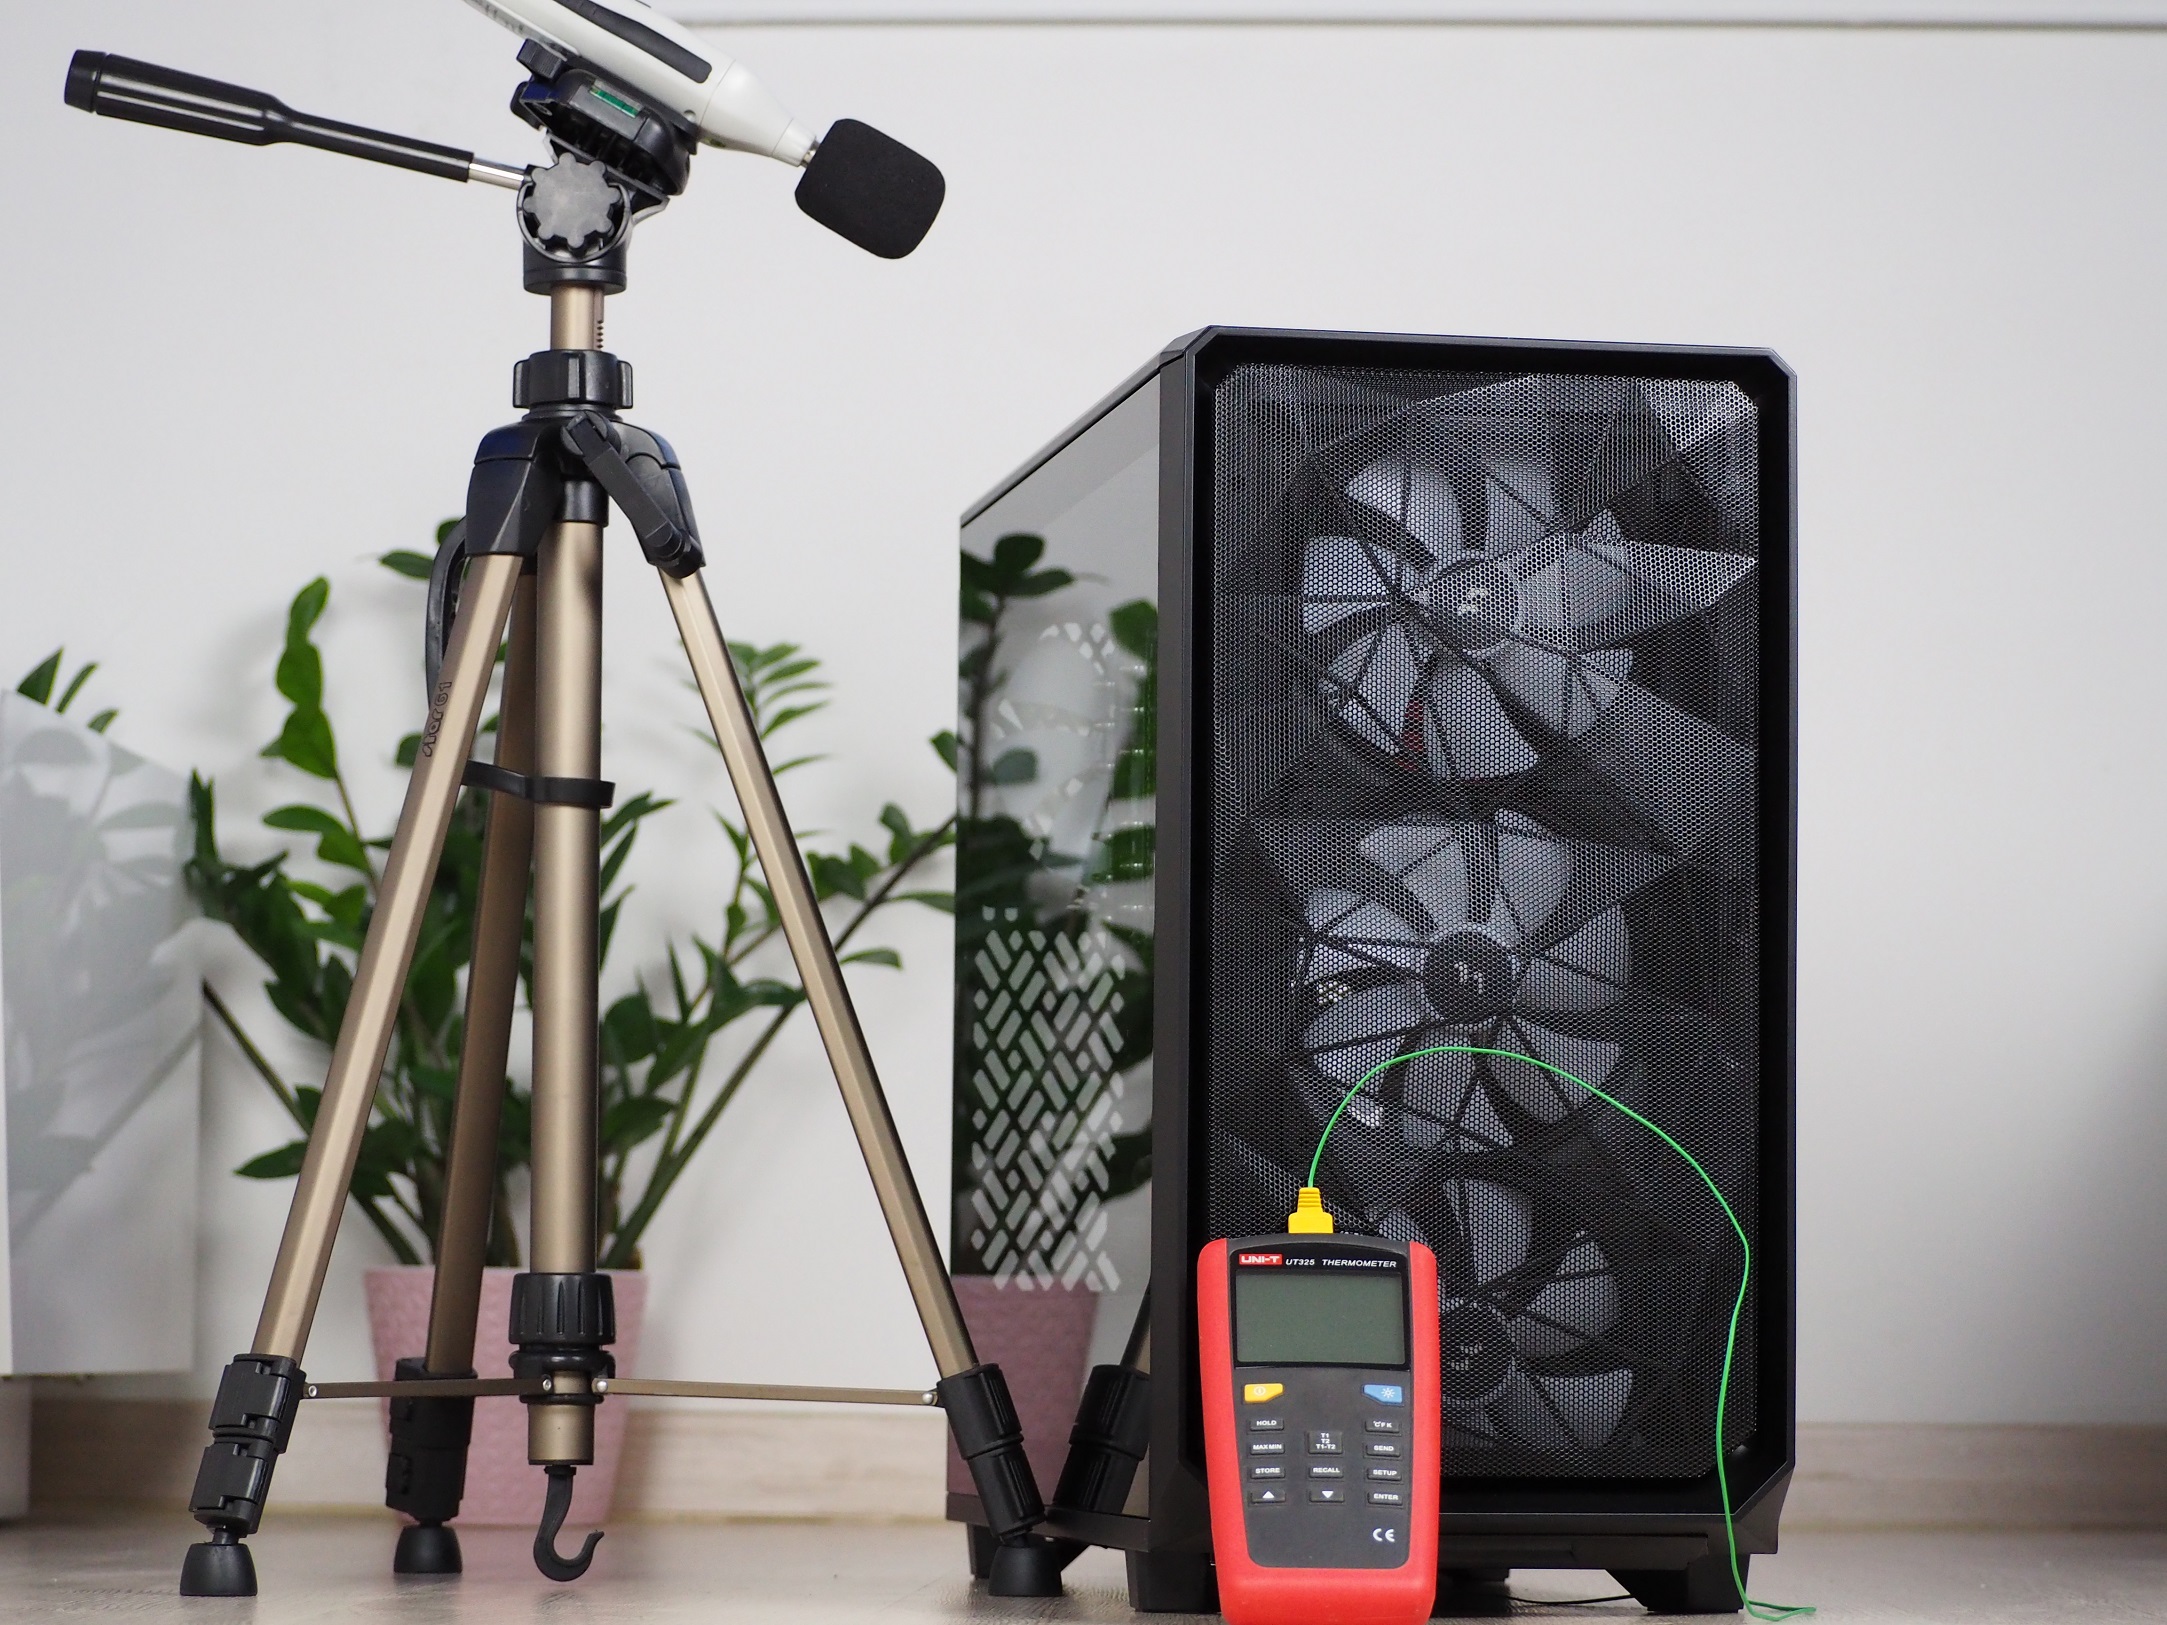
Testing is done in a home environment where I strive for the most accurate results possible. In the room during testing, the air temperature in front of the case is 23 degrees Celsius and the minimum noise level I can measure with the Voltcraft SL-100 noise meter is 32.4 dBA. The sensor of the noise meter is aligned to the center of the top of the case at a distance of 10 cm, for the best measurement of the speed difference of the fans, which I change using the motherboard. For easy comparison to other cases, they are always regulated to fixed noise levels.
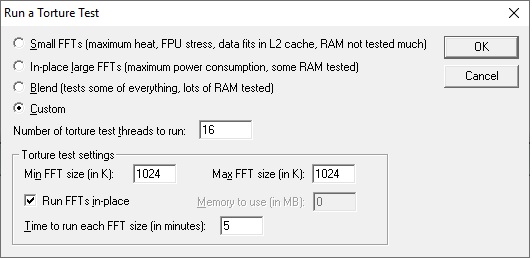
Individual components are heated for 10 minutes in FurMark synthetic stress tests and with Prime95 (custom settings) at the same time. This time is long enough to allow all components to warm up sufficiently. There are then 15-minute cooling breaks between tests, during which the component temperatures (and the case air temperature as well) are brought back to default.
Noise mode levels:
- 36 dBA
- 39 dBA
| Test setup | |
| Processor | AMD Ryzen 7 3700X |
| Motherboard | Asus ROG Strix X470-I Gaming |
| CPU cooler | Noctua NH-L9x65 SE-AM4 |
| Thermal compound | Noctua NT-H2 |
| Graphics card | Asus RTX 2060 Super Dual |
| RAM | Patriot, 2× 8GB, 3600 MHz/CL17 |
| SSD | Western Digital Blue 500GB (2280) |
| Power supply | Corsair RM750x |
Aquarium or terrarium? In short, a proper glass (panoramic?) case with a good view of the components. It is not only the appearance that is supposed to be “attractive”, but also the abundant options for cooling, or rather installation of liquid coolers. And reconfiguring the system fans can also make sense with the DeepCool CH780. We chart the differences in the comparison tests as well.
CPU and GPU cooling tests

Aquarium or terrarium? In short, a proper glass (panoramic?) case with a good view of the components. It is not only the appearance that is supposed to be “attractive”, but also the abundant options for cooling, or rather installation of liquid coolers. And reconfiguring the system fans can also make sense with the DeepCool CH780. We chart the differences in the comparison tests as well.
Motherboard cooling tests
Aquarium or terrarium? In short, a proper glass (panoramic?) case with a good view of the components. It is not only the appearance that is supposed to be “attractive”, but also the abundant options for cooling, or rather installation of liquid coolers. And reconfiguring the system fans can also make sense with the DeepCool CH780. We chart the differences in the comparison tests as well.
SSD cooling tests
Aquarium or terrarium? In short, a proper glass (panoramic?) case with a good view of the components. It is not only the appearance that is supposed to be “attractive”, but also the abundant options for cooling, or rather installation of liquid coolers. And reconfiguring the system fans can also make sense with the DeepCool CH780. We chart the differences in the comparison tests as well.
Conclusion
Despite the fact that the sample of cases for comparison is quite small (we couldn’t use a tall cooler as usual), the test results show one remarkable thing.The factory fan setup with “outtake” orientation is less efficient than if you switch the system cooling completely to “intake”.
With traditional layouts (three fans in front vs. three fans in the back/under the ceiling) this may not (and usually won’t) be the case, but the situation in the DeepCool CH780 is a bit specific. Namely, the fact that the fans are always quite far away from the motherboard, and when oriented to draw warm air away from the interior, they create less pressure in the area that needs to be cooled the most compared to the opposite situation. Pressure is also lost as the case shell is quite heavily perforated. This in turn is an advantage of the reverse orientation, where heat does not accumulate and, conversely, heated air can escape efficiently even if there is nothing “speeding” it up at the exhaust grille. It’s just a pity that there is no dust filter behind the side panel. Thus, when the fans are turned around in the factory position, faster dust pollution from the surroundings can be expected. Thus, more frequent maintenance will be required. However, the trio of fans can be removed from the side and placed, for example, under the ceiling or on the ground floor. They cannot be separated because of the shared frame.
On the other hand, it should also be noted that the case is primarily designed for liquid coolers and our situation (with the Noctua NH-L9x65 SE-AM4) does not reflect the expected scenario too much.
The build quality of the case is of a high standard. The extra thickness of the sheet metal ensures robustness of the entire structure. The top and side panels are snapped on with a tool-less latching mechanism, giving you quick access to all components. There are almost infinite options for experimenting with cooling, whether you want to use air or liquid. You can even fit 180 and 200 mm fans on the ground and ceiling. You can put up to three 360/420 mm radiators at a time. Connectivity isn’t lagging behind either, and you’ll be pleased with the ability to plug in up to five USB connectors, one of which is the faster Type-C.
Hardware installation went smoothly, apart from the difficulty with the shorter PCI Express riser. The removable panels on the sides, front, and top are a big help during the installation. This opens up the entire case and nothing gets in the way of installation. The tray which is protruding into the case interior creates a lot of room for cable management.
From the case as a whole, you can see that DeepCool went to great lengths in it’s design and execution. Everything from the design to the installation fits together and so I have no choice but to give the CH780 the highest “Top-notch” award.
English translation and edit by Jozef Dudáš
| DeepCool CH780 |
| + Solid build quality |
| + As many as nine positions for 120/140 mm fans... |
| + ... and the option to use four 180/200 mm fans |
| + Up to three positions for a 360/420 format radiator |
| + Fine dust filter on the bottom and top panels |
| + As many as five USB connectors (including a fast Type-C) |
| + Easy installation and cable management |
| - Does not support taller tower CPU coolers |