Component configuration
Very quiet operation, but with “sufficient” cooling performance that doesn’t hold back the components. That’s the assignment we gave ourselves when building a mid-range PC with which, regarding cooling hardware, we went with DeepCool. The case which became the basis of this configuration has great potential to achieve the desired result, but everything needs to be set adequately.
This time it’s not going to be an in-depth analysis, but a leisurely article. Nothing groundbreaking, but maybe you’ll find inspiration in something.
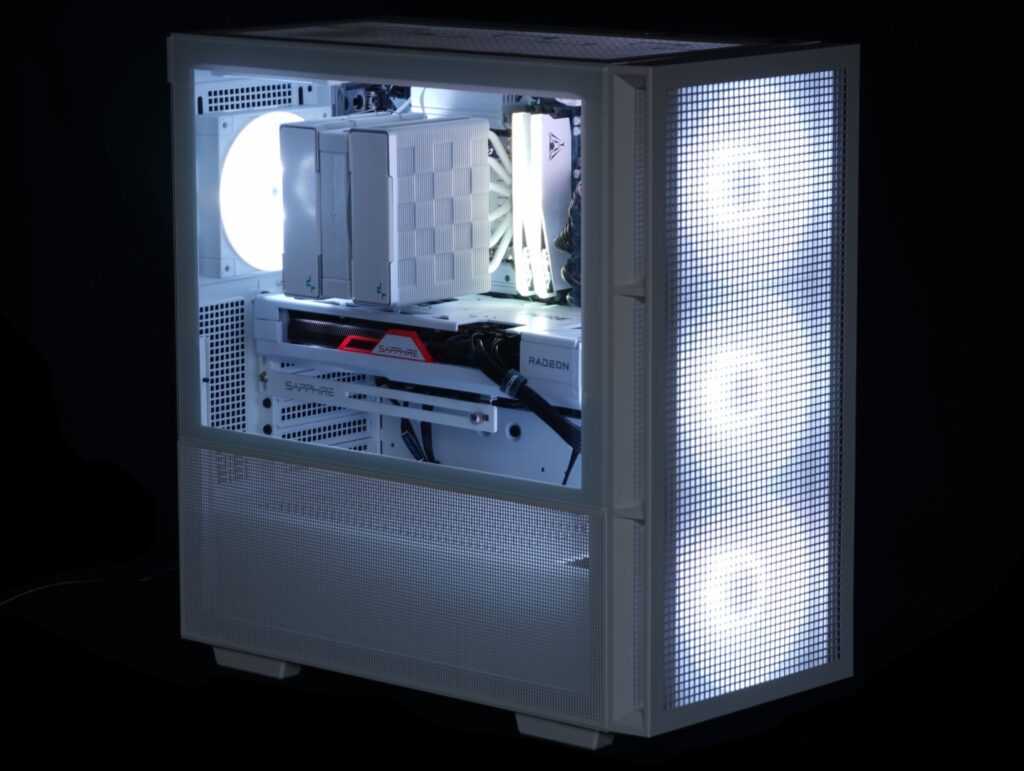
The idea to materialise a higher performance build with superbly quiet operation popped into my head after the release of the DeepCool CH560 (WH) case. And that’s the one we used. Why? In addition to the massively perforated shroud, it has four fans with a geometry that we know is exceptionally efficient. Whether it’s the FC120 fan on the outtake (we also have detailed tests of that one) or the trio of 140 mm models that are based on it.
The advantage of these fans is that they have larger blades than is usual for their format. That’s the reason these DeepCool fans achieve higher airflow at comparable speeds than many other models. But due to the characteristics of the longer, flexible blades, they often also vibrate more and their acoustic profile is characterized by intrusive frequencies around 200 Hz. However, these can be greatly suppressed at lower speed and when you have more of these fans, it will still be at pretty intensive system cooling.
We added one more fan – fifth one to the ceiling – to the four that are supplied with the case. This was done in order to achieve a more balanced airflow between the intake and the outtake of the case, which also increases the efficiency of the system cooling, or in other words, the temperature of the critical components is lower at a comparable noise level.
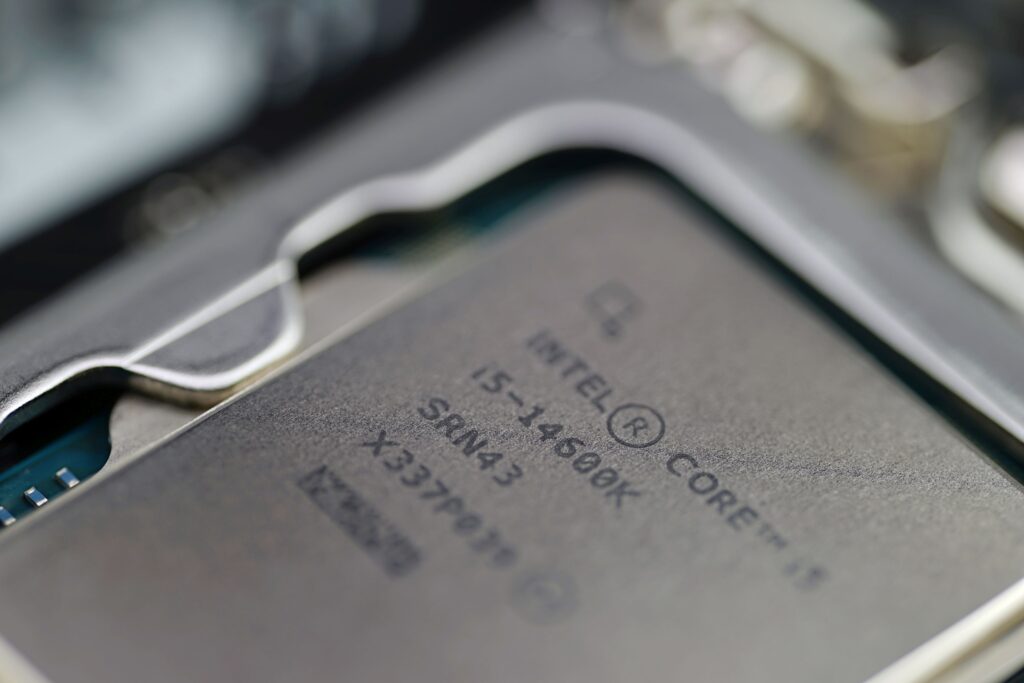
Regarding the CPU, we used the Intel Core i5-14600K, which you know from our tests. Raptor Lake Refresh, 6P+8E cores in 20 threads.
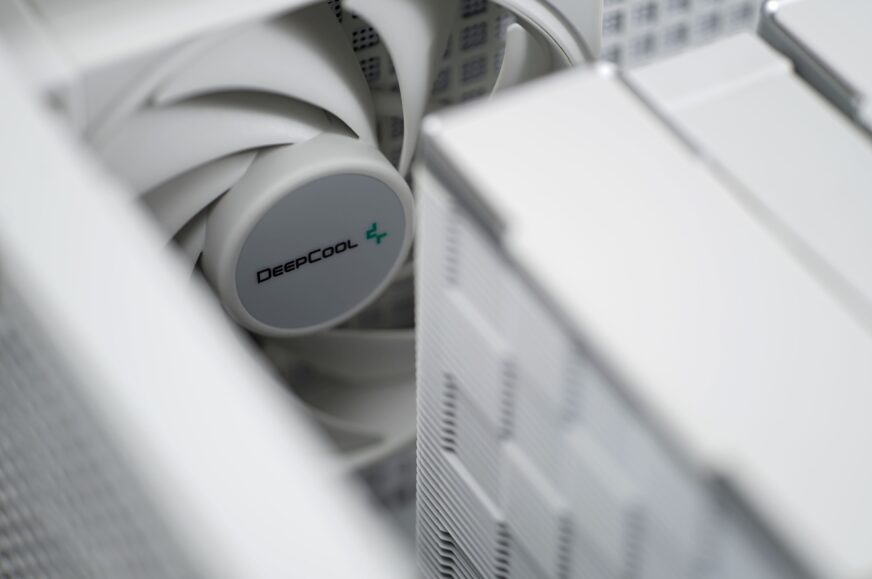
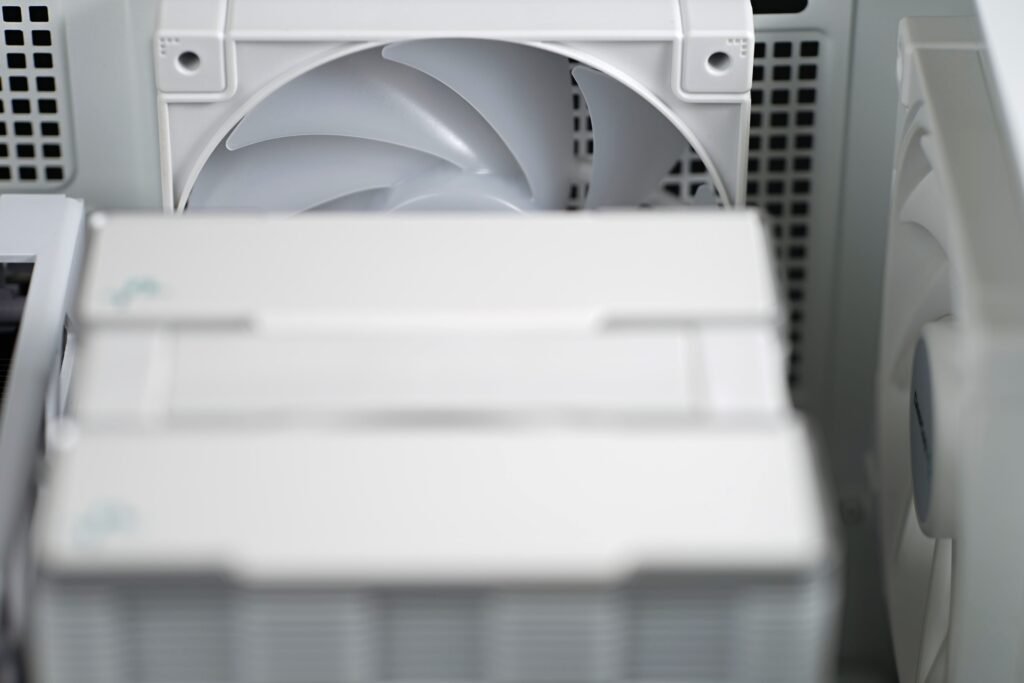
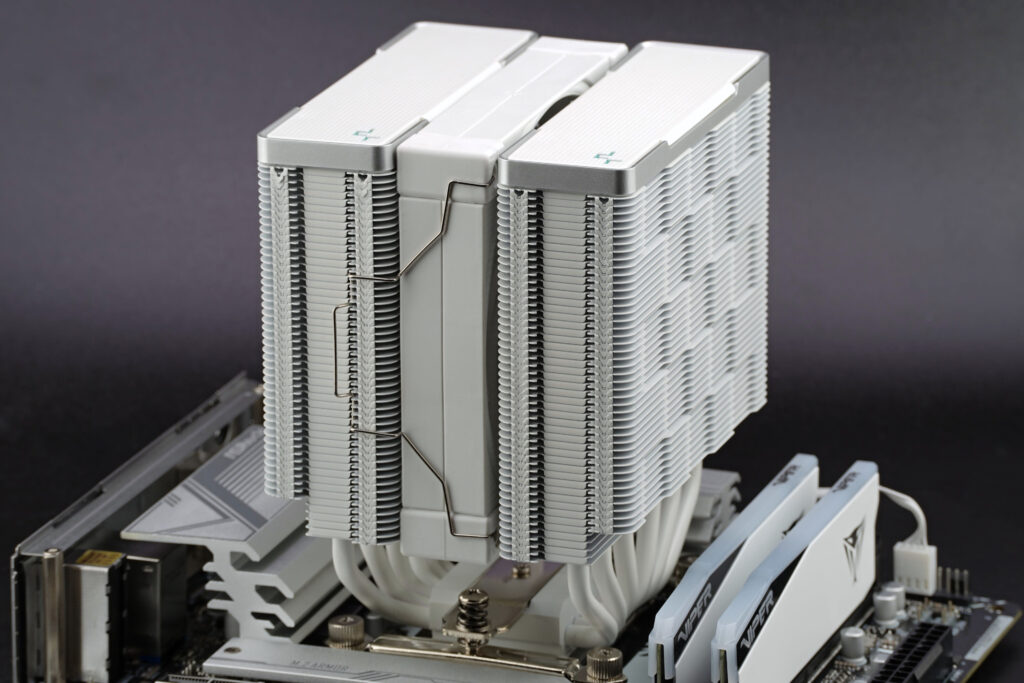
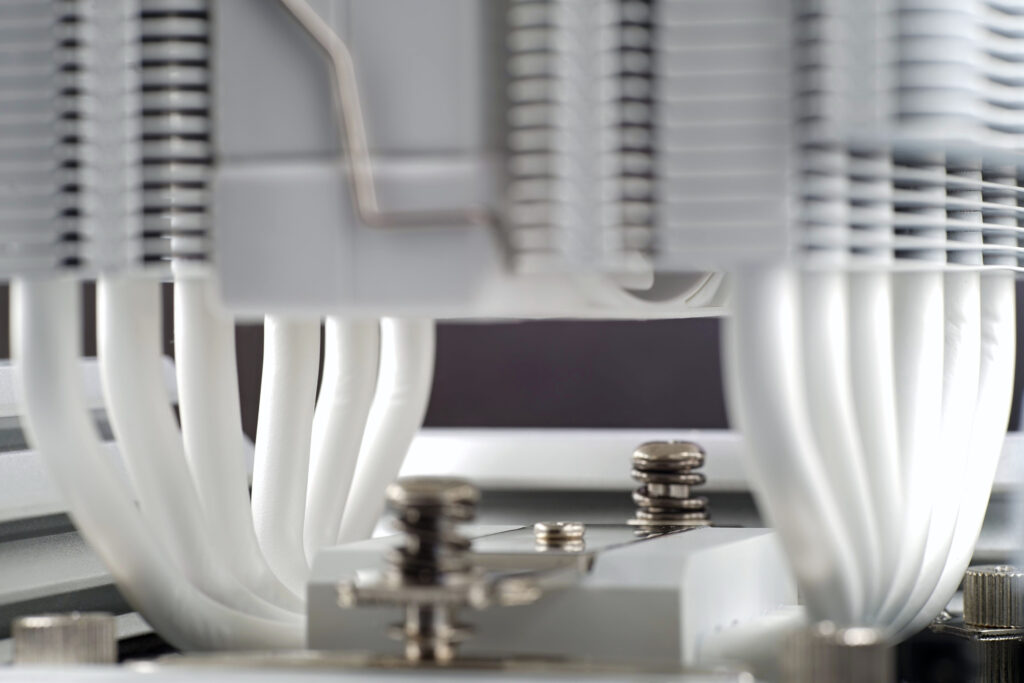
The CPU cooler is the dual-tower DeepCool AK620 WH with one small modification. When we wrote about the fifth fan for system cooling, it’s actually the one moved from the CPU cooler – from its front tower. The heatsink won’t miss it too much, especially when the CPU’s power limit is set at 125 W. That’s both for short-term and long-term load.
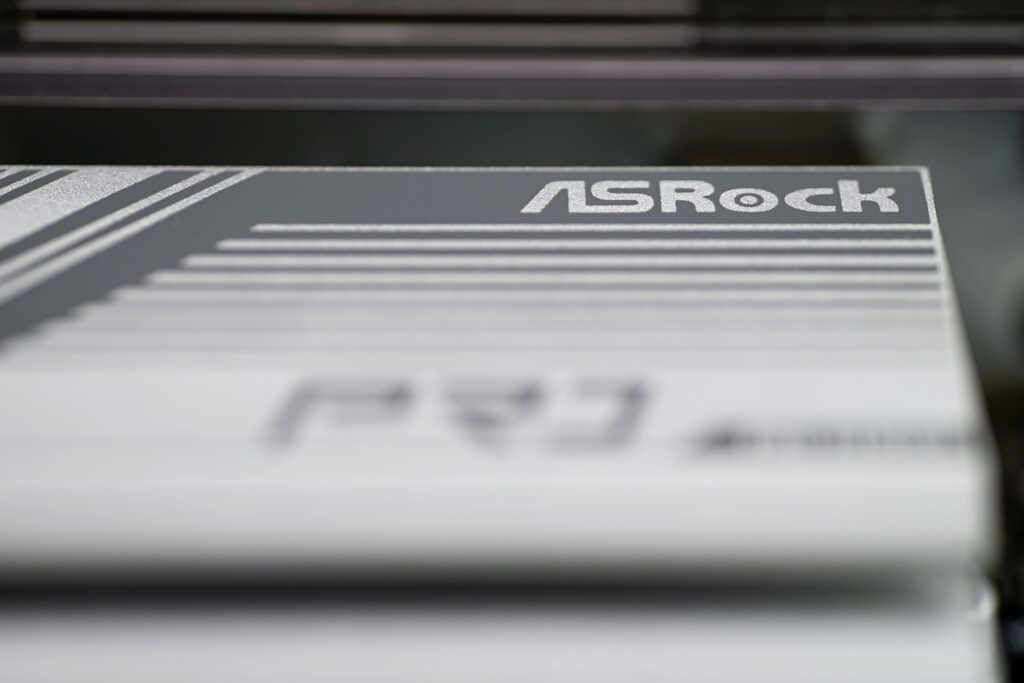
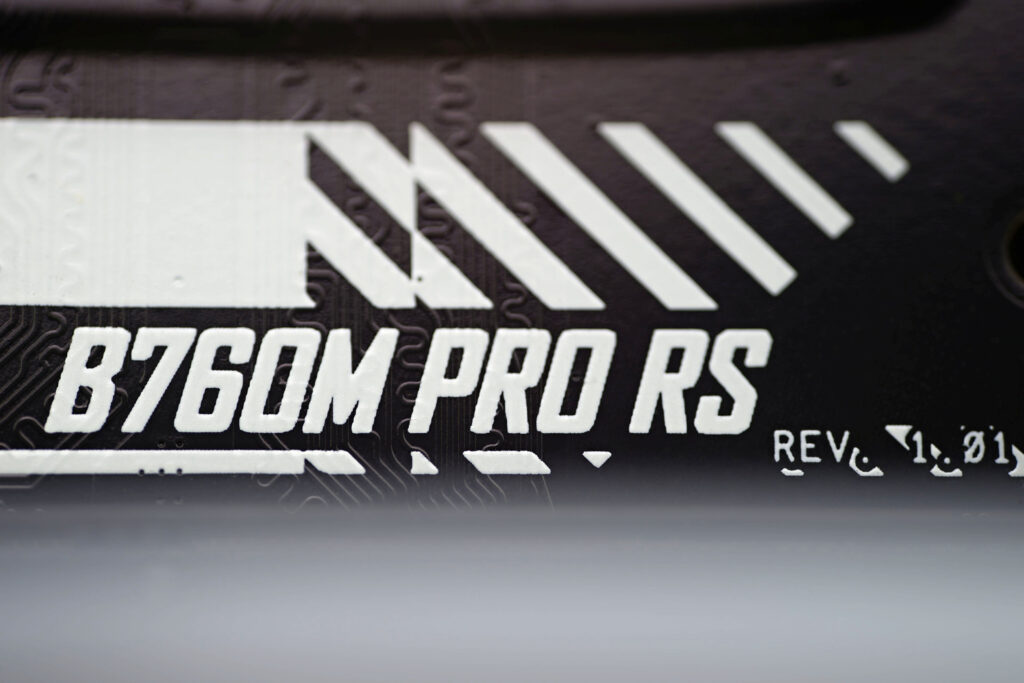
The motherboard? ASRock B760M Pro RS. We chose it, among other reasons, in order to be able to talk about a more attractive price/performance ratio even on a platform with DDR5 memory. And a more expensive board, if you don’t have a specific need for features, would be a bit of an unnecessary overkill, considering the power supply requirements for the CPU. VRM robustness is more than sufficient here.
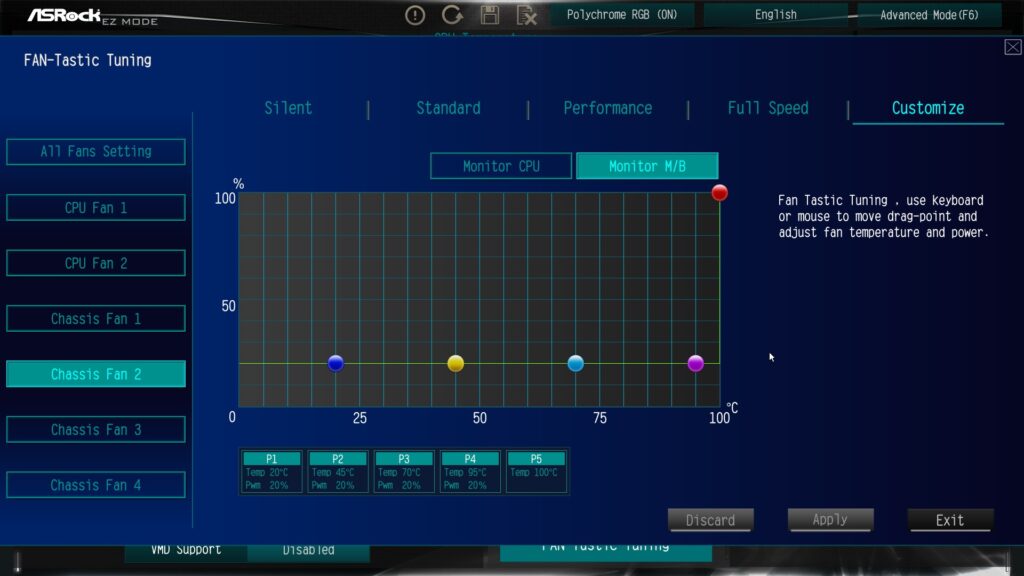
We manually adjusted the fan speeds in the interface of the motherboard. The intake 140 mm fans have their own connector, as do the outtake (120 mm) fans. This allows us to set different speeds, with the larger fans running slightly slower (around 300 rpm) than the 120 mm ones (approximately 330 rpm). The CPU cooler fan speed is fixed at around 650 rpm, always remaining quiet regardless of the load.
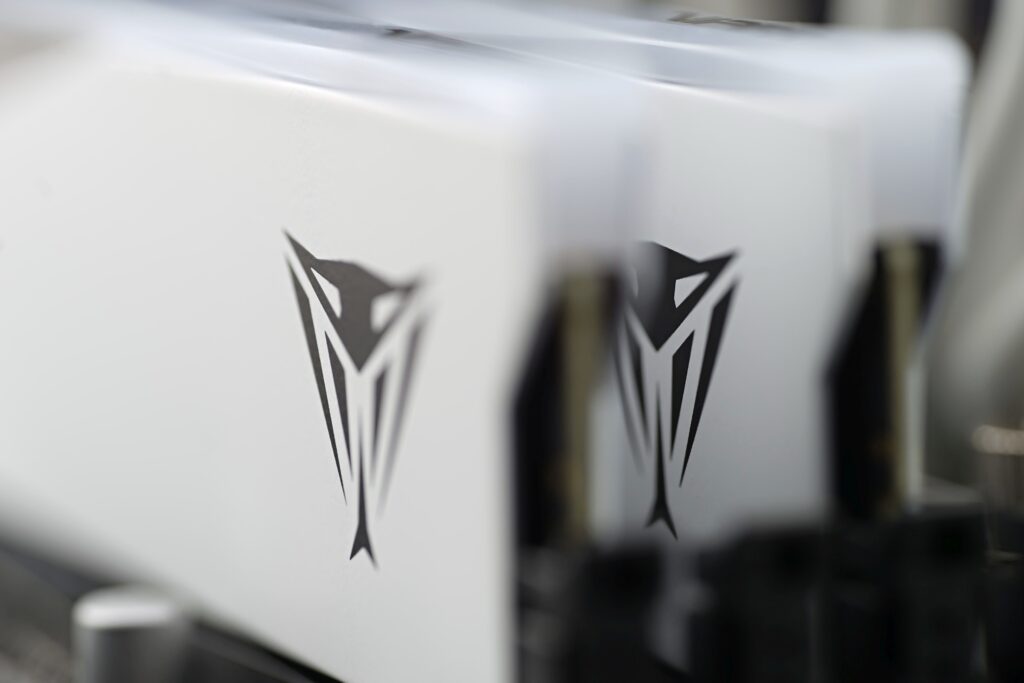
For the DDR5 memory, our thanks goes to Patriot, which very generously supplied us with the 32 GB (2× 16 GB) Elite 5 RGB kit with XMP 6200 MHz/CL42. At these parameters, they belong to the cheapest modules and at the same time they are in a white design. You may have noticed from the previous photos that there is also an effort to create a “light” color scheme.
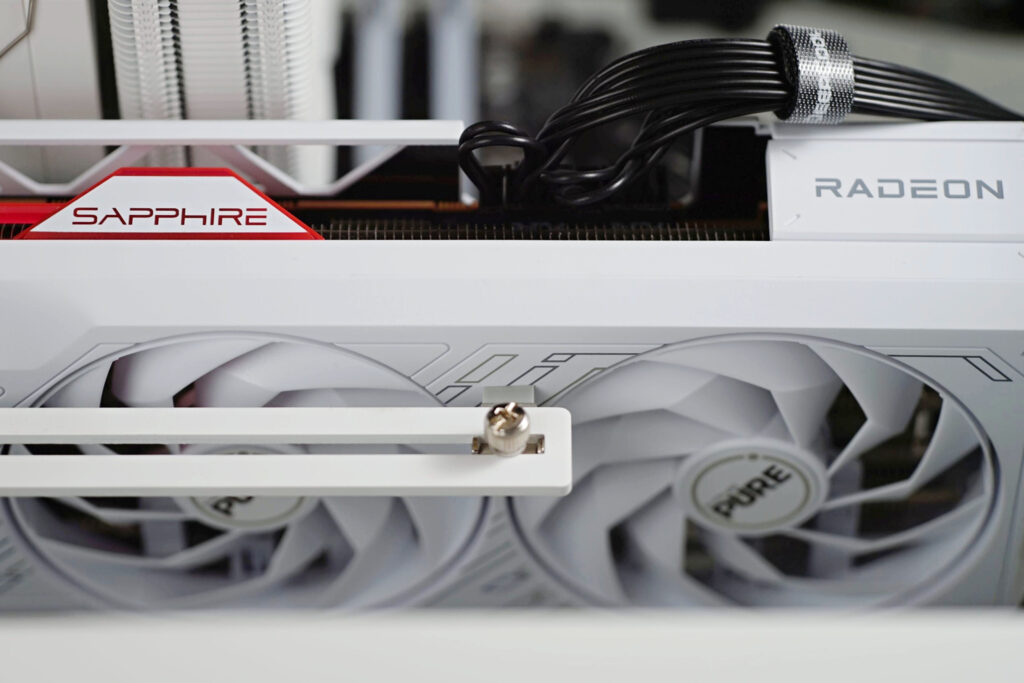
The Sapphire RX 7700 XT Pure has also already been discussed on HWC. It is a component that we knew what to expect from. Among the graphics cards in this tier, it has one of the most attractive price/performance ratios and is equipped with an efficient cooler that is not noisy. We did not specifically tune it, as that is quite tricky. Lowering the fan speed also results in lower GPU clock speeds, and after any modifications, we would not have information about the power delivery temperatures. There is definitely room for more detailed attention to this. It’s just a matter of getting control over the cooling of all components, including the critical ones that lack temperature sensors.
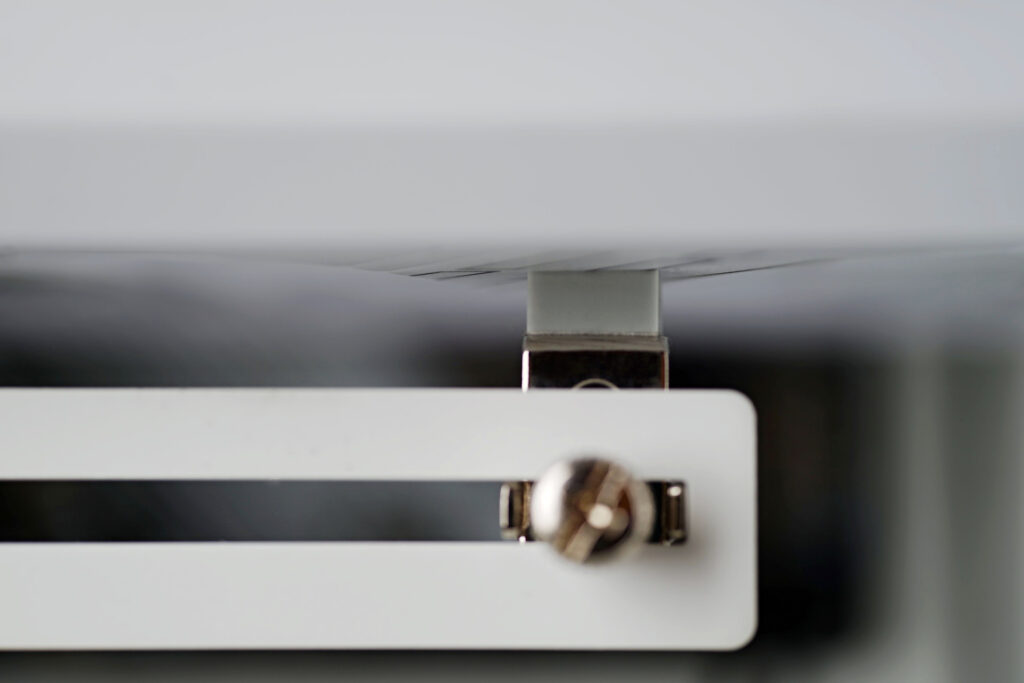
When installing a bracket/support for a graphics card, make sure it is sufficiently spaced from the fans to prevent its structure from increasing noise. There is no harm in maximizing the distance. It will still serve its purpose and have minimal impact on noise levels.
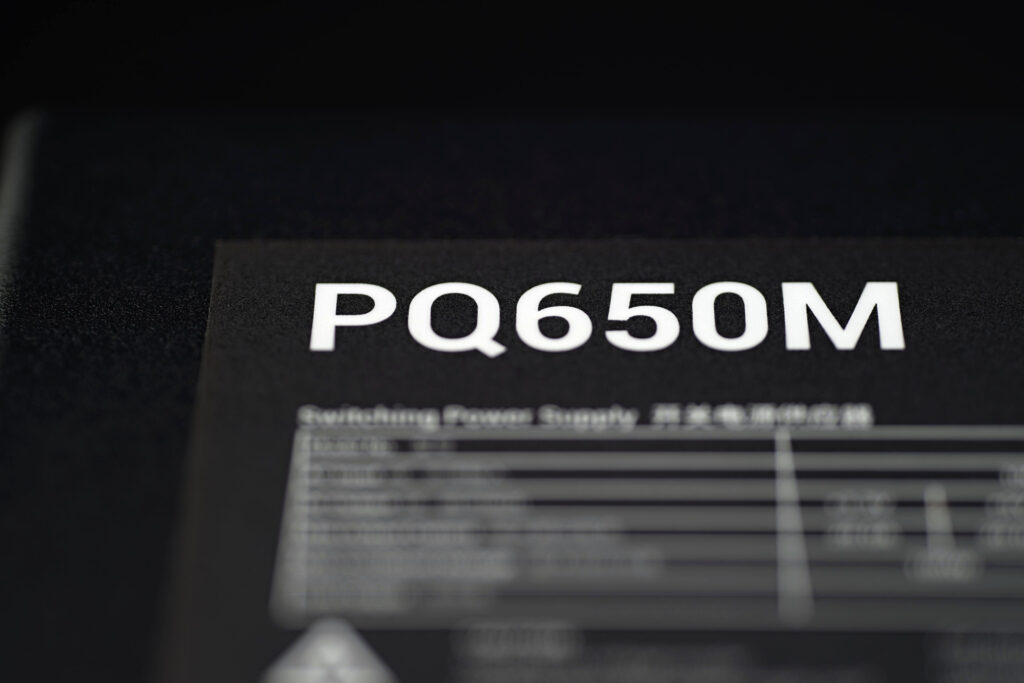
The build is powered by the 650-watt DeepCool PQ650M PSU. This fits well with the other components not only because it belongs to the mid-range class (which is reflected in its price), but also in terms of performance, where it will operate at a load of 50–60%, thus in the range of highest efficiency.
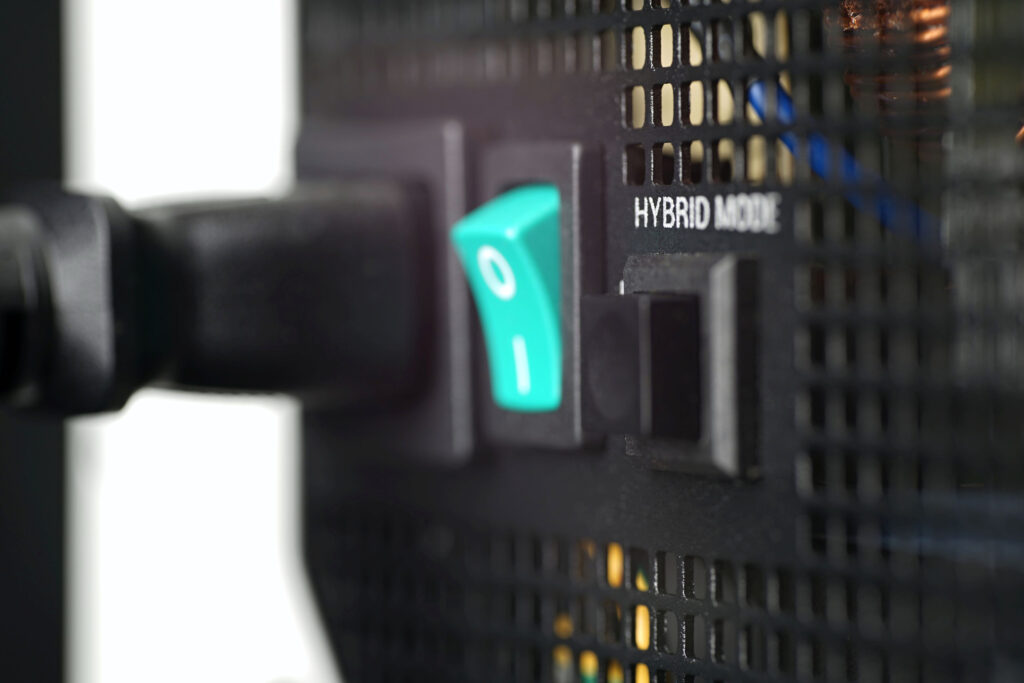
In hybrid fan mode, the cooling of the DeepCool PQ650M power supply is passive up to 25% load, which is approximately 160 W.
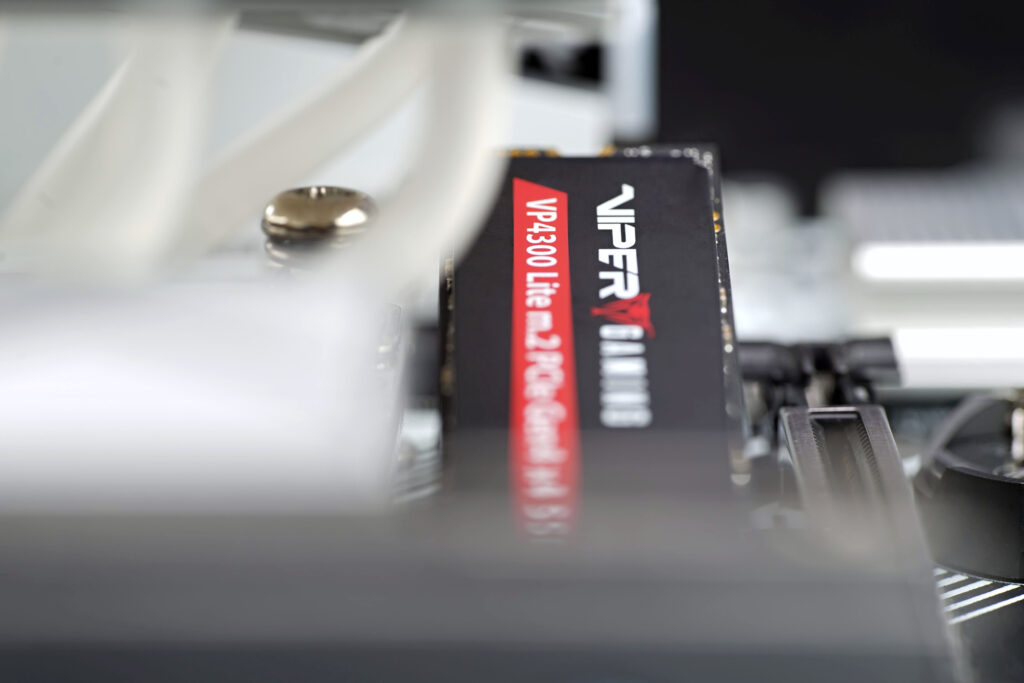
And it wouldn’t be complete without an SSD. It’s the VP4300 Lite with a capacity of 2 TB. It’s one of the cheapest models with this speed using the PCIe 4.0 ×4 interface.
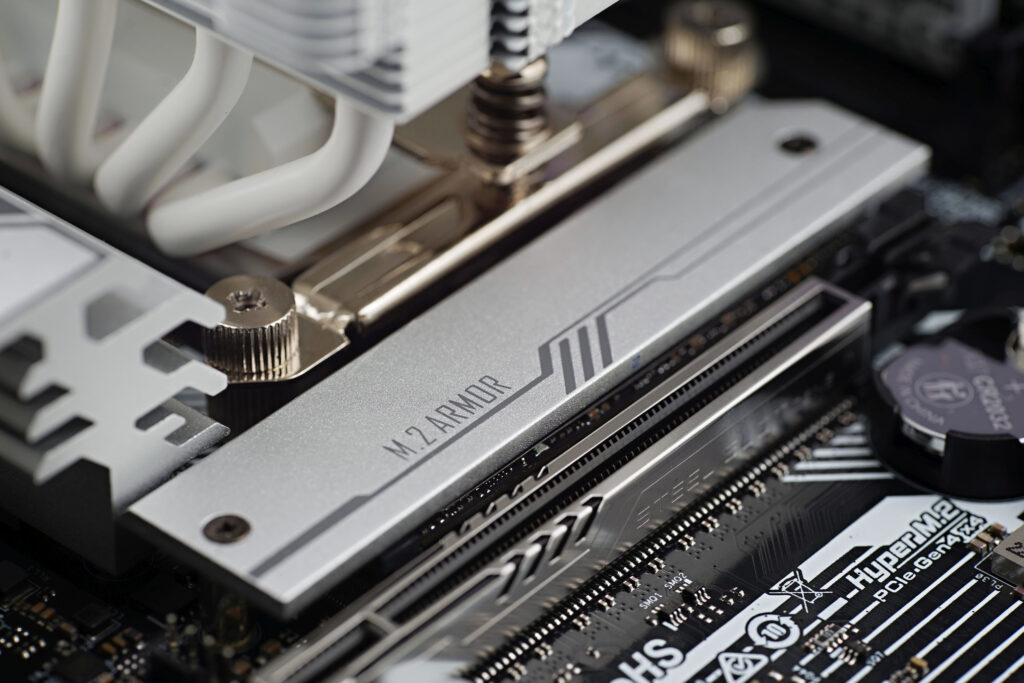
The Patriot SSD cooler is actually just a sticker, so a more efficient cooler, which is part of the ASRock B760M Pro RS motherboard, can be installed on it.
This is what the complete build looks like:
| Components | |
| Processor | Intel Core i5-14600K |
| CPU cooler | DeepCool AK620 WH |
| Graphics card | Sapphire RX 7700 XT Pure (with AMD Adrenalin 23.11.1 drivers) |
| Motherboard | ASRock B760M Pro RS (BIOS v5.01) |
| Memory (RAM) | Patriot Elite 5 RGB, 2× 16 GB, 6200 MHz/CL42 |
| SSD | Patriot Viper VP4300 Lite (2 TB) |
| PC case | DeepCool CH560 WH |
| Power supply | DeepCool PQ650M (650 W) |


